
To access the Helpdesk Self-Service, the following url should be selected or copied and pasted into your web browser.
On navigating to the above url, you will be presented with the following page. Please note that if you are not actively logged in to your NHSmail account, you will be redirected to the NHSmail login page to enter your NHSmail account credentials.Once entered, you will then be directed to the page shown below.
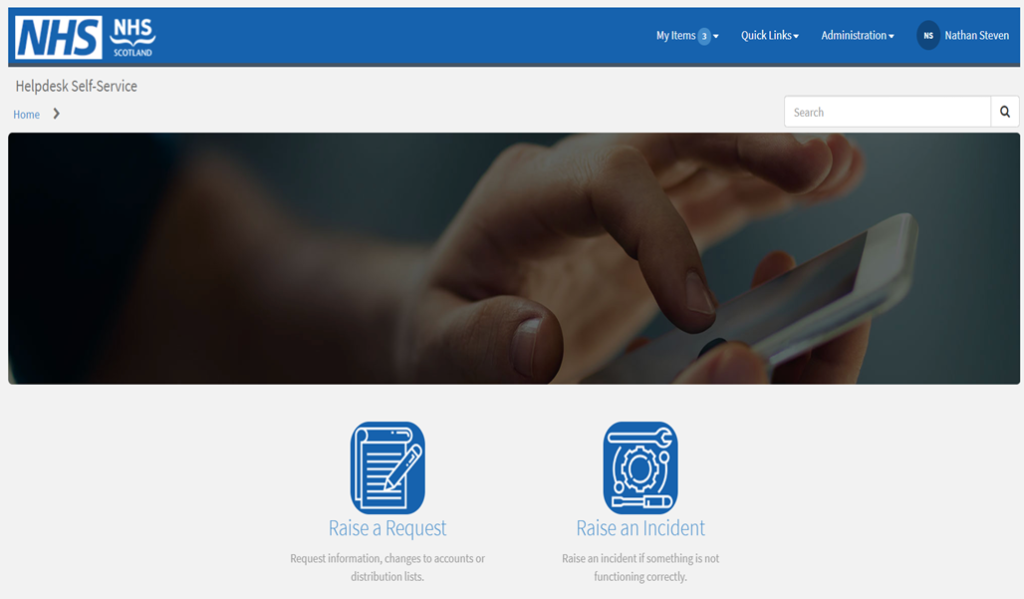
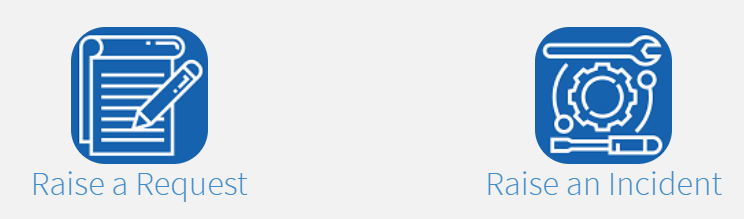
The Helpdesk Self-Service homepage consists of two main selection buttons enabling you to raise a Service Request or Incident related ticket.
On selecting either the ‘Raise a Request’ or ‘Raise an Incident’ button, you should be presented with a series of level 1 categories.
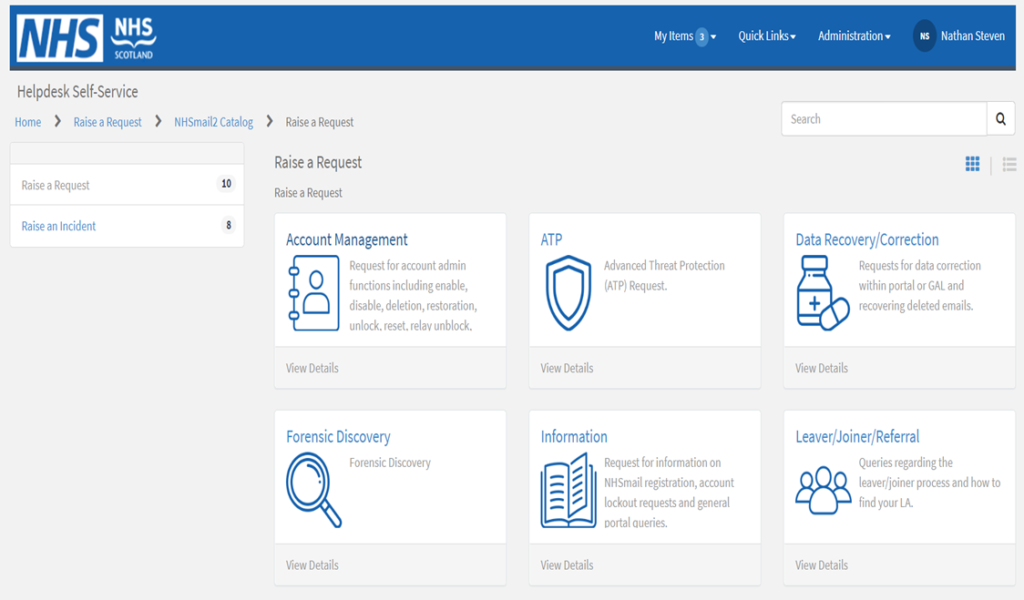 Each category contains a further set of level 2 categories that can be selected based on the requirement or issue.
For example, if a request was needed to unblock an NHSmail account, the following steps would be taken:
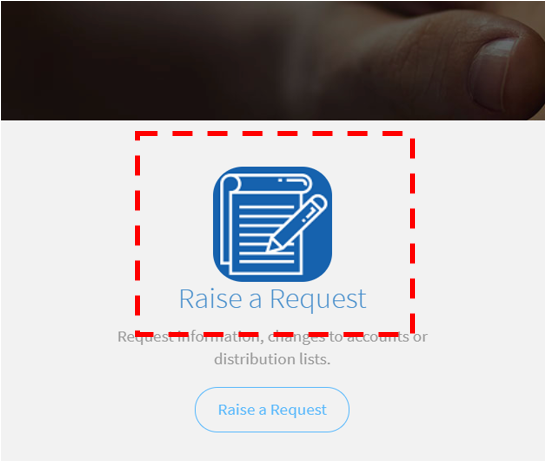 1.Select the ‘Raise a Request’ from the Helpdesk Self-Service homepage..
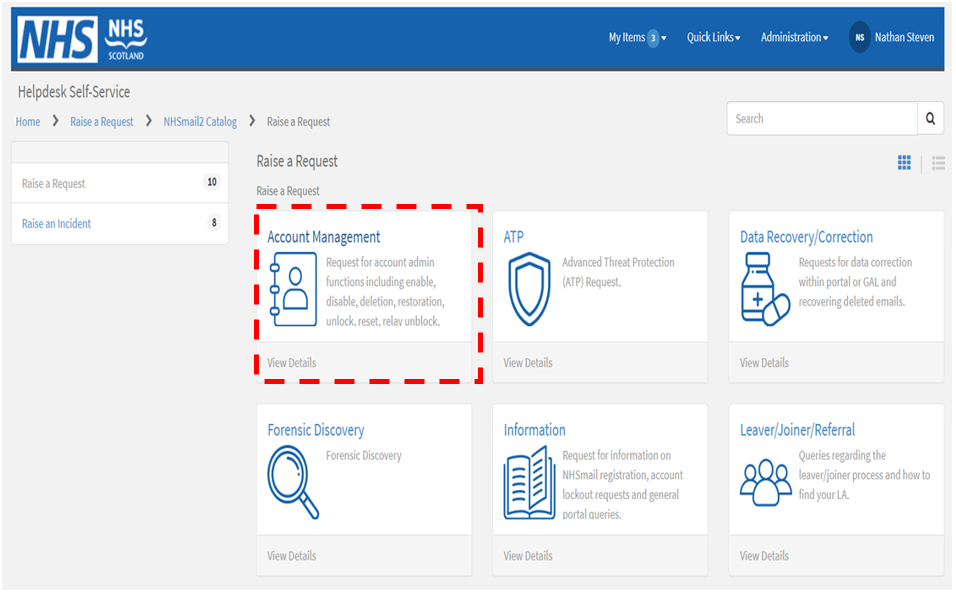 2.Select the Account Management category 1 option.
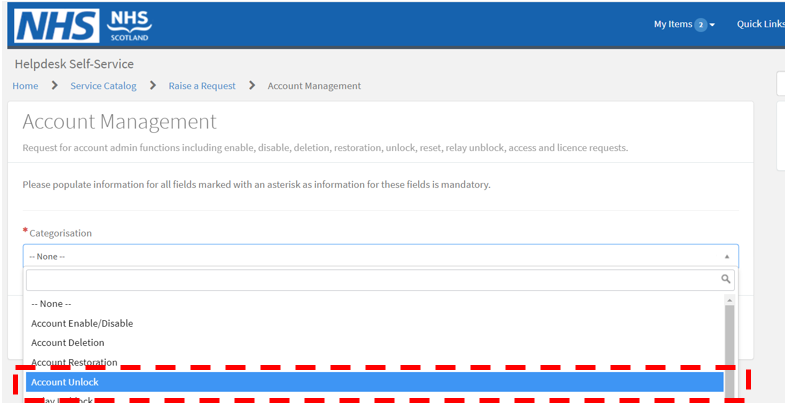 3.On selecting the category 1 Account Management option, you will be presented with the associated Account Management level 2 category options. Select the drop-down list and choose ‘Account Unlock’.
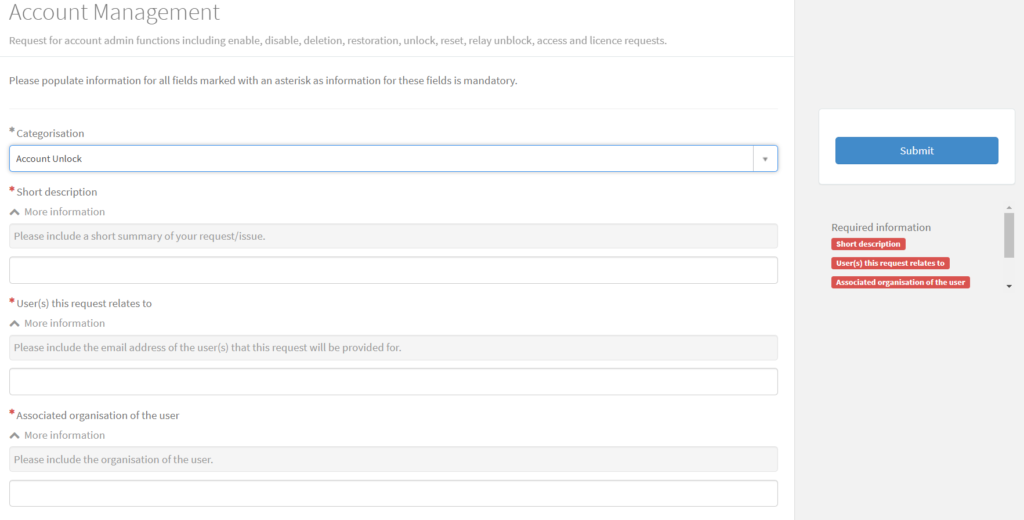
4.Once the level 2 category has been selected, you will be presented with the data capture form below. All fields marked with an asterisk are mandatory. To assist with ensuring all required information is populated, the ‘Required Information’ box can be monitored towards the right-hand side of the screen. Each field label will be removed once information is added to the required field
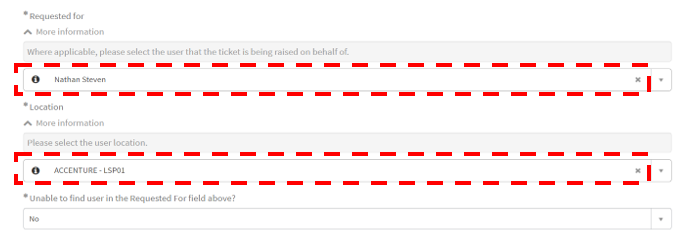 The final part of each data capture form relates to providing details of the user that the ticket is being raised for. In many cases, a Local Administrator will need to raise a ticket on behalf of someone else such as an end user they are supporting. In these scenarios the following fields highlighted should be updated with details of the user. Please note that these fields will be populated by default with details of the user logged in to the Helpdesk Self-Service
In order to change either the user and/or associated location, the following steps should be performed.
 1. Select the down arrow from the ‘Requested for’ field located at the right hand side
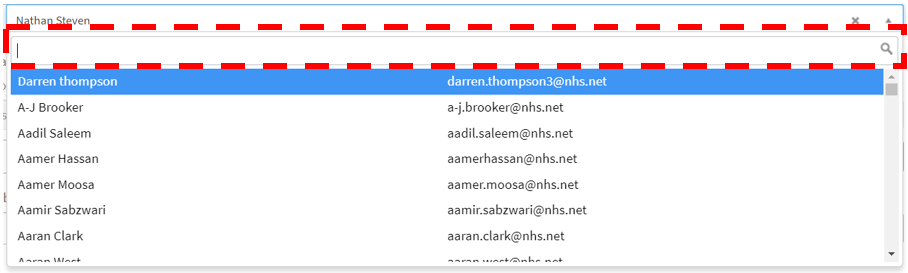 2. Once the view of users has loaded, type the users account name, first name, last name or email address into the search box. Please note that a specific account name or email address will return a more precise result
 3.Select the user from the list you wish to add. This will also populate the associated location of the user within the Location field
 4. In the event the users location needs to be updated due to the default location being inaccurate, the location should be updated by clicking in the Location field to expand the list. The correct location should then be selected which will update the previous location populated
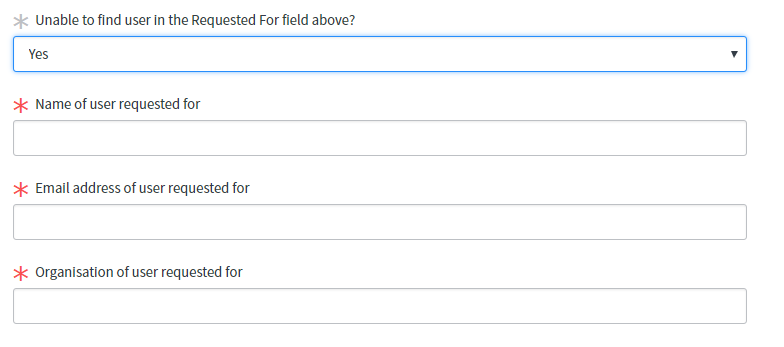 Please note In the event that the user and their location is not available in the search directories, the ‘Unable to find user in the requested for field’ should be changed to ‘Yes’. This will present three additional fields which will allow the users name, email address and Organisation to be inputted. This data will be associated with the ticket on submission to assist the NHSmail support team with fulfilling/resolving the ticket
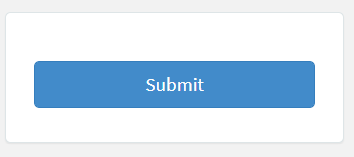 7. Finally, once all information has been added to the fields marked with a red asterisk, the blue ‘Submit’ button located towards the right of the form should be selected to log the ticket into the system.
| Last Reviewed Date | 11/08/2022 |