This article provides guidance for NHSmail Teams Phone System Administrators on how to create and configure custom Caller ID policies.
Caller ID policies are used to change or hide the Caller ID when a phone call is made via Teams. This requires the creation of a policy which provides an alternate number to display, or a policy to block any number from being displayed.
Custom Caller ID policies can be created and configured through the Phone System Power App as per your organisation’s requirements. This article will provide guidance on the following:
- Global Caller ID Default Policy
- Adding a new Custom Caller ID Policy
- Editing a Custom Caller ID Policy
- Deleting a Custom Caller ID Policy
Global Caller ID Default Policy
If no custom Caller ID policies are created and applied to users, a global Caller ID default policy will be applied to all licenced users within your organisation/s with the following settings:
| Feature | Comments | Global Default Policy Setting |
| Block incoming caller ID | This setting controls the incoming caller ID. | Disable |
| Override the caller ID policy | This setting controls whether users can override the caller ID policy.
If ‘Replace the Caller ID with’ parameter is set to Anonymous, the Override the caller ID parameter has no effect, and the caller ID is always set to Anonymous. |
Disable |
| Replace the caller ID with | This setting controls whether the caller ID can be replaced with another number (UserName, Service Number, or Anonymous)
Note: Using a ‘Resource Account’ to replace the caller ID is a new feature recently released by Microsoft. Currently, this feature is not supported on the platform (using PowerApp) for default or any custom policy. |
User Number |
| Replace the caller ID with this service number
|
This setting allows configuring a service number if the above options ‘Replace the caller ID with’ is configured to ‘Service Number’. | N/A |
Adding a New Custom Caller ID Policy
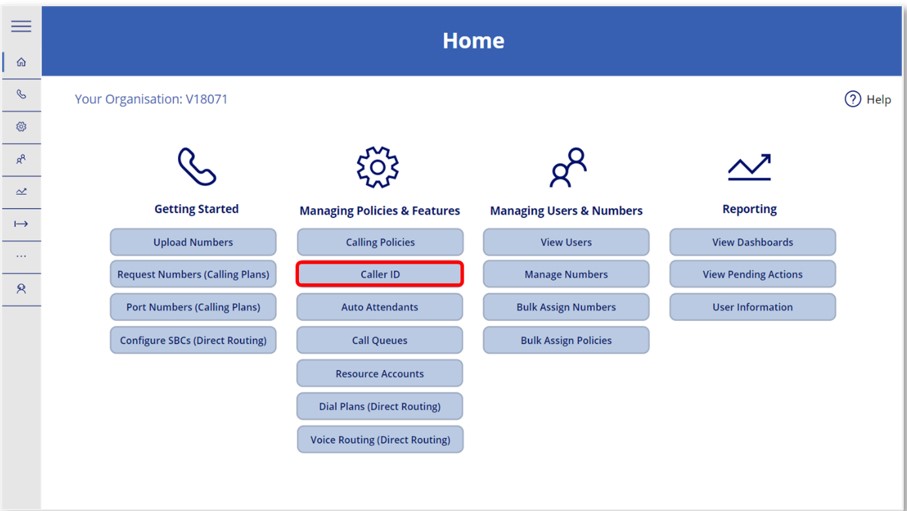 1. Log in to the Phone System PowerApp and select ‘Caller ID’ from the Home screen.
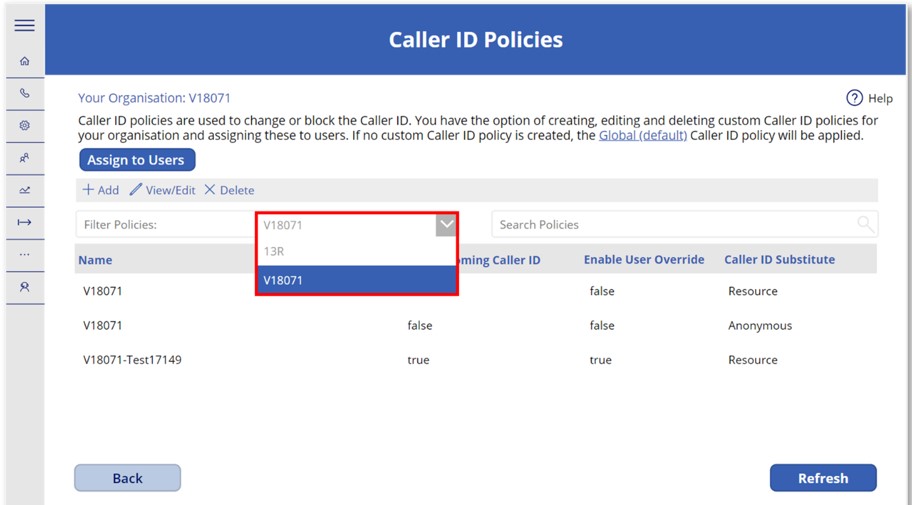 2. Select the ODS code for the organisation you wish to add a Caller ID Policy for.
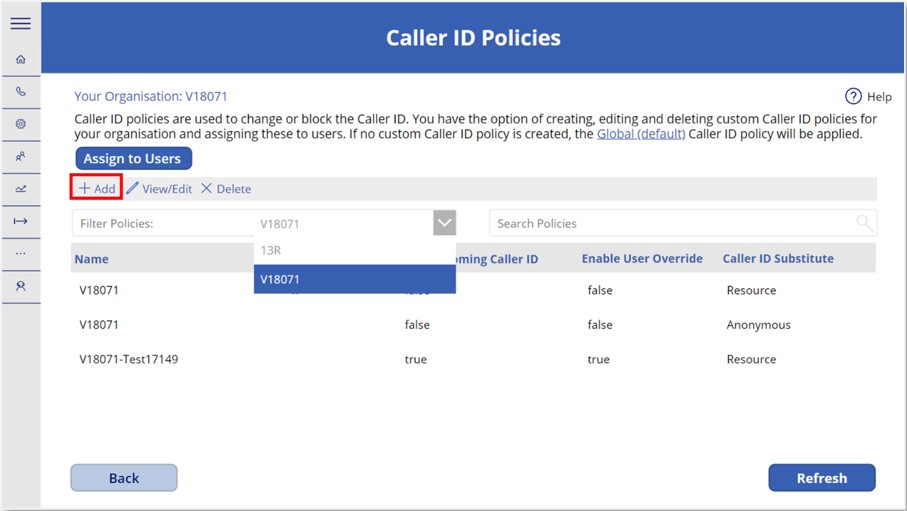 3. To add a new Caller ID policy, select the ‘+ Add’ option from the toolbar. You will be directed to the Configure Caller ID Policy.
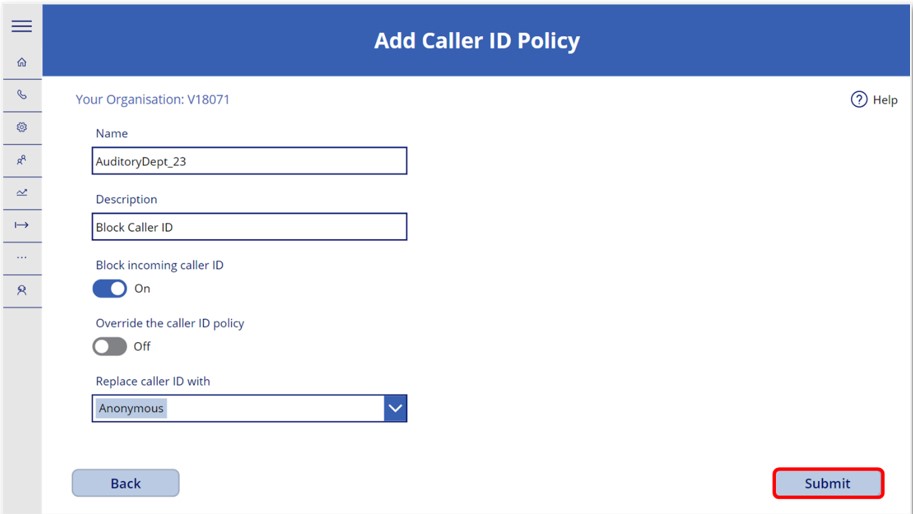 4. On the Add Caller ID Policy screen, you will need to provide the following information and set parameters which suit your organisation’s requirements:
- Name – Enter a name for the Caller ID policy. There are no naming conventions which you need to follow for this, however all Caller ID policies will be prefixed with your organisation’s ODS code once created
- Description – Enter a description of your Caller ID policy to make it easier to identify, for example you could add what features the policy will allow, which group of users the policy will be used for
- Enable or disable ‘Block incoming Caller ID’
- Enable or disable ‘Override the Caller ID policy’
- Replace Caller ID with User’s Number, Service Number or Anonymous – If ‘Replace the Caller ID with’ is set to Anonymous, the ‘Override the caller ID policy’ parameter has no effect, and the caller ID is always set to Anonymous. ‘Override the Caller ID policy’ has precedence over other settings in the policy unless substitution is set to Anonymous
Once you have tailored the answers as per your organisation’s requirements, click ‘Submit’.
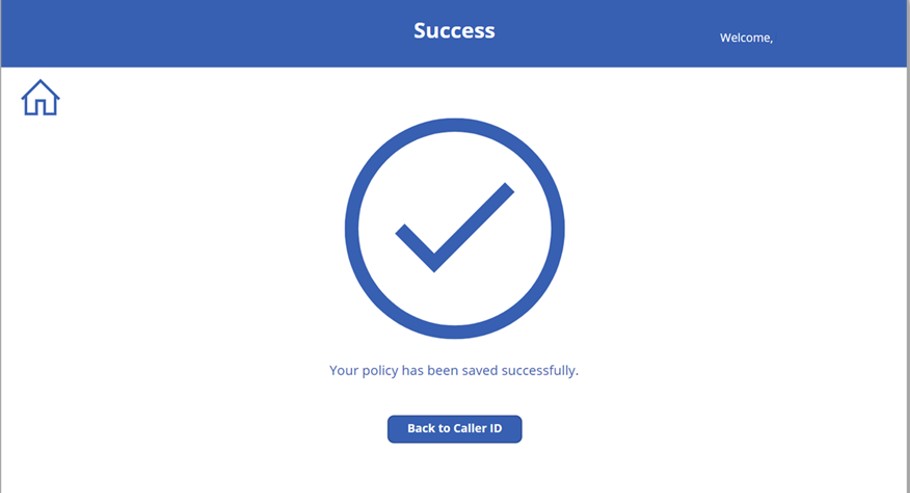
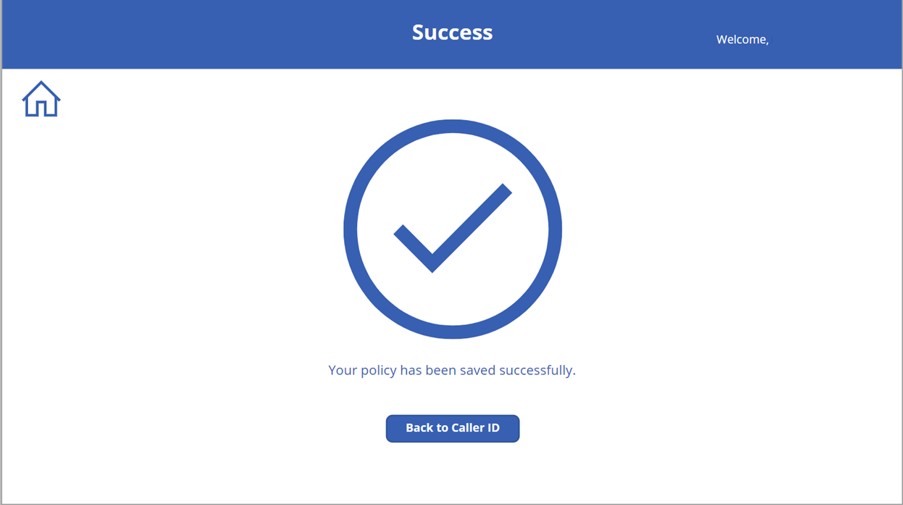 5. After submitting, you will be directed to a success screen confirming that your custom policy has been successfully saved.
Editing a Custom Caller ID Policy
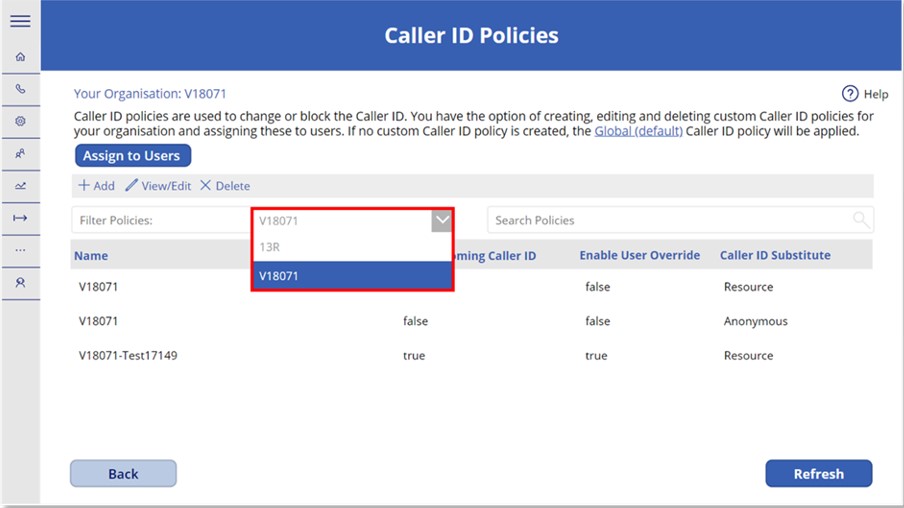 1. Select the ODS code of the organisation you wish to edit a Caller ID Policy for.
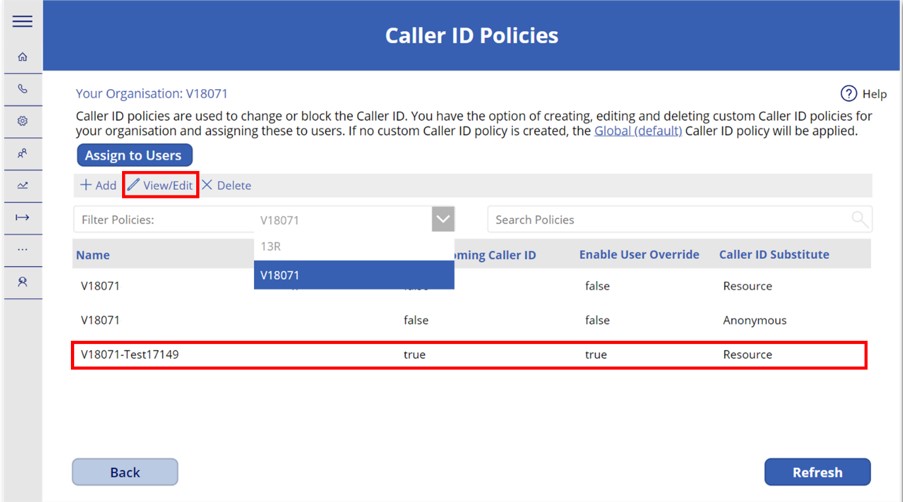 2. Select the Caller ID policy you wish to edit from the list in the summary box, then select the ‘View/Edit’ option from the toolbar.
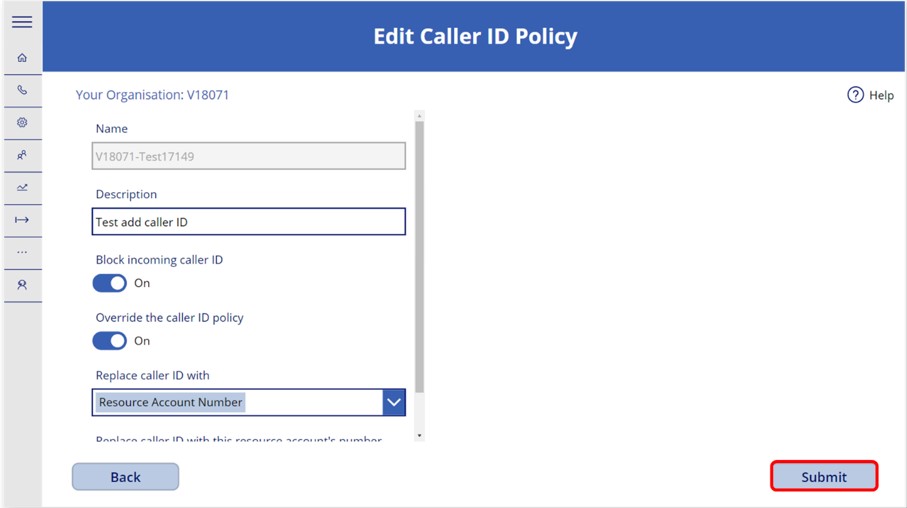 3. The next screen will allow you to change the configurations and features of an existing custom Caller ID policy.
4. After updating the settings of this Caller ID policy, select ‘Submit’.
5. After submitting, you will be directed to a success screen confirming that your custom policy has been successfully updated.
Deleting a Custom Caller ID Policy
 1. Select the ODS code of the organisation you wish to delete a Caller ID Policy for.
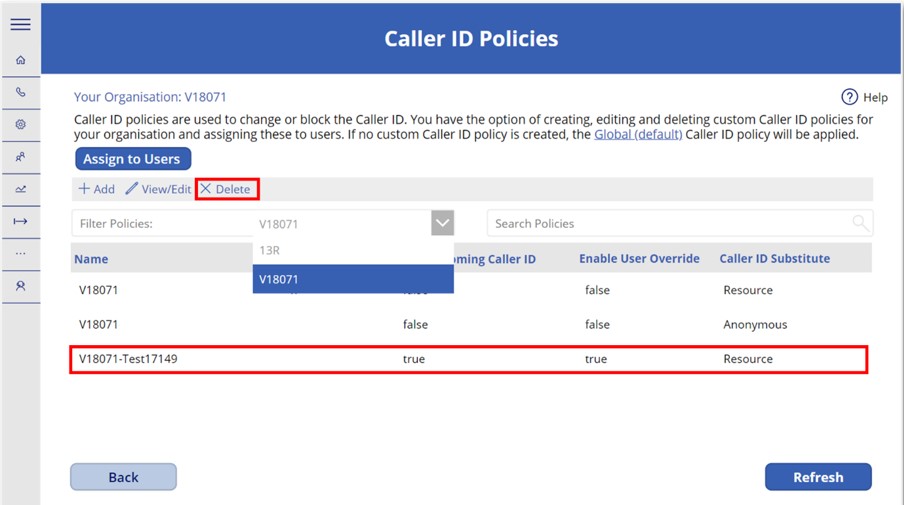 2. Select the custom Caller ID policy you wish to delete from the list in the summary box and then select the ‘Delete’ option from the toolbar.
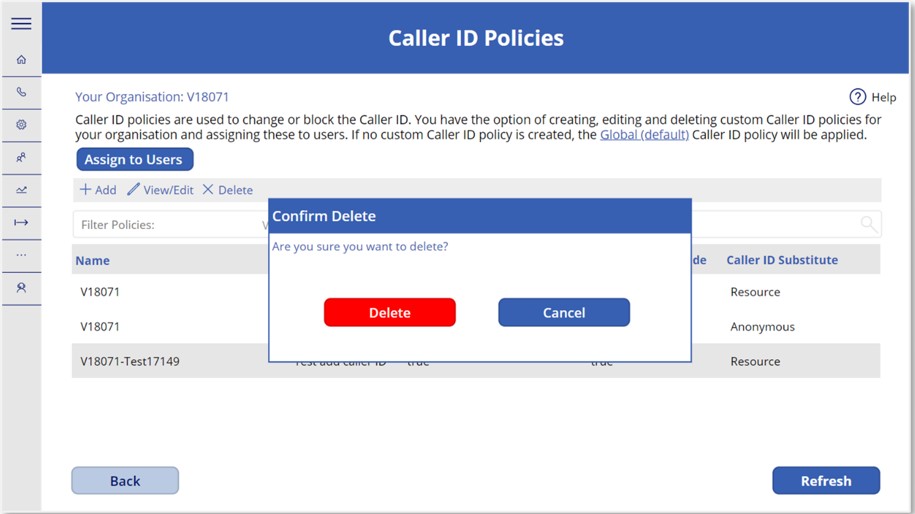 3. You will be prompted to confirm that you wish to ‘Delete’ this policy or if you wish to ‘Cancel’ the request. To complete the deletion, select ‘Delete’.
| Last Reviewed Date | 31/03/2023 |