This article provides guidance for NHSmail Phone System Administrators who are using / intend to use Direct Routing as their chosen PSTN (Public Switched Telephone Network) connection strategy, on how to set up Voice Routes and assign Voice Routing Policies to users within their organisation/s.
Voice Routing Policies allow users to receive and make phone calls to the Public Switched Telephone Network (PSTN) using your on-premises telephony infrastructure.
A Voice Routing Policy is a container for PSTN usage records.
This article will provide further information on how to complete the following actions:
Configure Voice Routes and Voice Routing Policies
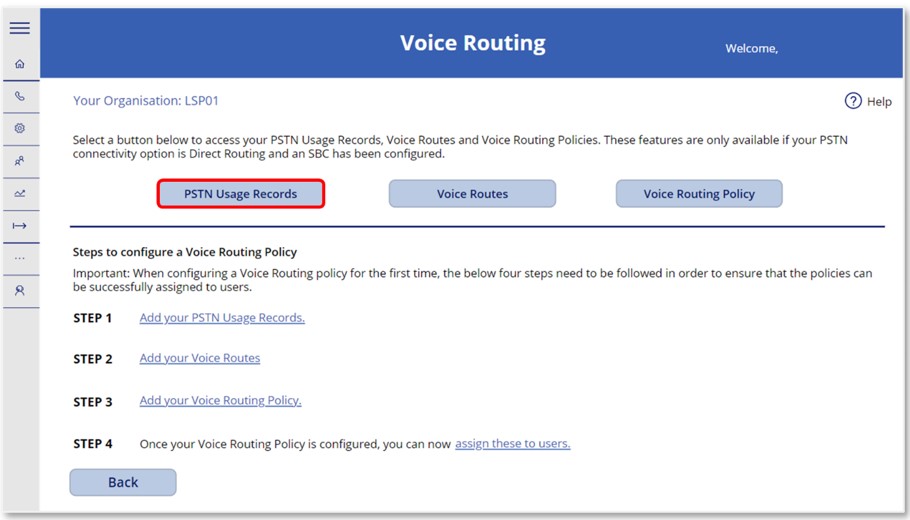
 1. Once logged into the Phone System Power App, select ‘Voice Routing (Direct Routing)’, from the Home screen.
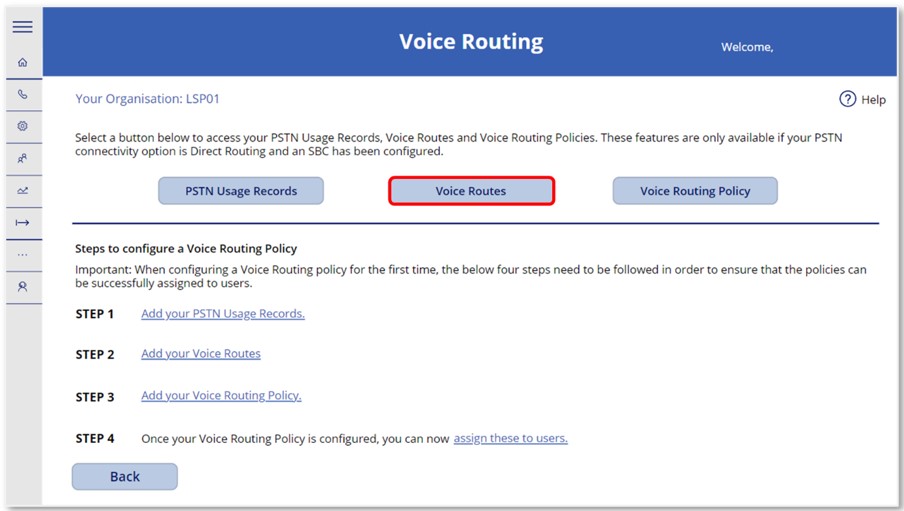
 2. The next screen will display the Voice Routing Checklist, which list the four steps required to successfully configure Voice Routes and Voice Routing Policies for the first time.
Add PSTN Usage Records
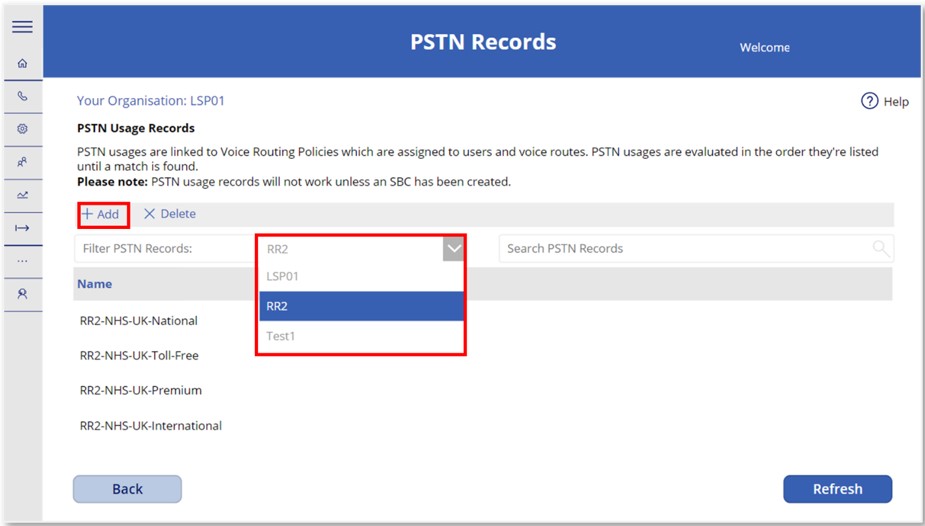
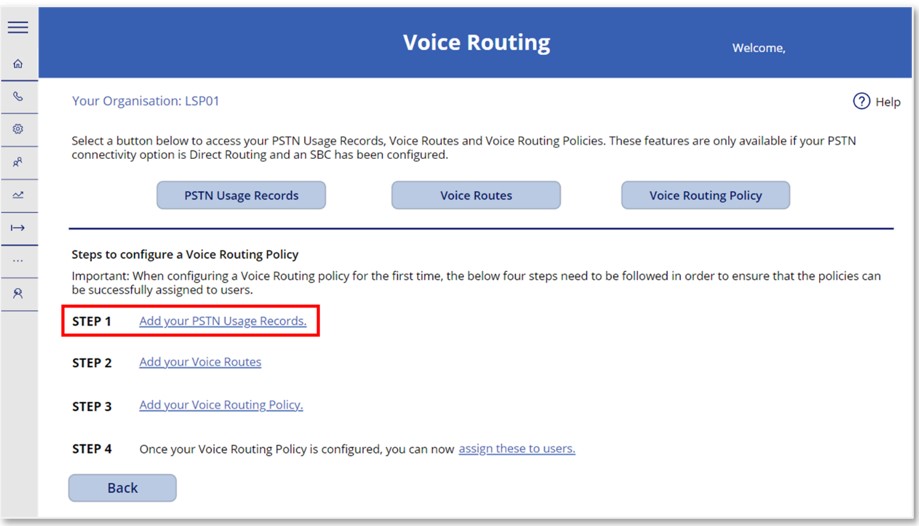 1. The first step from the Voice Routing Checklist is to add your PSTN Usage Record. To do this, either select the ‘Add PSTN Usage Record’ option next to Step 1 or select the ‘PSTN Usage Records*’ button to view all PSTN Usage Records, filter by ODS code and then select ‘+ Add’ from the toolbar on that screen.
Or
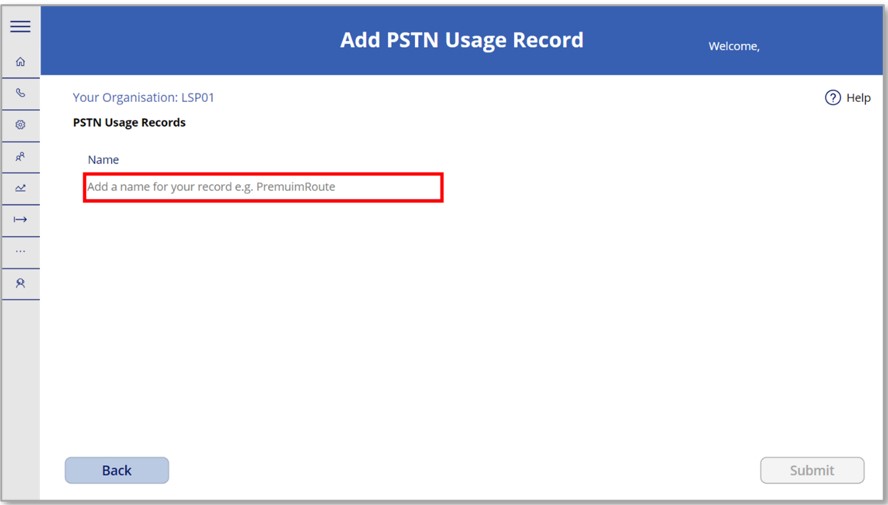 2. On the next screen you will need to provide a name for your PSTN Usage Record to create it. There are no naming conventions which you need to follow for this, however all PSTN Usage Records will be prefixed with your organisation’s ODS code once created.
3. Click ‘Submit’ to add the PSTN Usage Record.
 4. You will be directed to a success screen, informing you that the PSTN usage record has been created successfully.
Add Voice Routes

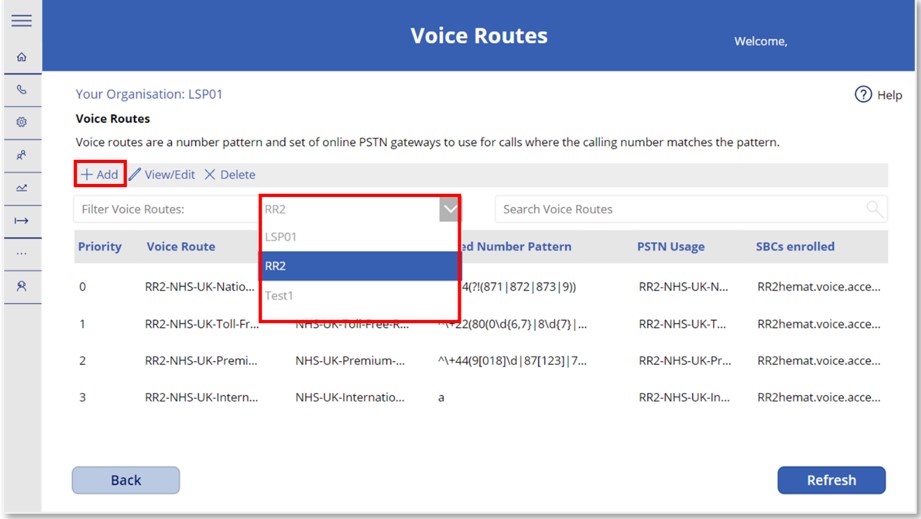
1. The second step from the Voice Routing Checklist is to add your Voice Routes. To do this, either select the ‘Add your Voice Routes’ option next to Step 2 or select the ‘Voice Routes’ button to view all Voice Routes, filter by ODS code and then select ‘+ Add’ from the toolbar on that screen.
Or
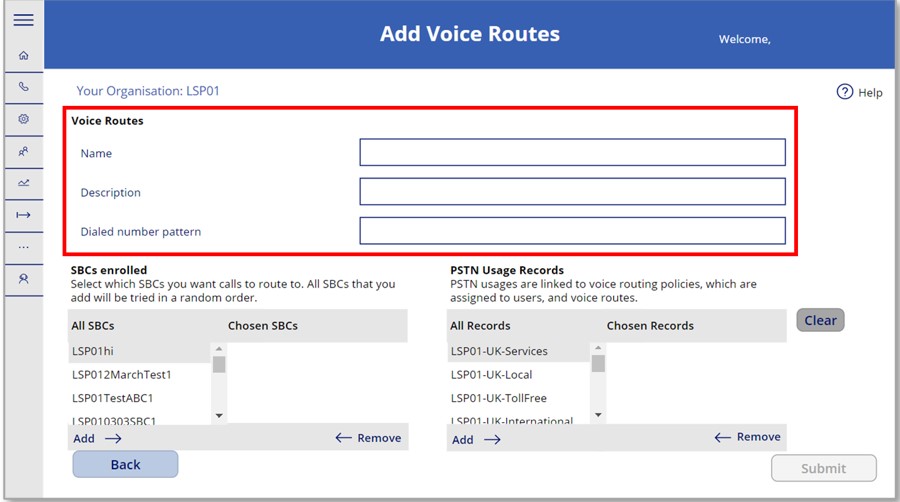 2. At the top of the next screen, you will be required to provide the following information:
- Name – Enter a name for the Voice Route. There are no naming conventions which you need to follow for this, however all Voice Routes will be prefixed with your organisation’s ODS code once created
- Description – Enter a description for the Voice Route to make it easier to identify
- The Dialled number pattern for the voice route being added – There are no naming conventions to follow for this, but the use of only ‘*’ as the Dialled number pattern will cause the creation of the Voice Route to fail.
 3. On the same screen, move down to the SBCs enrolled section to select the SBCs you want calls to route to for the Voice Route you are adding. A list of all available SBCs will be available to select from. Use the left and right arrows next to the ‘Add’ and ‘Remove’ to move the SBCs you want into the Chosen SBC column.
 4. Still on the same ‘Add Voice Routes’ screen, move across to the PSTN Usage Records section to select the PSTN Usage Records for the Voice Route. This will be the PSTN Usage Record which you created in Step 1 of the checklist. Use the left and right arrows next to the ‘Add’ and ‘Remove’ to move the selected PSTN Usage Records into the Chosen Records column.
 5. After adding the chosen SBCs and PSTN Usage Records, click the ‘Submit’ button to process all changes. A success screen will then be displayed confirming the Voice Route has been added.
Add Voice Routing Policy
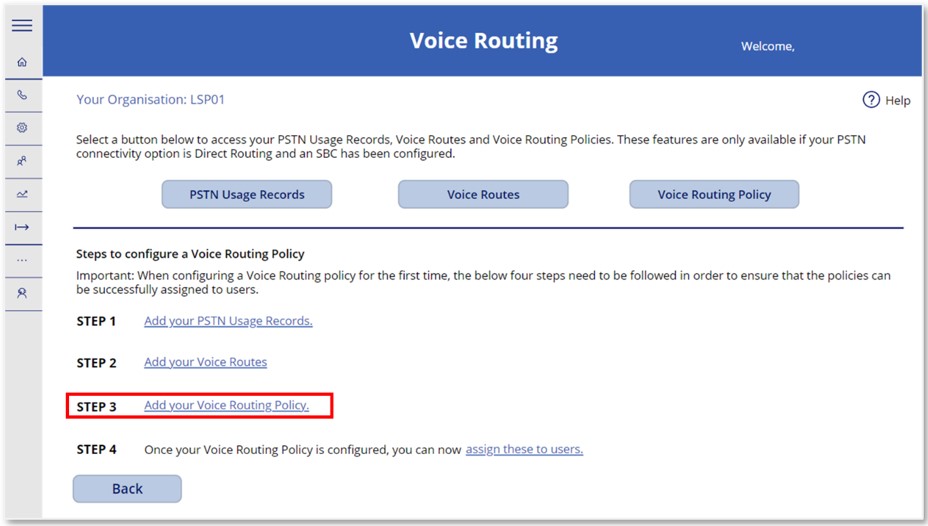
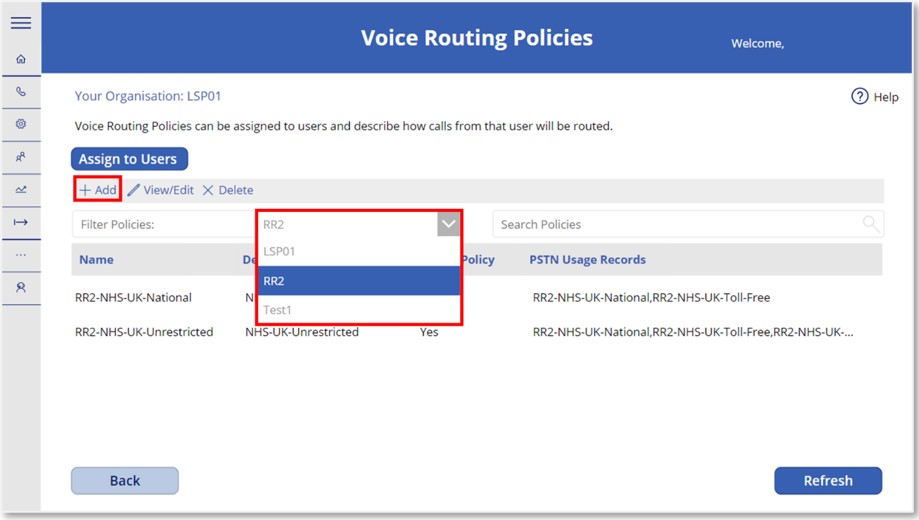
1. The third step from the Voice Routing Checklist is to add your Voice Routing Policy. To do this, either select the ‘Add your Voice Routing Policy’ option next to Step 3 or select the ‘Voice Routing Policy’ button to view all Voice Routing Policies, filter by ODS code and then select ‘+ Add’ from the toolbar on that screen.
Or

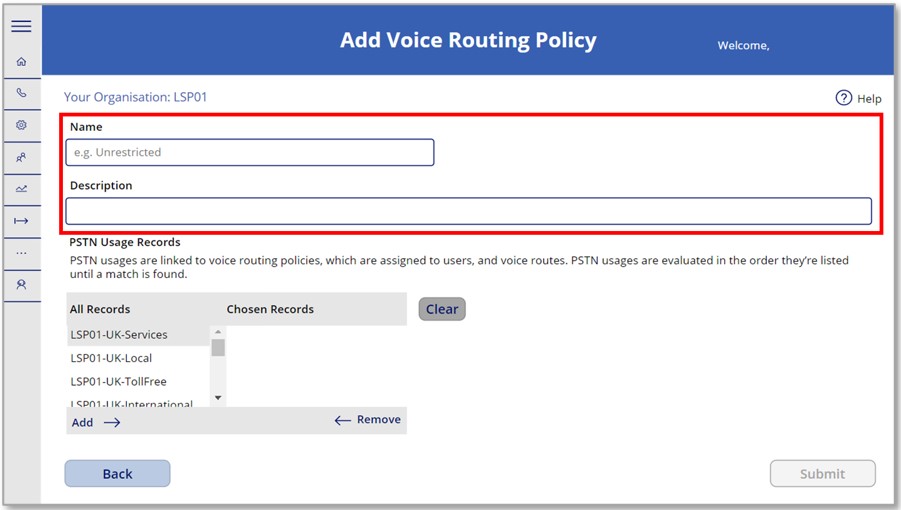 2. At the top of the next screen, you will be required to provide the following information:
- Name – Enter a name for the Voice Routing Policy. There are no naming conventions which you need to follow for this, however all Voice Routing Policies will be prefixed with your organisation’s ODS code once created
- Description – Enter a description for the Voice Routing Policy to make it easier to identify
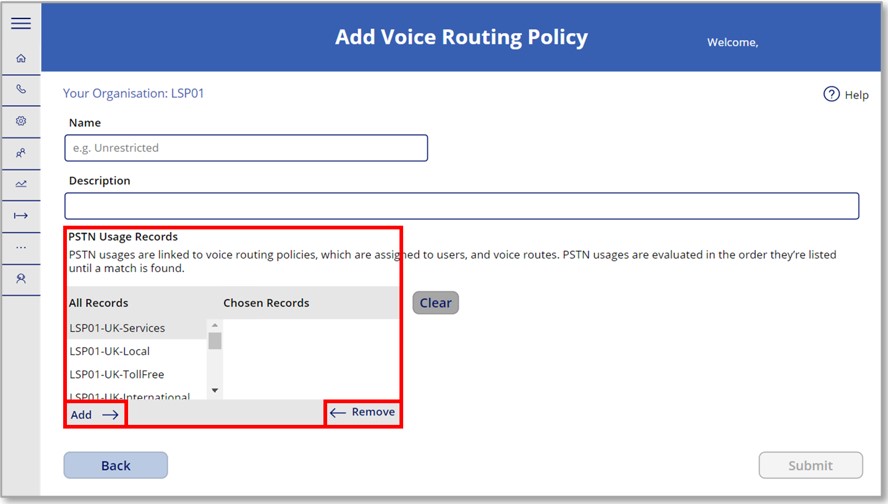 3. On the same screen, in the PSTN Usage Records section, select the PSTN Usage Records to be used for this Voice Routing Policy. Select the PSTN Usage Records from the All Records column, and then use the right and left arrows next to ‘Add’ and ‘Remove‘ to move the records you want into the Chosen Records column.
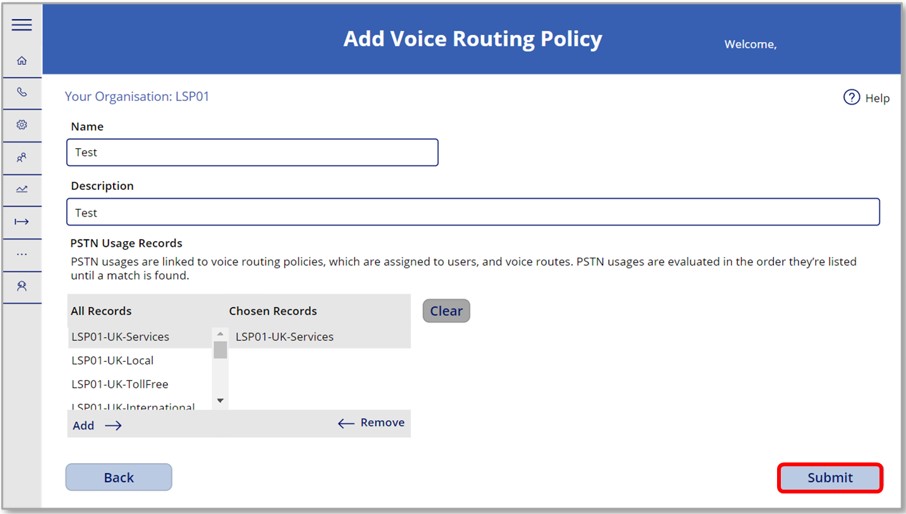 4. After adding the chosen PSTN Usage Records for the Voice Routing Policy, click ‘Submit’ to process all changes.
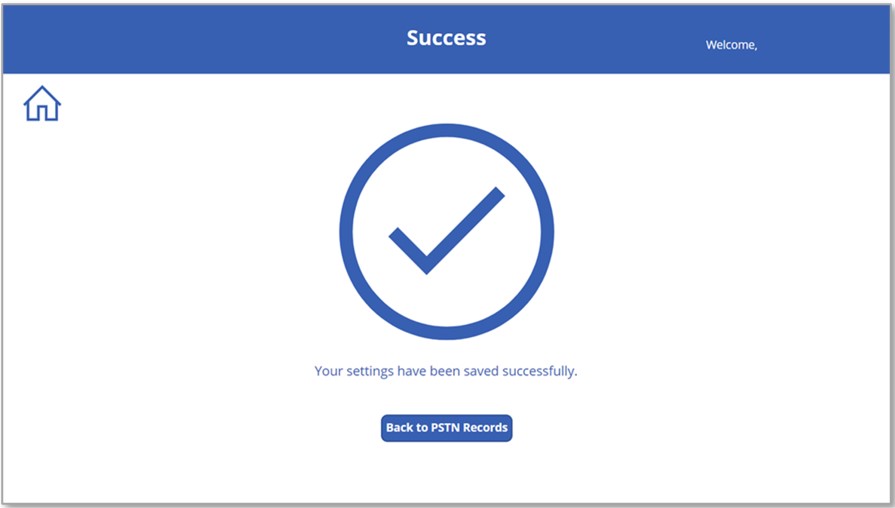
 5. A success screen will then be displayed confirming that the Voice Routing Policy has been successfully created.
Assign Voice Policy Routing Policy to Users
Once you have created your Voice Routing Policies, these can be assigned to users.
Selecting on the link in Step 4 of the Voice Routing Checklist will direct you to the Users screen, where policies can be assigned to users on an individual and bulk basis. For comprehensive guidance on how to assign policies to users, please see this article.
| Last Reviewed Date | 17/04/2023 |