
A shared mailbox (also known as a generic mailbox) is a type of mailbox that can be accessed by a group of users from the same organisation.
The shared mailbox may be used for several reasons (e.g. a district nursing team may have a shared mailbox for incoming referrals that the entire team has access to so anyone on duty can read or action the email).
If you are the owner of a shared mailbox, you can add and remove members and owners to the mailbox. To set up or delete a shared mailbox or change any other setting, contact your Local Administrator.
Managing a Shared Mailbox
To manage your shared mailbox:
 1. Sign-in to the NHSmail Portal using your .net credentials
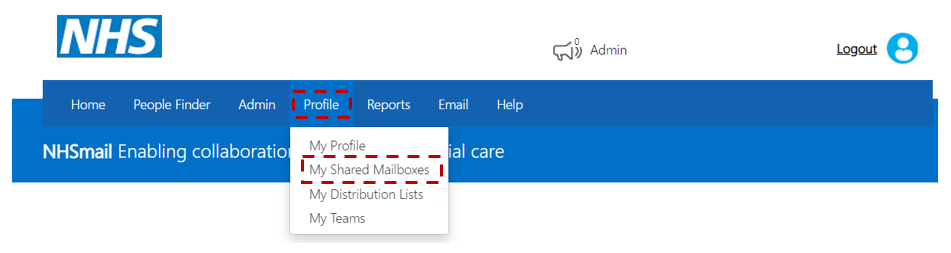 2. Click Profile in the navigation bar at the top of the screen and Click My Shared Mailboxes.
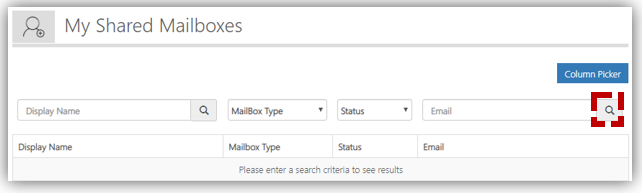 3. Click the Magnifying Icon
A list of mailboxes that you are an owner of will be listed automatically.
 4. Click the Display Name of the mailbox you want to manage
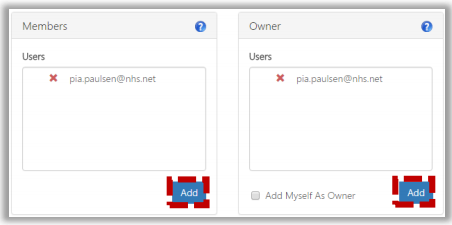
5. Click Add to add Members or Owners to the shared mailbox
You can also remove members or owners by clicking the red cross next to their email address
6. Type the user’s name into the search box
Refer to the Searching for an Entry section for more information
7. Click Update at the bottom of the page
Setting up Automatic Replies or Out Of Office on a Shared Mailbox
Please refer to the below steps for setting up automatic replies on a Shared Mailbox:
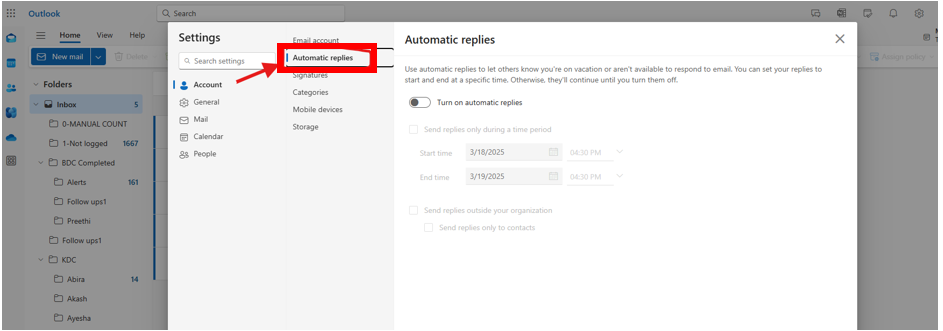 1. Access the out-of-office settings
- In the shared mailbox, click on the gear icon (Settings) in the top right corner.
- Click on “Email” within the settings menu.
- Click on the “Automatic replies” option that appears.
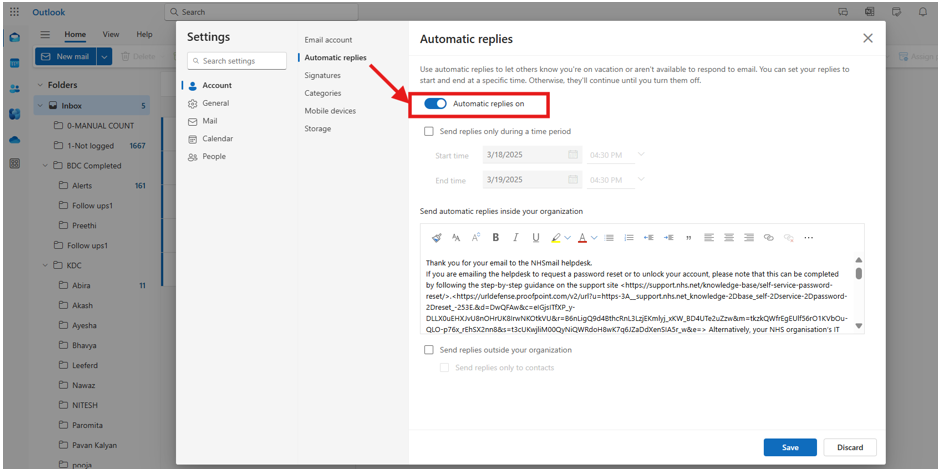 2. Configure the out-of-office response
- Toggle the switch to turn on automatic replies.
- Set the start and end time for the out-of-office response if you want it to be active only during a specific period.
- Type your out-of-office message in the text box. Make sure to include important information such as:
- Reason for the absence.
- Duration of the absence.
- Alternative contact details.
- You can set a different reply for colleagues inside your organisation and another for those outside your organisation.
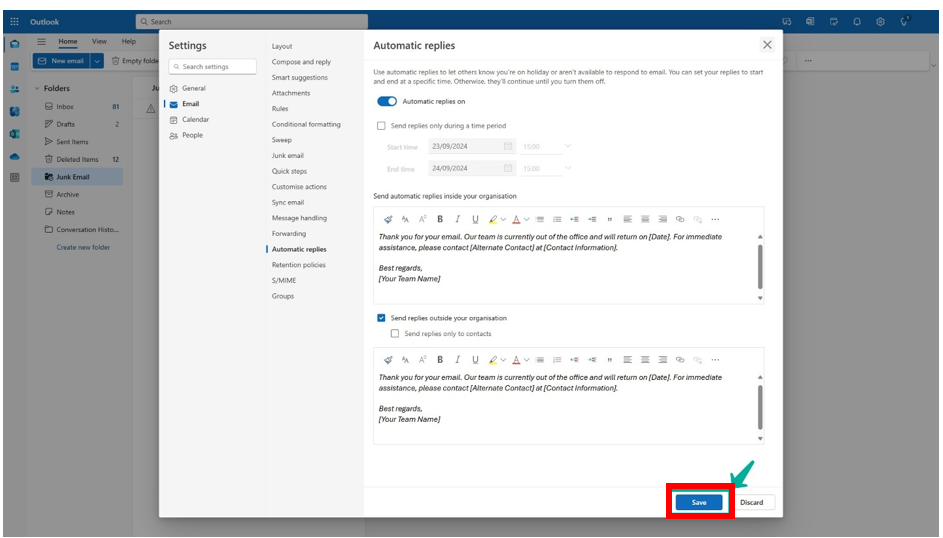 3. Apply the settings
- Scroll down to review your message and settings.
- Click “Save” to apply the out-of-office response.
| Last Reviewed Date | 20/03/2025 |