This article provides guidance for NHSmail Teams Phone System Administrators who would like to configure Resource Accounts for their organisation.
Resource Accounts are non-enabled user accounts that are used to represent system resources. A Resource Account is required for each Auto Attendant or Call Queue. Resource Accounts may also be assigned service telephone numbers so that callers from outside Teams can reach the Auto Attendant or Call Queue.
Each Resource Account requires a free Microsoft 365 Phone System Virtual User licence. This can be assigned when you add a new Resource Account (see Step 5 below for more details).
This article will outline how to:
Add a Resource Account
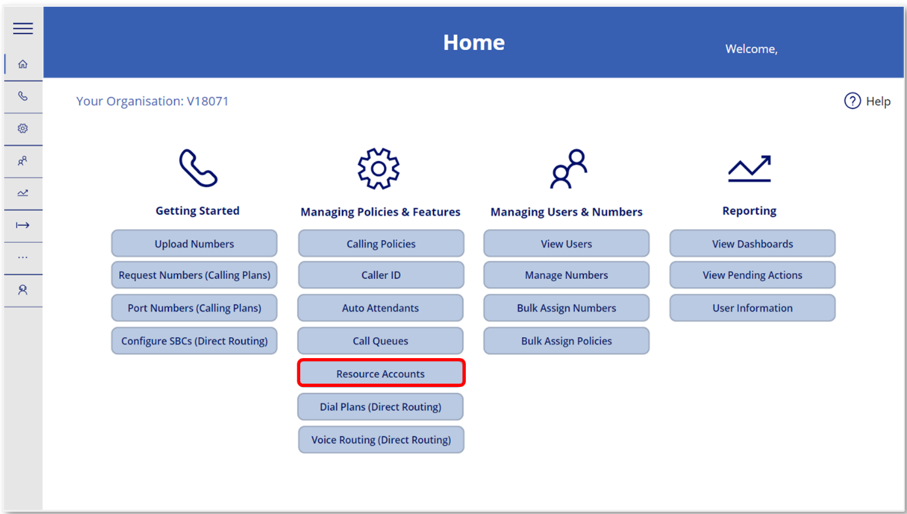 1. Log in to the Phone System Power App and select the ‘Resource Accounts’ option from the Home screen.
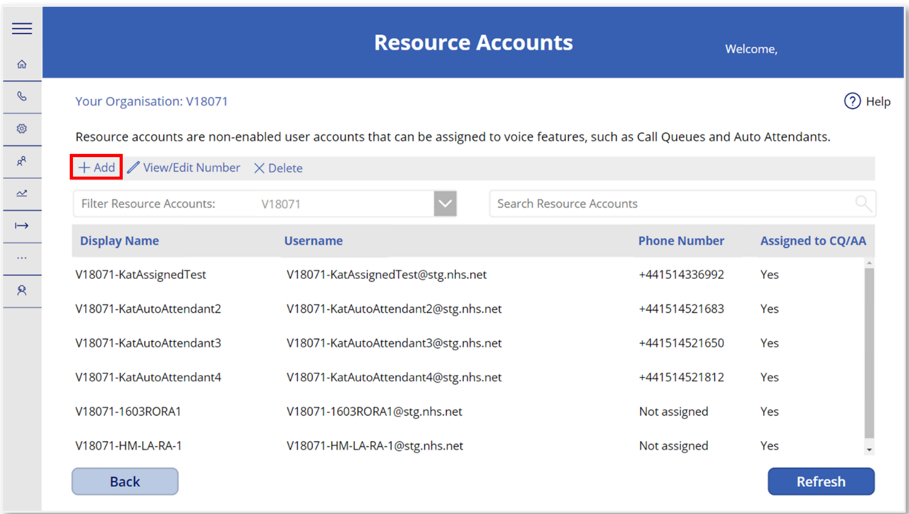 2. To add a Resource Account, select ‘+ Add’ option from the toolbar. You will be directed to the Add Resource Account screen.
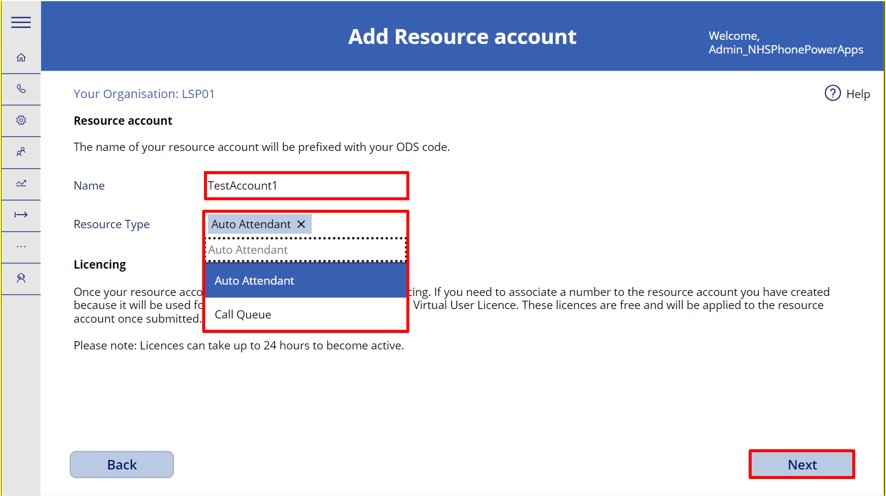 3. On the Add Resource Account screen, you will need to provide the following information:
- Name – Enter a name for the Resource Account. There are no naming conventions which you need to follow for this, however all Resource Accounts will be prefixed with your organisation’s ODS code once created
- Resource Type – Select the Resource Type of the account you are creating, either Auto Attendant or Call Queue
Once you have added a name and chosen the resource type, click ‘Next’.
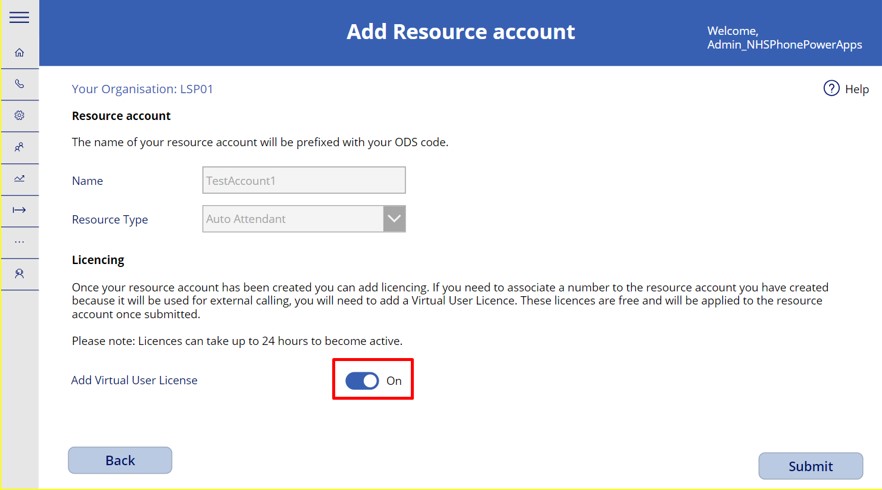 4. Once your Resource Account has been created, the same screen will load again with the Name and Resource Type of the newly created Resource Account greyed-out. Beneath this, a ‘Virtual User License Required’ toggle will appear. A Virtual User License will be required to associate a number with the Resource Account, so this setting will be set to ‘On’ by default.
Select ‘Submit’ to save these settings.
 5. You will be directed to a success screen confirming that your Resource Account has been created and all setting applied.
Assign a Number to a Resource Account
Assigning phone numbers to resource accounts is optional. For any Auto Attendants or Call Queues which you would like to be contactable directly by external phone numbers, you must have a Resource Account with an associated phone number.
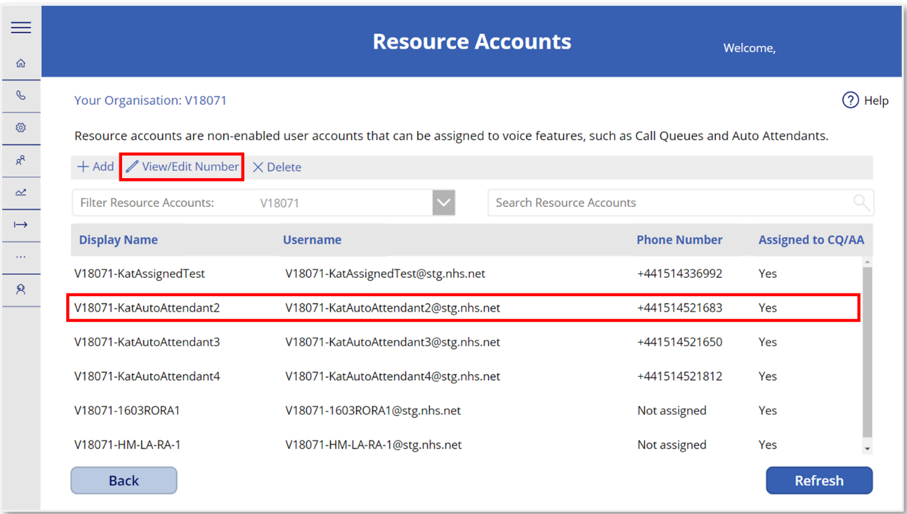
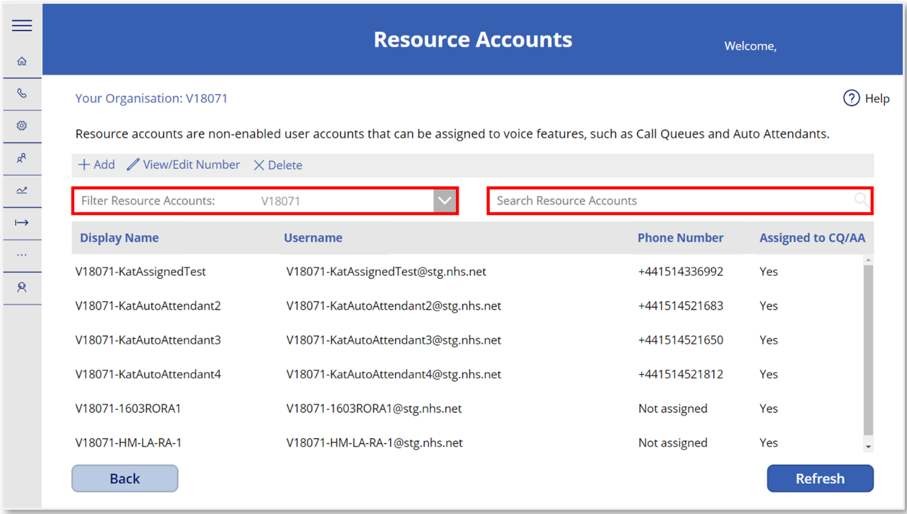 1. On the Resource Accounts landing screen, you will be provided with a list of all the Resource Accounts created and the phone number assigned to each one of them (if applicable).
You can search using the ODS filter at the top of the summary box if you have Phone System Admin permissions to create Resource Accounts for more than one organisation or search using the search box if you know the name of the Resource Account.
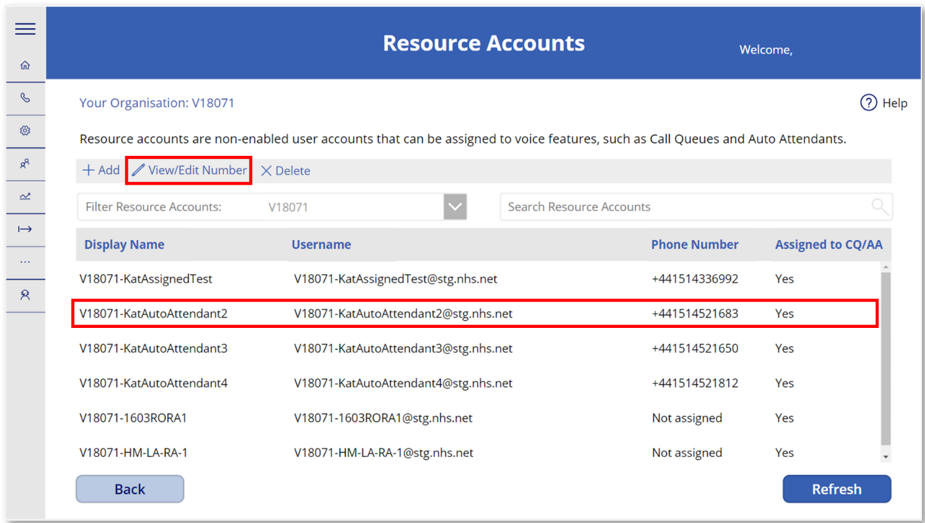 2. Select the Resource Account you wish to assign a phone number to, and then select the ‘View/Edit Number’ option.
 3.You will be directed to the Edit Number Resource account screen where you can assign a number to the chosen Resource Account.
If a number has been previously assigned to the Resource Account, it will be shown in the current number field. To assign a new number, select the ‘Unassign’ option. If no number is currently assigned, this field will be blank, and you can proceed onto the next step.
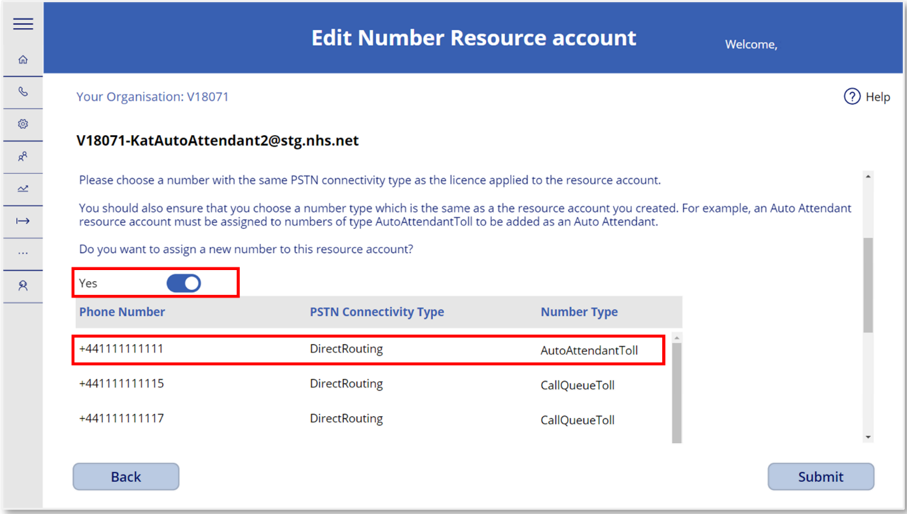 4. Scroll down on the same screen to toggle ‘Yes’ for the option to assign a new number to the Resource Account.
A table of phone numbers, their PSTN Connectivity Type and Number Type will then appear. Select the new number you wish to assign to this Resource Account from the list.
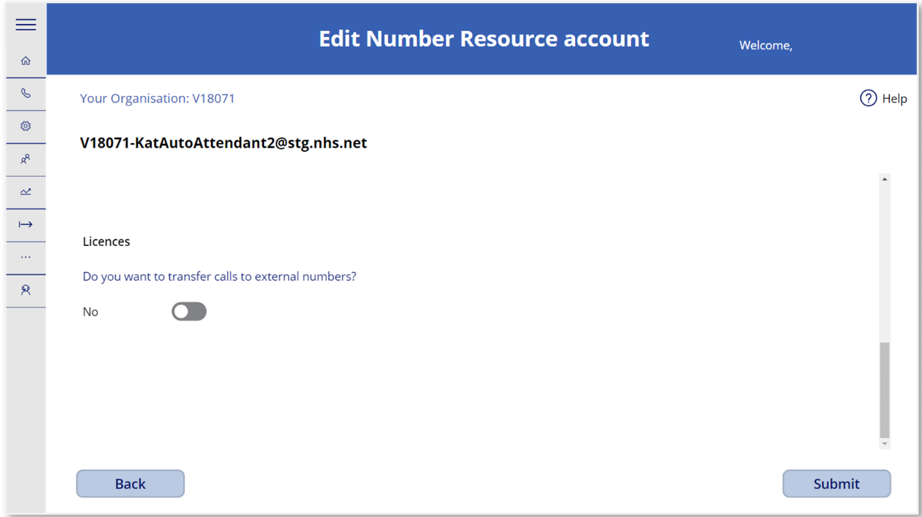 5. Once you have selected the new phone number to be assigned, on the same screen scroll down to the licencing section.
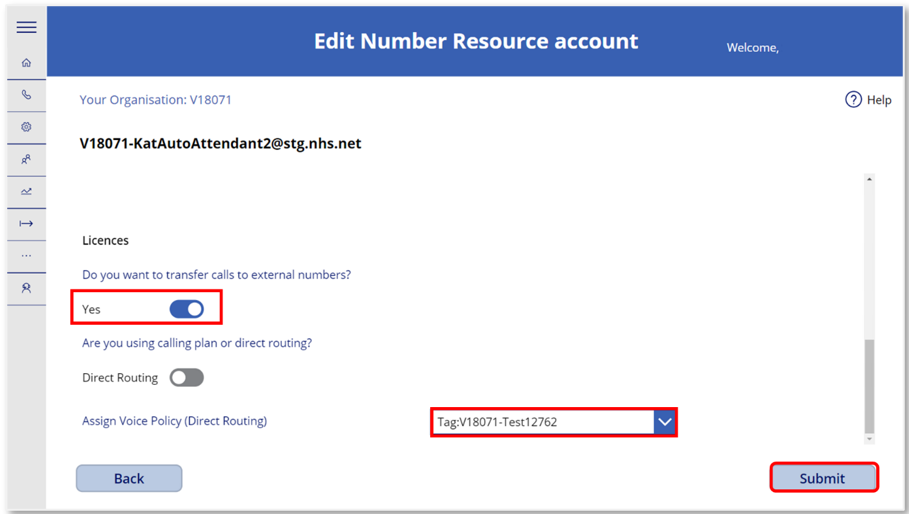
You will need to toggle on / off whether you would like to transfer calls to external numbers.
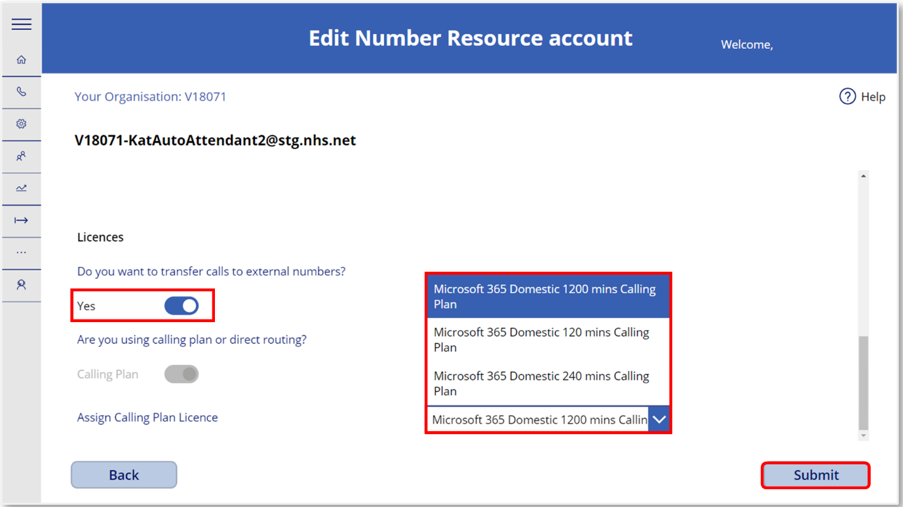 6. If you select ‘Yes’, you will then be asked to assign either a Calling Plan licence or a Voice Policy depending on the type of number assigned to the Resource Account. Select ‘Submit’ once complete.
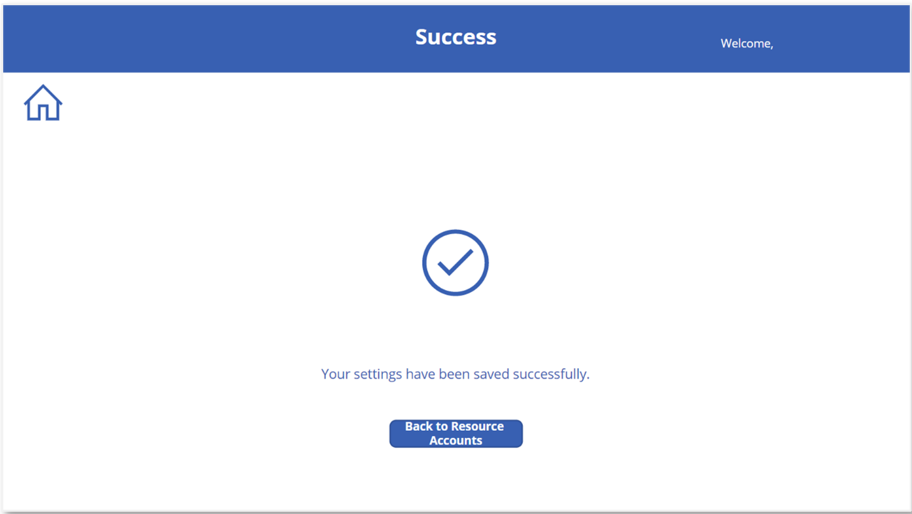 7. You will be directed to a screen confirming that your settings have been saved successfully.
Delete a Resource Account
Before deleting a Resource Account, you will need to unassign the phone number currently assigned to it to avoid the phone number being stuck in pending mode.
 1. On the Resource Accounts landing screen, select the Resource Account you would like to unassign the phone number from and select ‘View/Edit’.
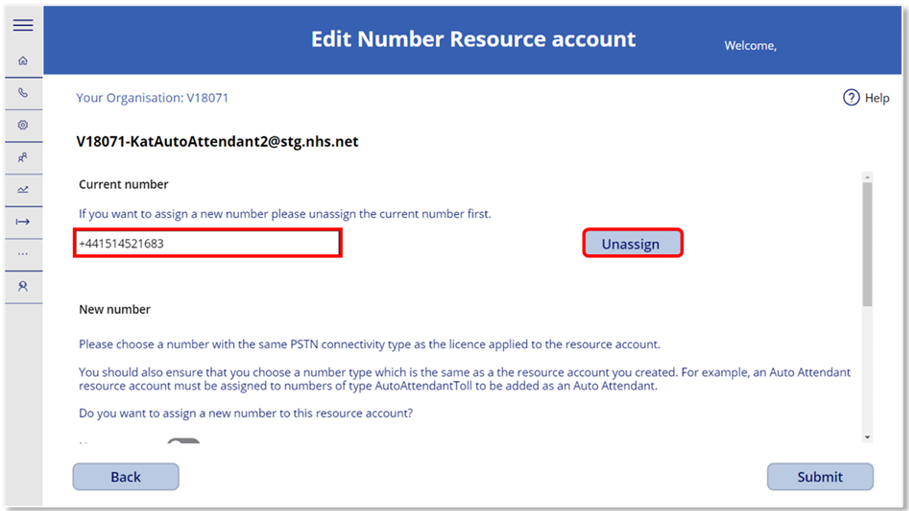 2. You will be directed to the Edit Number Resource account screen where you can unassign the number from the chosen Resource Account.
The number will be shown in the number field, select the ‘Unassign’ option.
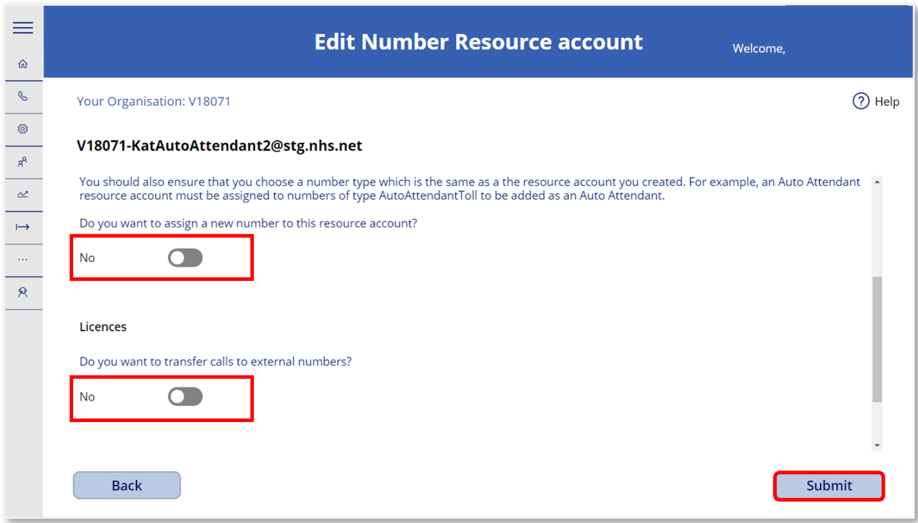 3. Scroll down on the same screen to toggle ‘No’ for the option to assign a new number to the Resource Account, ‘No’ for the option to transfer licences and then select ‘Submit’ to complete the unassigning of the number from the Resource Account.
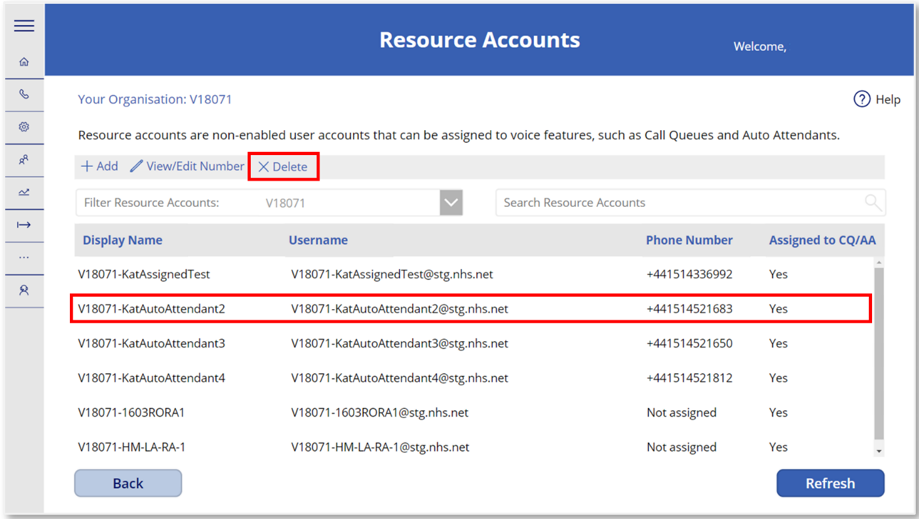 4. From the Resource Accounts landing screen, select the Resource Account you wish to delete and then select the ‘Delete’ option in the toolbar.
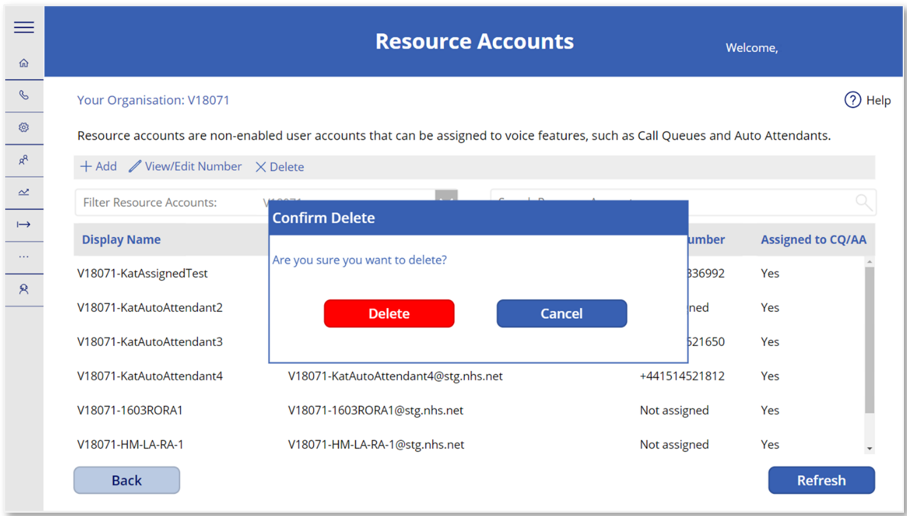 5. A pop-up will appear asking you to confirm ‘Delete’ or to ‘Cancel’. Select the delete option to delete the chosen Resource Account.
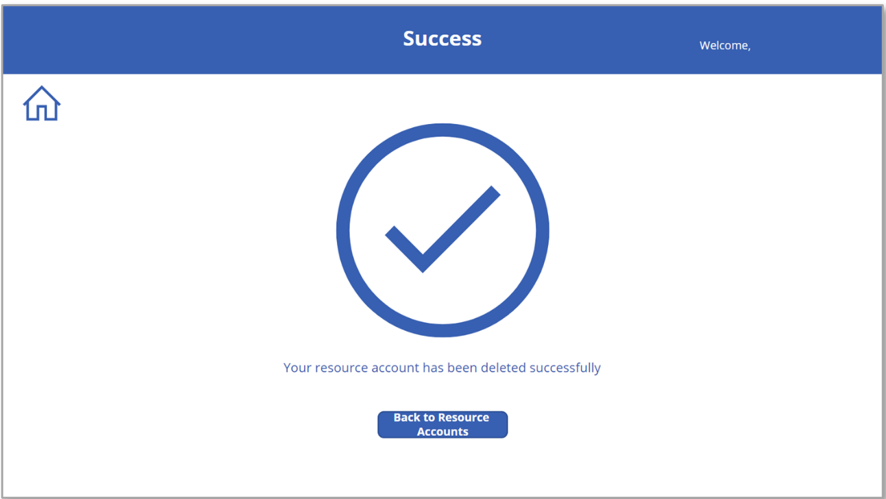 6. After confirming deletion, a success screen will appear confirming that the Resource Account has been successfully deleted.
| Last Reviewed Date | 28/09/2023 |