
A meeting is an event that you have been invited to by someone or that you have invited other people to attend. Creating meeting invites allows you to keep track of who is attending
A meeting is created the same way as an appointment except that you invite other people and can also book rooms if these have been set up by your organisation
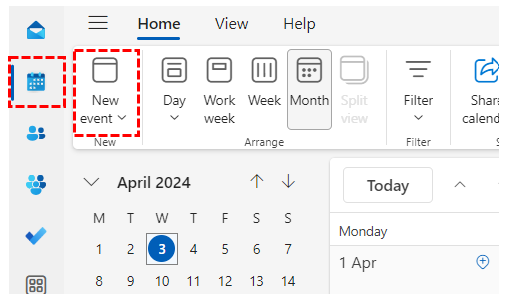 1. Click Calendar in the navigation bar at the top right of the screen and click New event or double click a time slot in the calendar at the time you would like your meeting to occur
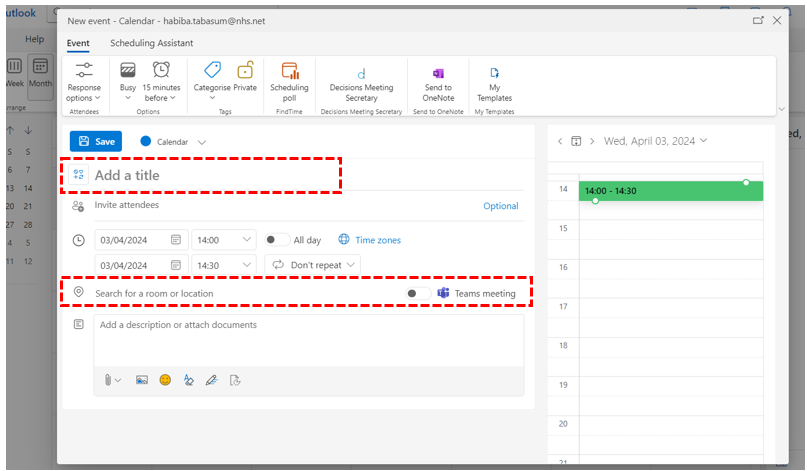 2. Type in the name and location in the appropriate section at the top of the page
4. You can either type the location or click add room to select a room from the Directory if your Local Organisation Administrator has set this up
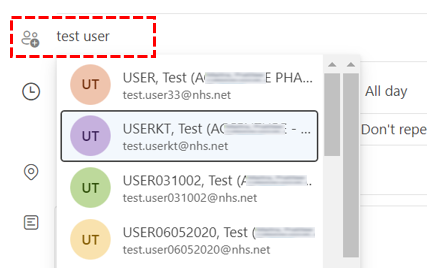 5. Click the Attendees section, type the names of the people you want to invite and select the correct attendee from the drop down list

6. Enter the Start time, select the Duration of your meeting
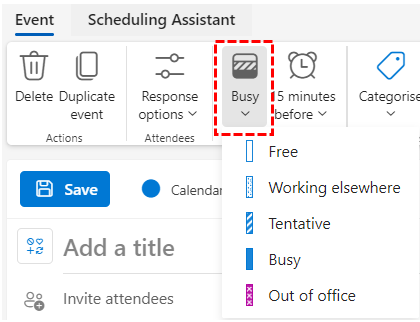 Set your status by selecting either Free, Working elsewhere, Tentative, Busy or Away from the Show as drop down list
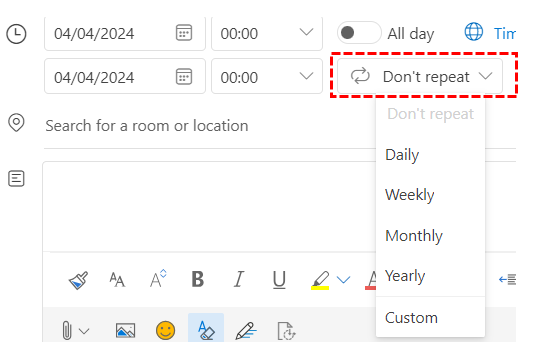 7. You can add a reminder and select the repeat pattern of your meeting as you would with an appointment
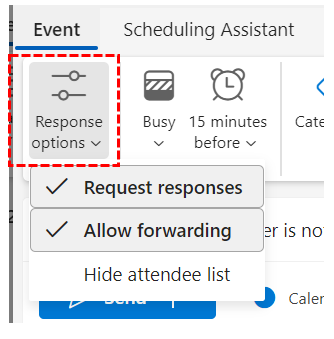 8. Select the Request options drop-down so that invitees can send you a response and select Allow forwarding if you want your invitees to send forward the meeting invitation to anyone that may have missed
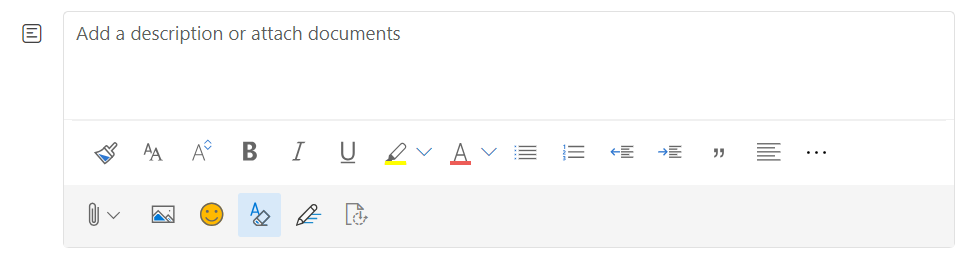 9. You can type any notes or information about your meeting in the text box at the bottom of the screen
When you have finished, click Save at the top left of the screen
Adding an attachment to a meeting invite
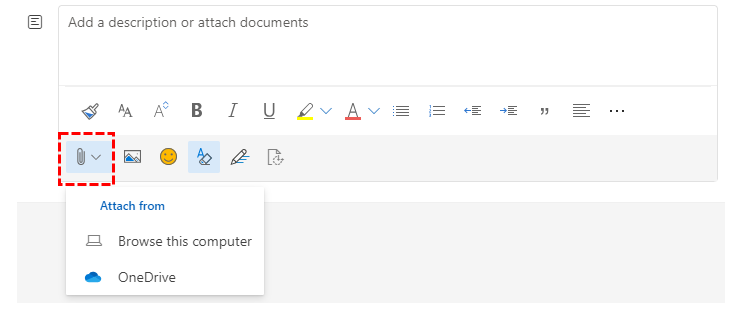 10. You can insert an attachment or picture in the for your emails from the description box. Select the paperclip icon and browse your computer to attach any files you need.
For more information on this, refer to the Advanced email use module in the Outlook Web App Learning Series
When you have finished, click Save at the top left of the screen
Categorise a calendar entry
You can categorise a calendar entry by clicking the paper tag icon and select the category/assign the appropriate color. For more information on categories, refer to the Mailbox management module in the Outlook Web App Learning Series
| Last Reviewed Date | 05/04/2024 |