In Outlook Web App 2013, you can create additional calendars which can be shared without needing an LOA to set it up. These calendars may be useful for monitoring team schedules or for managing local room bookings
 1. Click Calendar in the navigation bar at the left of the screen
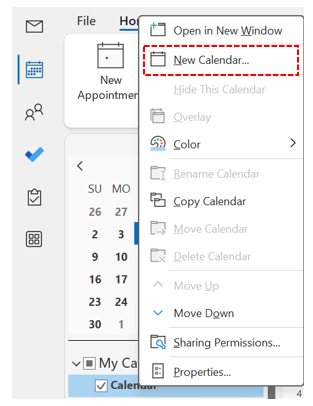
2. Right click on My Calendars on the left side of the screen
3. Select New calendar from the drop down list
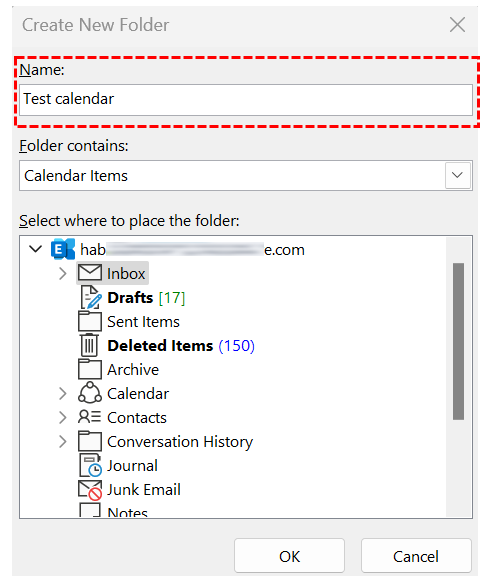 4. Type in the name of the calendar on the pop up screen and press click OK
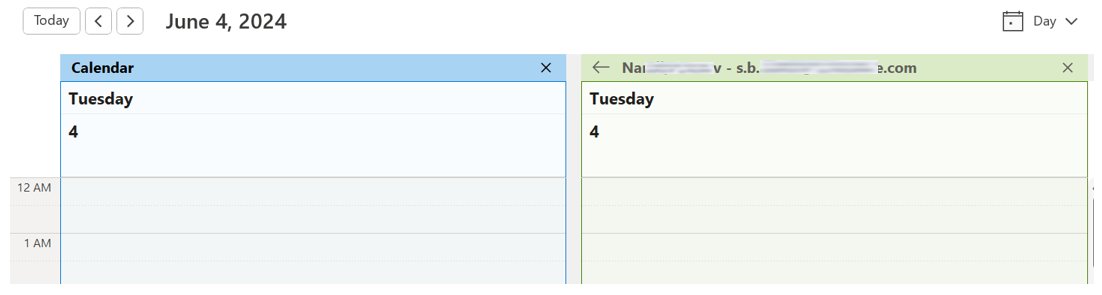
To view and edit the additional calendar you created, click the name of the new. A tick will appear and you can then add, edit and delete meetings and appointments
 If someone wants to share a user generated calendar with you, this can only occur through an email invitation that you have to accept
When you open a user generated calendar that someone shares with you, their name will appear next to the name of the user generated calendar
Refer to the Calendars, appointments and meetings module and the Sharing calendars and calendar permissions module for more information on using and sharing your user generated calendar.
Note: The main limitation of using a user generated calendar is that you cannot set up a meeting and receive responses from this calendar. Meetings can only be used to block out time and used for shared reference.
| Last Reviewed Date | 04/06/2024 |