
Minute taking is an imperative part of care collaboration by keeping an accurate record of meetings. However, taking minutes manually can be a time-consuming task. Without a simple approval process, it can take significant effort to review and share meeting minutes. We developed the Minute Taking Toolkit to simplify and automate the process of capturing minutes, reviewing them and keeping track of the approval process. This toolkit automates the process of recording meeting minutes by using transcription on Microsoft Teams. This way, meeting secretaries do not need to take notes by hand. The toolkit also offers a simple process for sharing the minutes with meeting attendees for review and with the meeting chair for final approval. The meeting secretary can easily keep track of the entire approval process from one place.
Benefits of the toolkit
 |
Automatic transcription saves time and gives more flexibility |
 |
Minutes are shared automatically with all meeting attendees for review |
 |
The meeting secretary can easily track attendees comments |
| Key stakeholders have control over the approval process | |
| Final minutes are automatically shared to view and download | |
 |
The toolkit can be tailored for ad-hoc or infrequent meetings, and recurring meetings with the same or different attendees |
How it works
Below is the detailed step-by-step guidance on using the tool tailored for the meeting secretary, meeting attendees, and the meeting chair.
1. Guidance for the meeting secretary
1.1 Pre-requisites
- To get started with the Minute Taking Toolkit, a Local Administrator (LA) from your organisation will need to create a Team in MS Teams for you (example name: ‘Board Meeting Minutes’). You may also request a new Team through the NHSmail Portal.
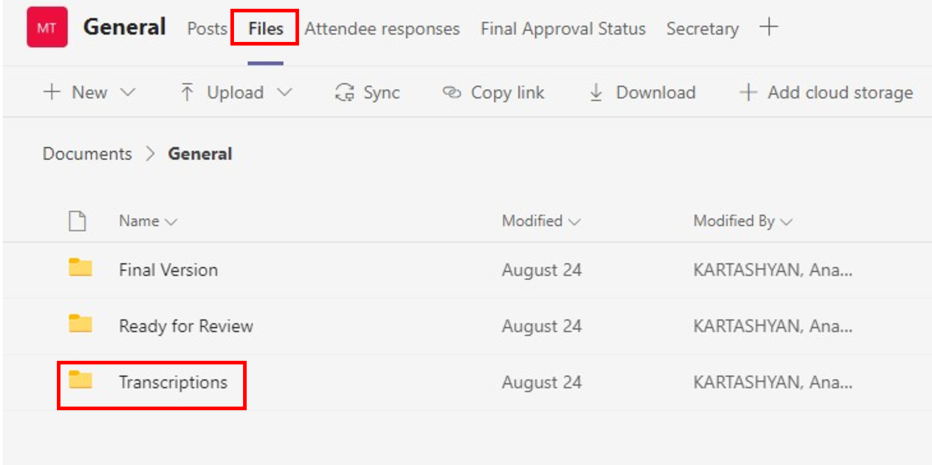
Once the Team is created, please follow the guidance on this page to install the toolkit: Minute Taking Toolkit Installation Guide. To set up the toolkit, please create three folders in the General or any other channel, and make a note of their location. For the guidance, we have named the folders: ‘Transcriptions’, ‘Ready for Review’ and ‘Final Approval Status’; however, please feel free to use folder names that make sense for your team. You will use these folders to automate the review process, which is described in more detail in the below sections. Once you have set up the toolkit, you can use the SharePoint Lists ‘Attendee Responses’, ‘Final Approval Status’ and ‘Secretary’, to track the review process. Please add the relevant contact details for all attendees, the Meeting Chair and the Meeting Secretary to each list, respectively. Only the meeting secretary will have access to and will use these folders and tabs.
1.2 Create and download minutes
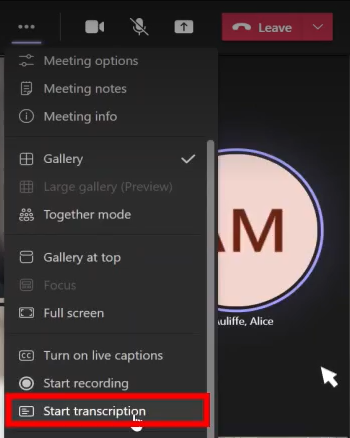 At the start of your Teams meeting, click on the three dots in the toolbar and select ‘Start transcription’. This will notify attendees that transcription has started, and a live transcript will appear on the right-hand side. You can stop the transcription at any time by pressing ‘Stop transcription’ or keep it on throughout the entire meeting.
 At the end of the meeting, you will receive a Teams notification that the transcript has been shared in your Teams channel and the meeting chat. From the meeting chat, navigate to ‘Recordings & Transcripts’, where you will find the transcript file with the meeting time and date as its name. Click on ‘Download’. When you are prompted to choose file format, select ‘Download as .docx’. You can open the document and make initial edits.
1.3 Share minutes for attendee review
 You will need to upload the document to the ‘Transcriptions’ folder in the ‘Files’ tab of the Teams channel. This will automatically send a notification to the meeting attendees’ contact details you have stored in the “List of Meeting Attendees” that the transcript has been shared and ask them to review it by a set deadline.
1.4 Edit minutes and approve comments
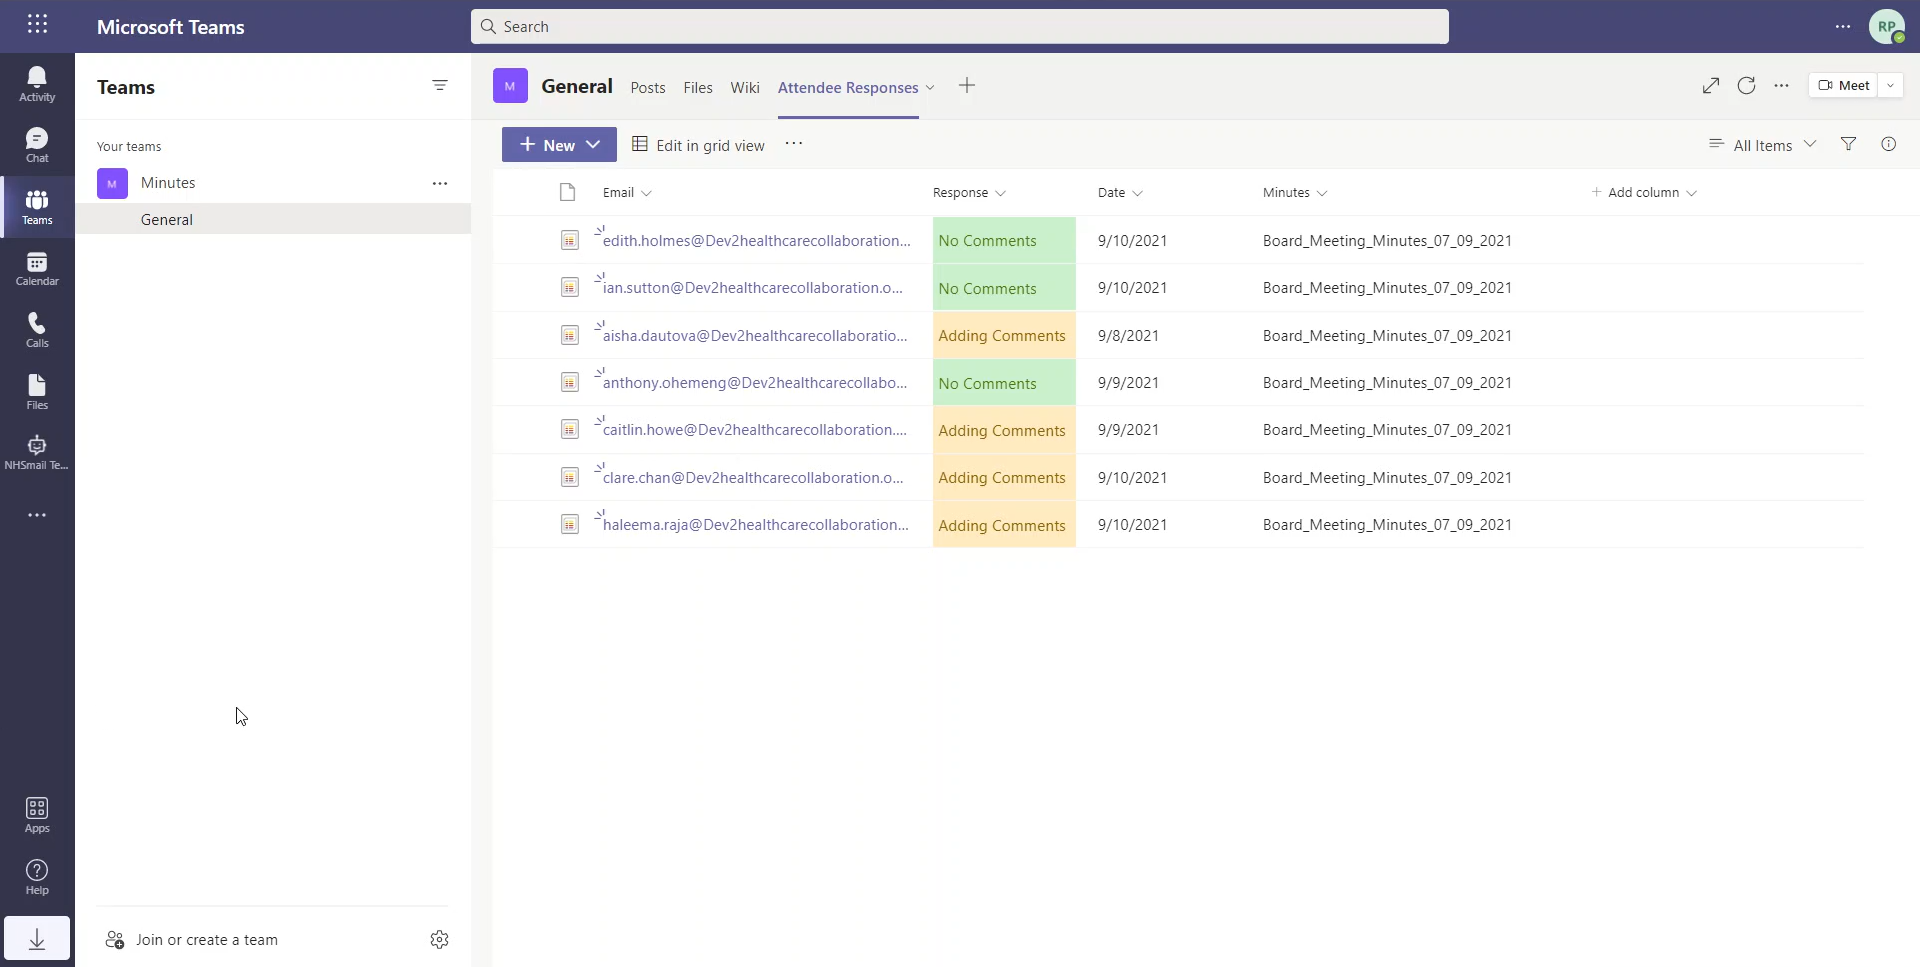 You will receive email notifications when meeting attendees post comments to the minutes. You can track the responses from the meeting attendees by going to the ‘Attendee Responses’ tab in the Teams channel and follow up with attendees if necessary.
 Once all attendees have reviewed the document and submitted their comments, you can edit the transcript, standardise its format and incorporate attendees’ comments.
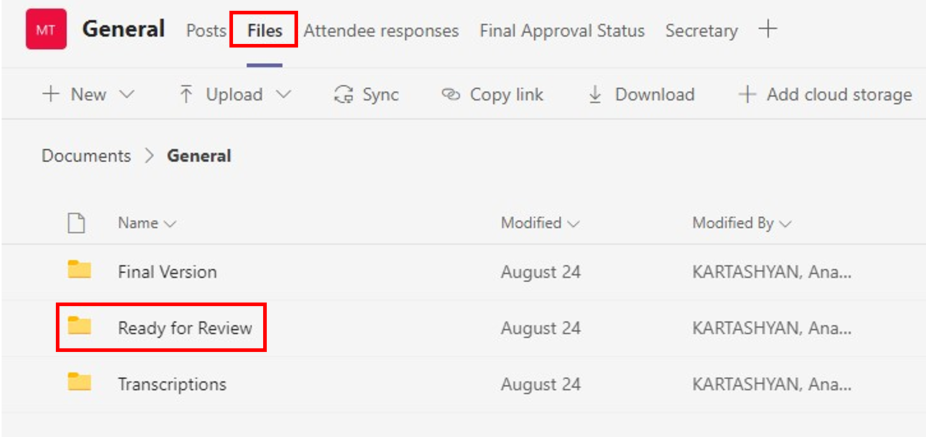 After you have made the necessary changes, the updated file is ready to be uploaded into the ‘Ready for Review’ folder. This will automatically notify the meeting chair that the minutes are ready for final review and approval.
1.5 Finalise minutes
You will be notified if the meeting chair decides to add further comments to the minutes document. In this case, you can review the meeting chair’s comments and make final changes. Re-upload the finalised minutes document to the ‘Ready for Review’ folder and wait for the meeting chair to click ‘Approve’ in the request card that they will receive.
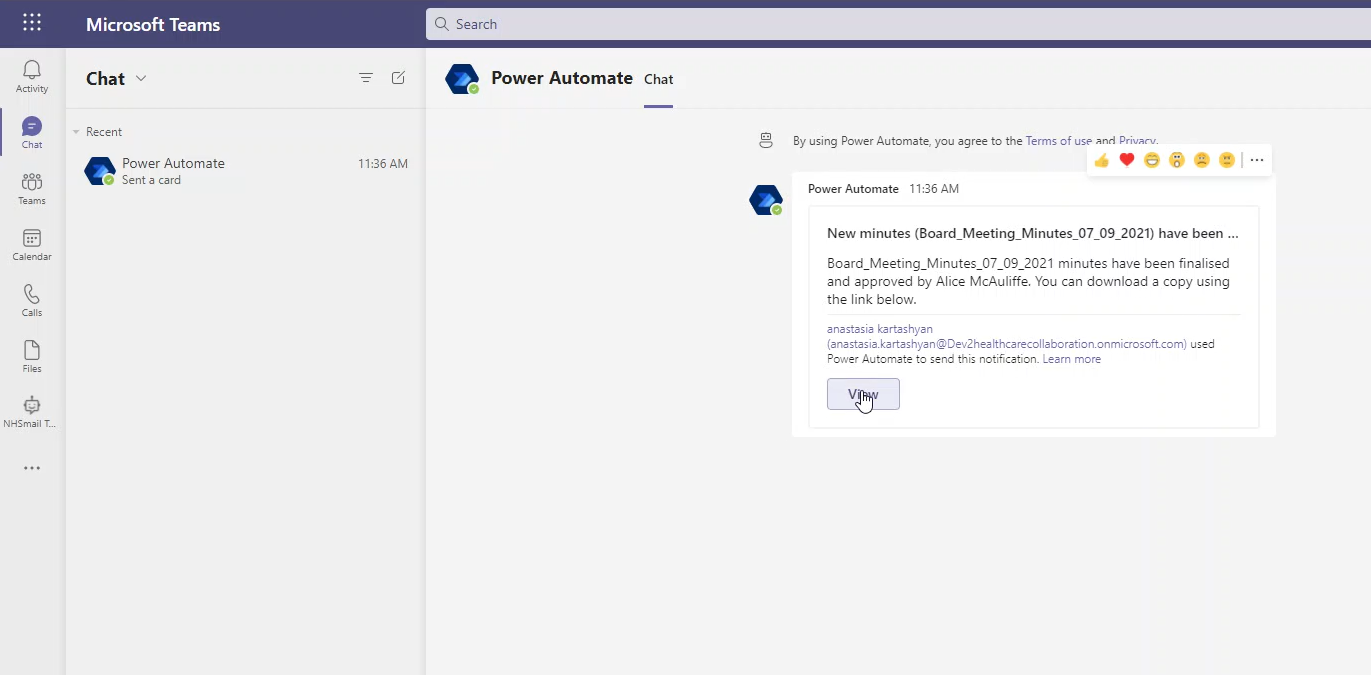 Once that is done, you and all the meeting attendees will receive a notification in the Teams chat that the finalised minutes are ready to be viewed and downloaded. No further changes can be made at this point.
The final minutes will also automatically save in the ‘Final Version’ folder under the ‘Files’ tab of the Teams channel.
2. Guidance for meeting attendees
2.1 Receive request to review minutes
As an attendee, you will be notified when the meeting secretary starts transcription during a Teams meeting. After the meeting, you will receive a notification in Teams saying that the transcript has been shared in your Teams channel and the meeting chat. You do not need to take any action until you receive a request to review and approve the transcription.
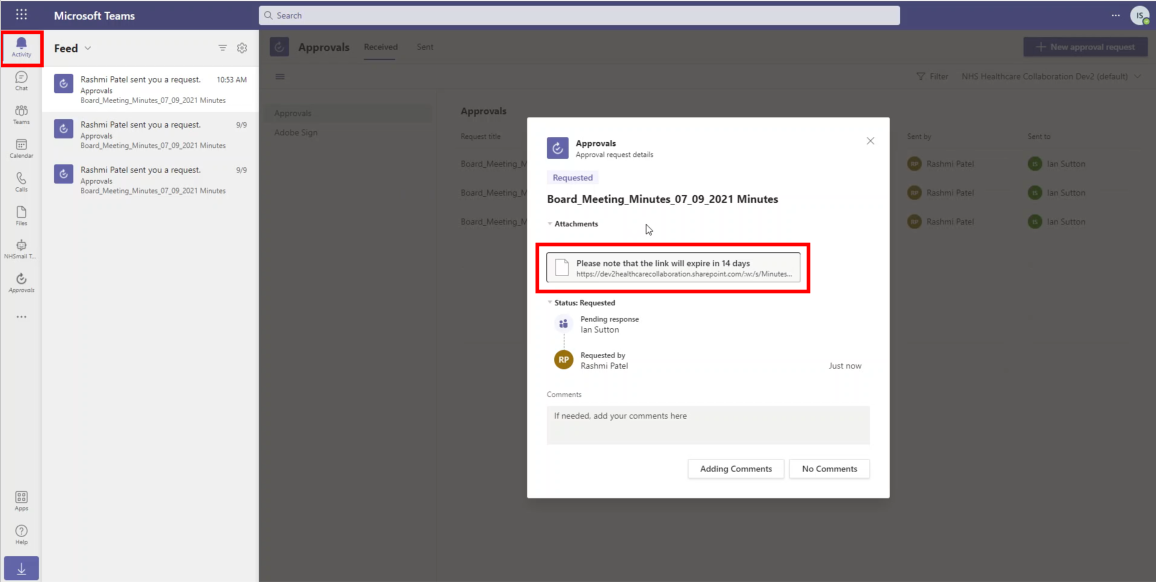 You will receive the approval request as a notification in Teams. Click on ‘Activity’ at the top of the sidebar, and a pop-up will appear displaying the link to the minutes document. It will also display how many days you have to review the document before the link expires.
2.2 Review and edit minutes
 To add your comments, click on the displayed link, which will open the minutes document in Teams. You can choose to review the document in Teams. Alternatively, click on ‘Open in Desktop App’ to open it in Microsoft Word app, or click on the three dots in the top toolbar and select ‘Open in Browser’.
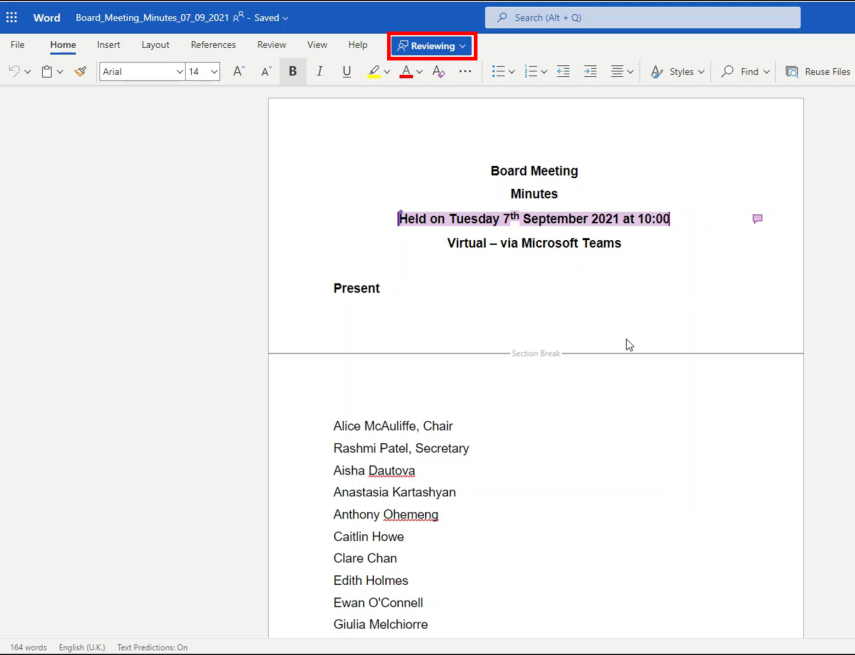 You should make sure that you are editing the document in Review mode, as this will allow the meeting secretary to track and approve your edits to the document.
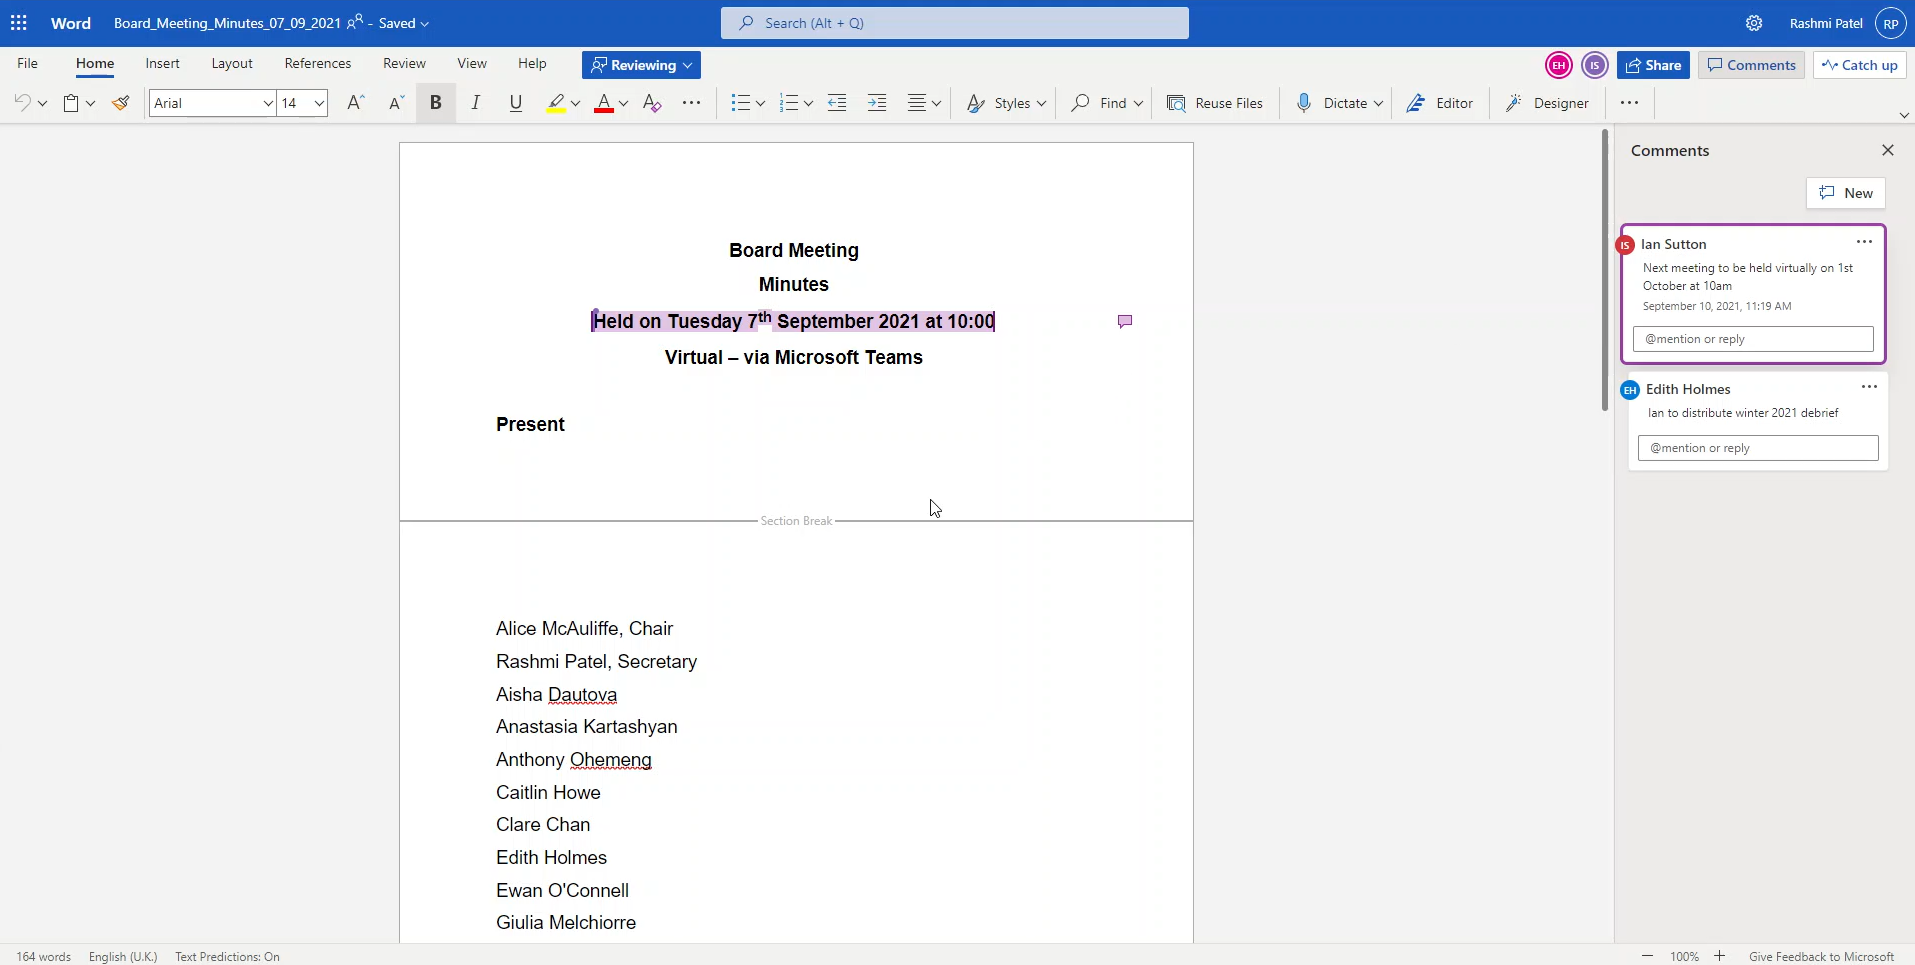
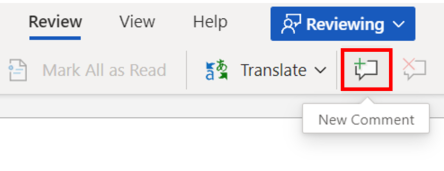 You can add comments by clicking on the ‘New Comment’ icon.
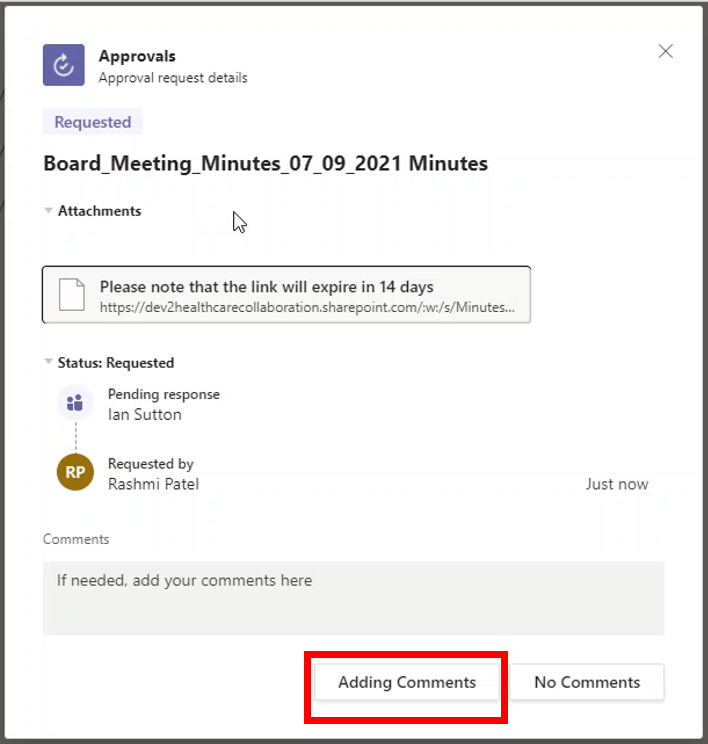 Do not forget to click ‘Adding Comments’ in the approval request card, so that the meeting secretary is notified that you have reviewed the document.
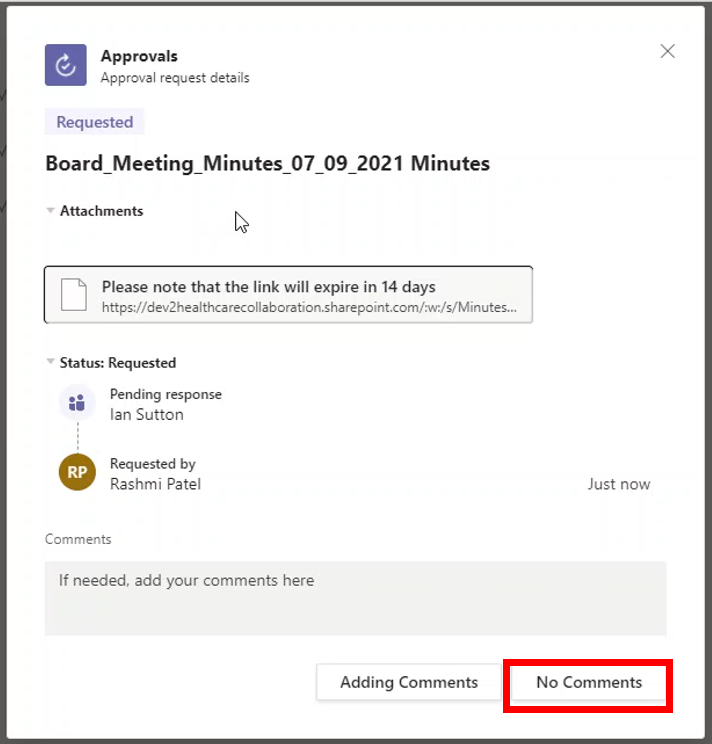 If you forget to review the minutes document, you will receive an email reminder. If you do not have any comments to add, click on ‘No Comments’ in the original approval request.
2.3 View and download final minutes
 After the review and approval process is complete, you will receive a notification that the final version of the minutes is ready to be viewed and downloaded. At this point, you will not be able to make any further changes.
3. Guidance for the meeting chair
3.1 Review and approve minutes
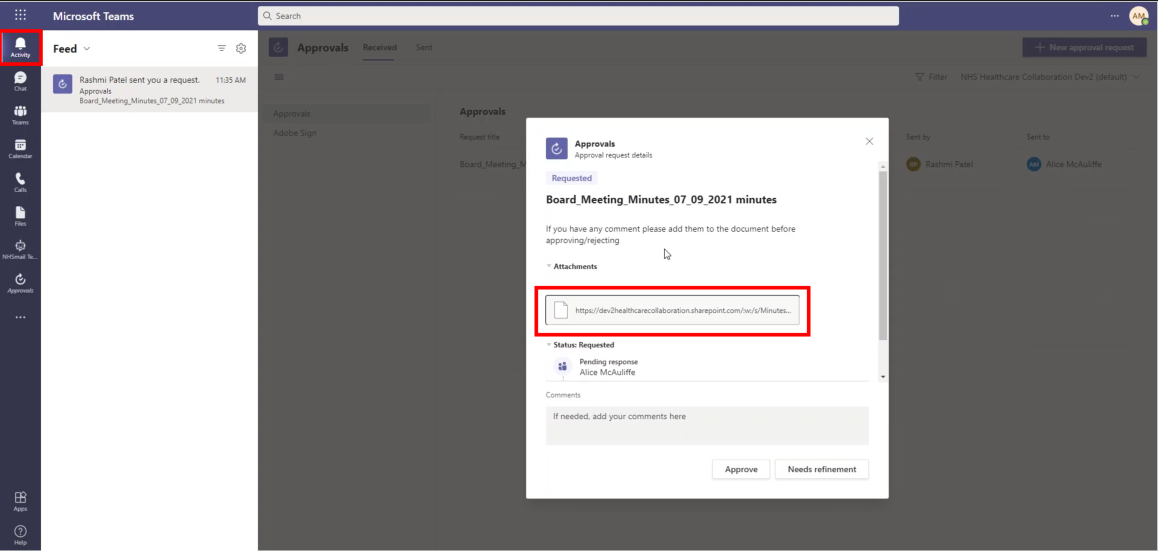 As the meeting chair, you will receive a request in Teams to review meeting minutes, after all attendees have added their comments and the secretary approved them. Click on ‘Activity’ at the top of the sidebar, and a pop-up will appear displaying the link to the minutes document. Click on the link inside the approval request pop-up.
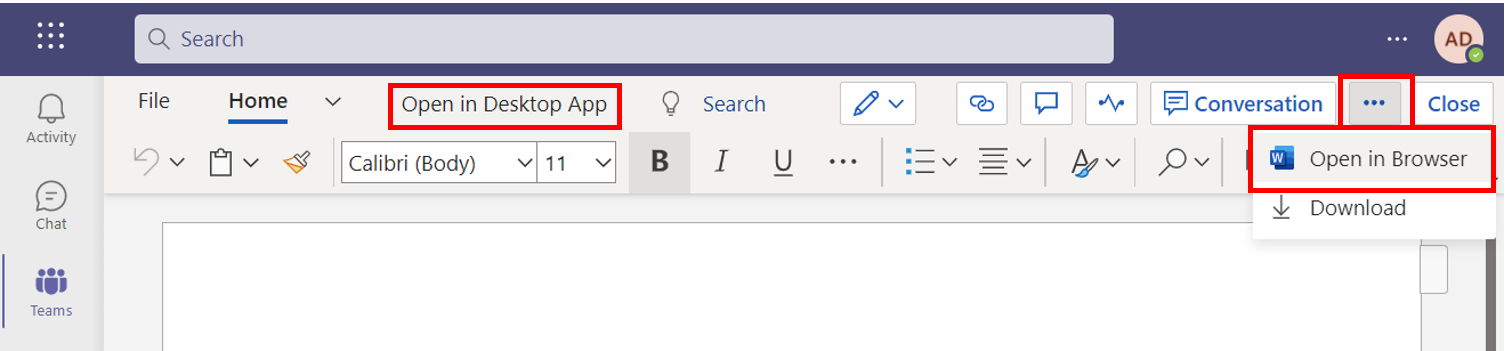 This will open the minutes document in Teams. You can choose to review the document in Teams. Alternatively, click on ‘Open in Desktop App’ to open it in Microsoft Word app, or click on the three dots in the top toolbar and select ‘Open in Browser’.
 If needed, you can add comments to the minutes Word document by clicking on the ‘New Comment’ icon.
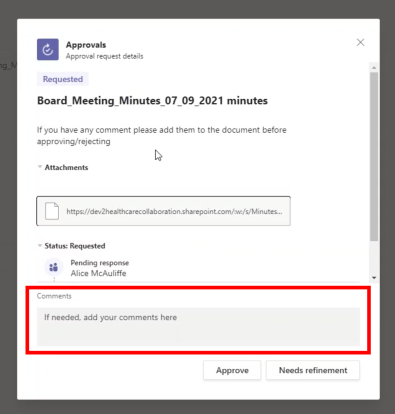 Alternatively, you can add comments without opening the document by using the ‘Comments’ box inside the request card.
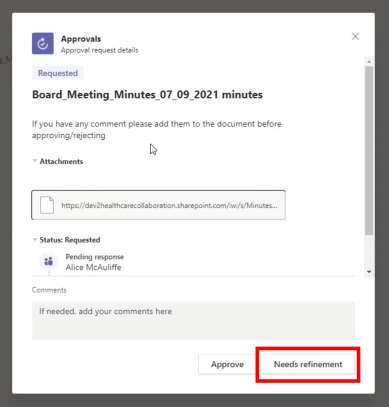 If you decide to add comments, you will need to click on ‘Needs refinement’ on the approval request. After the meeting secretary makes further changes based on your comments, you will receive the approval request again.
 If the minutes do not require any changes, click on ‘Approve’ on the request card. This will finalise the meeting minutes.
3.2 View and download final minutes
 All attendees, as well as the meeting secretary will receive a notification that the final minutes are ready to be viewed and downloaded. No further changes to the minutes can be made at this point. Find more tools and guidance to help you.
| Last Reviewed Date | 01/11/2021 |