Creating a shared mailbox

Important Note

  • As part of the move to Exchange Online User, Shared and Resource Mailboxes can take up to 1 hour to provision. Following receipt of the ‘success notification’ the creation process will commence and the mailbox temporarily assigned a ‘MigrationPending’ status. Once complete, the status will update to ‘Active’ confirming a successful mailbox creation and allowing access.

    You can check the status of the account from the User Management area in the portal.

  • It is important to not make any changes to the newly created account until it is in an ‘Active’ state with a mailbox location of ‘Exchange Online’. Editing any attributes, such as email alias, may disrupt the provisioning process.
  • A monthly summary report is sent to local administrator(s) on shared mailboxes, resource mailboxes and distribution lists which do not have an owner.

A shared mailbox (also known as a generic mailbox) is a type of mailbox that can be accessed by a group of users from the same organisation. The shared mailbox may be used for several reasons (e.g. a district nursing team may have a shared mailbox for incoming referrals that the entire team has access to so anyone on duty can read or action the email). To access the shared mailbox users must first be granted ‘Send As’ or ‘Full Access’ permissions by their Local Administrator.

To create a shared mailbox:
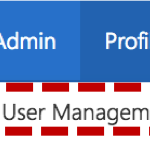
selecting user managementClick Admin in the navigation bar at the top of the screen in the NHSmail portal and and select User Management from the drop down menu.


Click Add at the top left of the screen and select Shared Mailbox from the drop down menu.


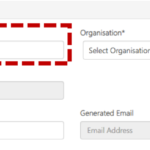
Give mailbox a name

Type the shared mailbox Display Name into the text box. Display names must be less than 250 characters and may contain letters, numbers and any of the following characters – , ; . () & []


Select the Organisation from the drop down list. If appropriate, select the Organisational Unit by clicking the + next to the organisation name to expand the list.

Type the shared mailbox Email Name into the text box. An email address will be automatically generated after the Email Name is entered. It will begin with the organisation short name.

Check the tick box to hide from address listClick Hide from address lists if you would not like the shared mailbox to display in the NHS Directory.


If you do not click this box, users of NHSmail will be able to search for the shared mailbox on the NHS Directory, but will not be able to see who the members of the shared mailbox are. Only users accessing via the Outlook Desktop Application will be able to view the members of a shared mailbox.
Enter a description of the mailbox which will be shown in the directory


The maximum length of the description field is 1024 characters

To add users or owners to a shared mailbox:

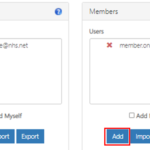
Click Add to assign members and then owners to the shared mailbox.

  • Members may view and send emails using the shared mailbox’s email address.
  • The owner/s of the mailbox is the person/s responsible for its use. They will normally be the person who requests users to be added/removed from the shared mailbox. They have the same ability to read and send emails as members.
  • You can select the quick access option to ‘Add myself’ if required.
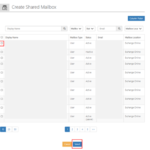
After selecting Add, search for members and owner using their email address or display name. After locating the relevant user you want to add as member or owner, select the box on the left-hand side of the screen and then click Select’ to assign them to the mailbox.


Click Create at the bottom of the page once you have entered all required information including adding the mailbox members and owners.


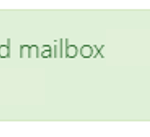
A success notification will be displayed:


To import/export users or owners to a shared mailbox:

Local Administrators can export list of the owners/members or perform bulk import of owners/members into a shared mailbox.

NOTE:

When a shared mailbox is imported, the owners/members list of the shared mailbox is replaced exactly with the contents of the upload. So, to avoid losing the existing owners/members of the shared mailbox, first export the owners/members list and then add all the new owners/members to the bottom of the exported list. This process can also be followed to remove existing owners/members of the shared mailbox.

To export the owners or members
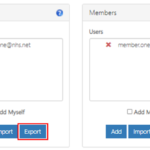
1. Click on Export under Owners* or Members


The list of owners or members will be downloaded in a CSV file.

To import owners or members list
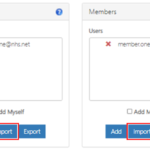
1. Click on Import under Owners* or Members


NOTE:

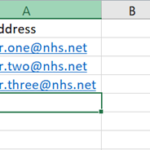
The format for uploading the CSV is the same as list provided when you click the ‘Export’ button and should be in a single column with “Email Address” as the header row. Example shown.


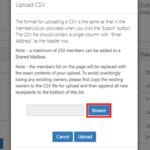
2. Click on Browse


3. Select the CSV file from your local machine and click Open

4. Click on Upload

A message will be displayed as shown if the upload is successful.


Unsuccessful message will be displayed if the CSV file contains invalid or non-nhs.net email address.


For a full list of FAQs around the mailbox create process please visit this article

Last Reviewed Date 20/12/2021
Updated on 06/07/2022

Related Articles

Need Support?
Can’t find the answer you’re looking for? Don’t worry we’re here to help!
Contact Support
back to top