This article provides guidance for NHSmail Teams Phone System Administrators on how to configure Dial Plans for their organisation.
A Dial Plan is a named set of normalisation rules that translate dialled phone numbers into a standard E.164 number, for the purposes of call authorisation and call routing. A Dial Plan consists of one or more normalisation rules that define how phone numbers expressed in various formats are translated to an alternate format. The same dial string may be interpreted and translated differently in different Dial Plans, so depending on which Dial Plan is assigned to a given user, the same dialled number may be translated and routed differently.
Organisations who have chosen Calling Plans as their PSTN connection strategy are not required to create a custom Dial Plan. All Calling Plan users will use the default Dial Plan policy provided by Microsoft.
Organisations who have chosen Direct Routing as their PSTN connection strategy can create a customised Dial Plan as per their requirements of the normalisation rules. The org-level customised Dial Plan will be assigned to all users associated with that organisation. This is not required however and organisations using Direct Routing can also just use the default Microsoft Dial Plan, which is assigned to all users by default.
This article will outline:
Adding new Dial Plans
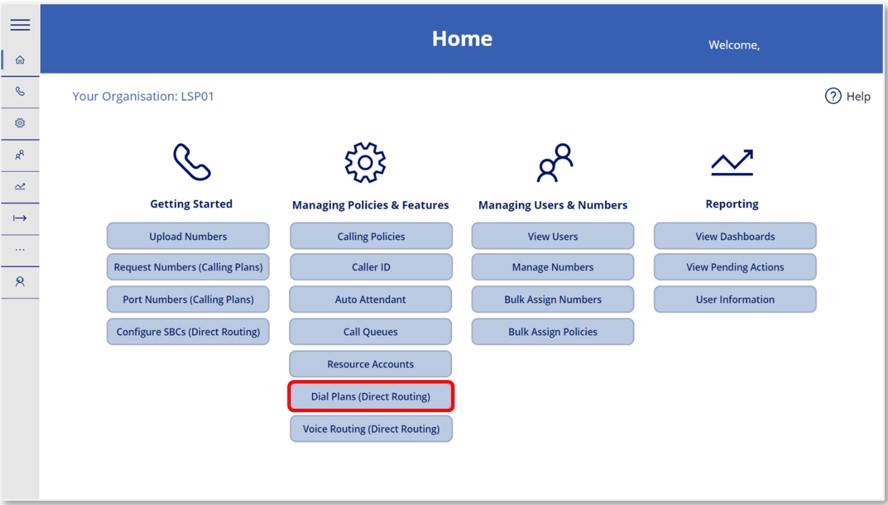 1. Log in to the Phone System Power App and select ‘Dial Plans (Direct Routing)’ from the Home screen.
 2. Select the ODS code of the organisation you wish to add a Dial Plan for.
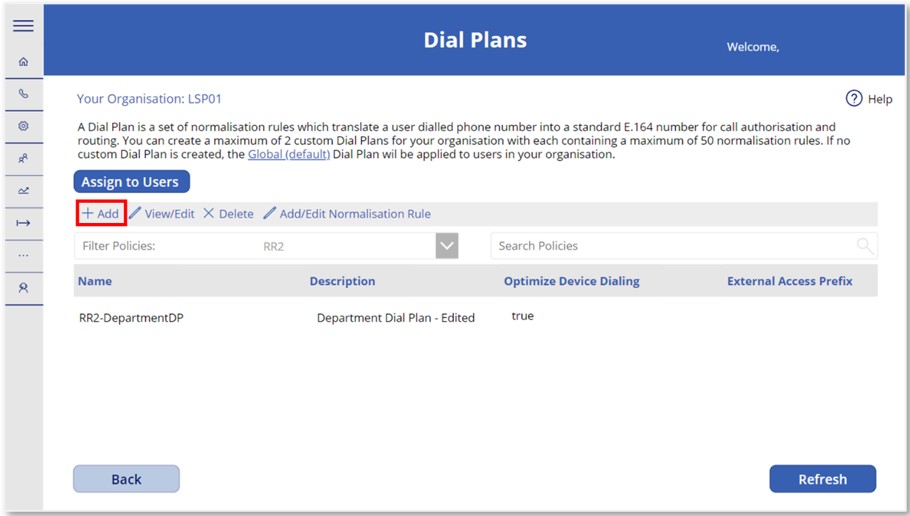 3. To add a new Dial Plan, select the ‘+ Add’ option from the toolbar. You will be directed to the Add New Dial Plans screen.
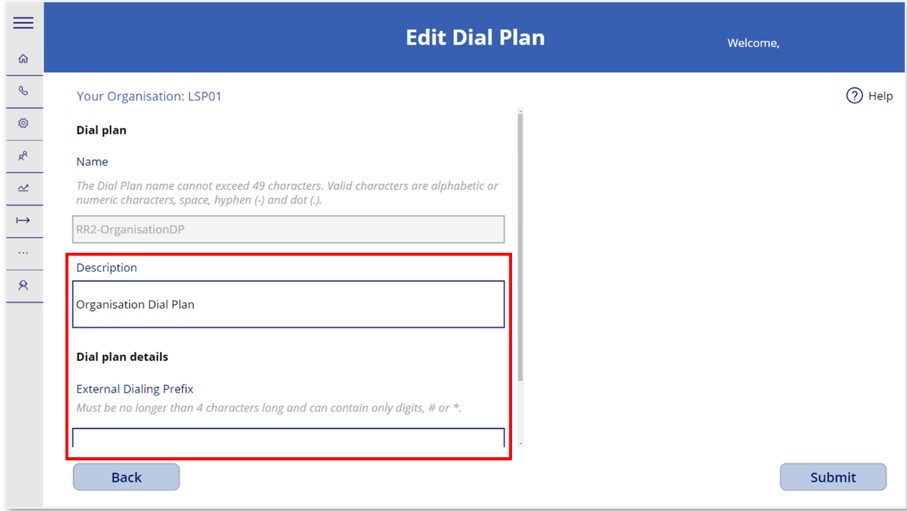 4. On the Add New Dial Plans screen, you will need to provide the following information and set parameters which suit your organisation’s requirements:
- Name – Provide a name for the Dial Plan. There are no naming conventions which you need to follow for this, however all Dial Plans will be prefixed with your organisation’s ODS code once created
- Description – Enter a description of the new Dial Plan such as what it will be used for.
Select ‘Submit’ when this has been completed to process your chosen settings for the Dial Plan.
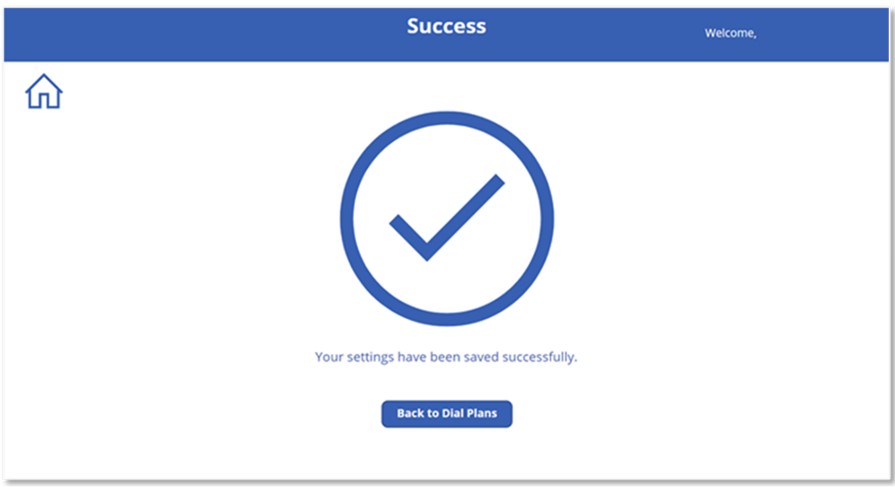
 5. You will be directed to a success screen confirming that your settings have been saved successfully.
Editing Dial Plans
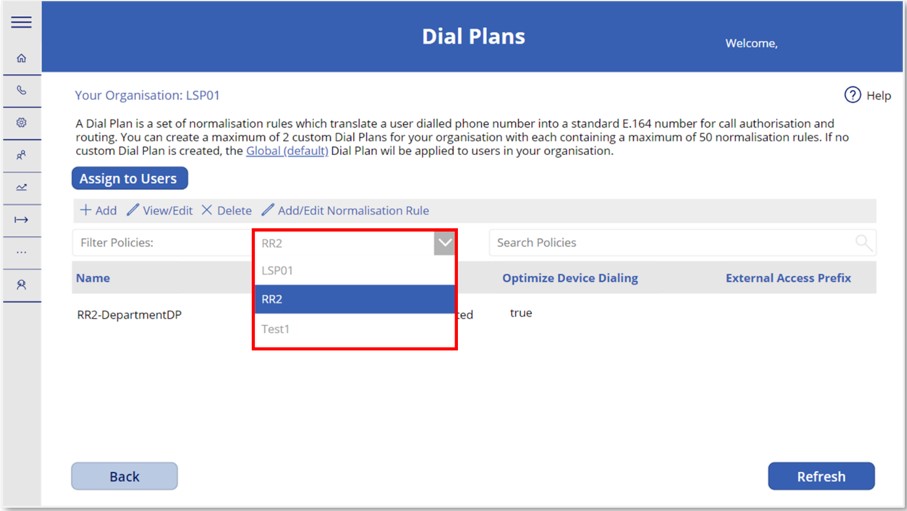 1. From the Dial Plans landing screen, select the ODS code of the organisation you wish to edit the Dial Plan for.
 2. Select the Dial Plan you wish to edit from the list in the summary box, then select the ‘View/Edit’ option from the toolbar.
3. The next screen will allow you to update the settings of the chosen Dial Plan, except for the name of the Dial Plan which cannot be changed.
Update the desired fields and then select ‘Submit’ to process the changes.
 4. After submitting, you will be directed to a success screen confirming that the settings have been saved successfully.
Deleting Dial Plans
 1. Select the ODS code of the organisation you wish to delete a Dial Plan for.
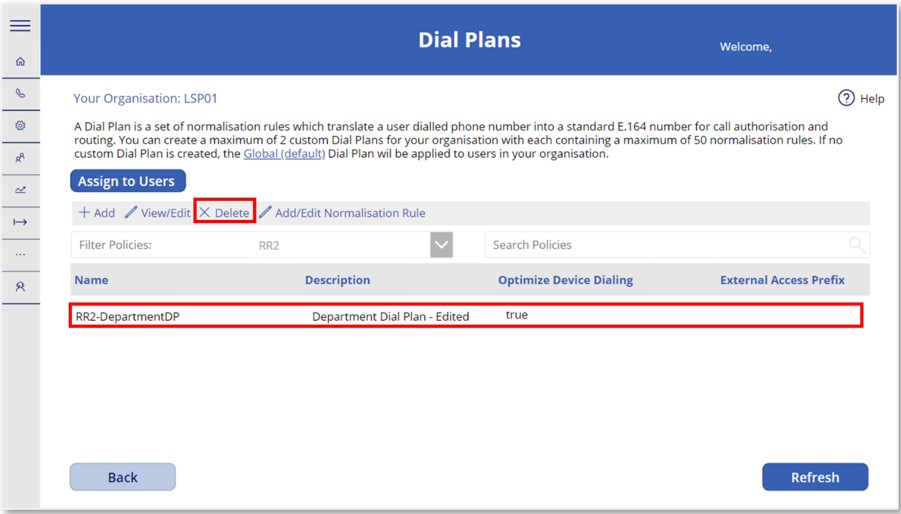 2. Select the Dial Plan you wish to delete from the list in the summary box and then select the ‘Delete’ option from the toolbar.
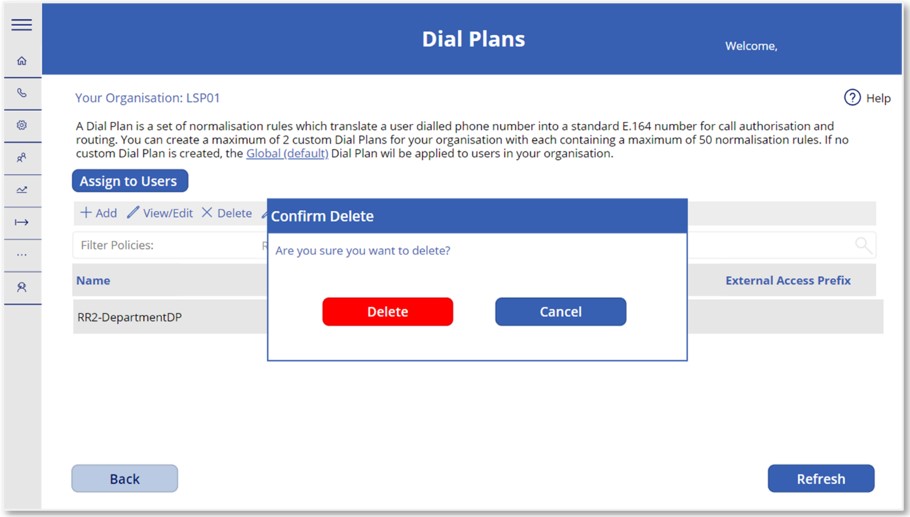 3. You will be prompted to confirm if you wish to ‘Delete’ this policy or if you wish to ‘Cancel’. To complete the deletion, select ‘Delete’.
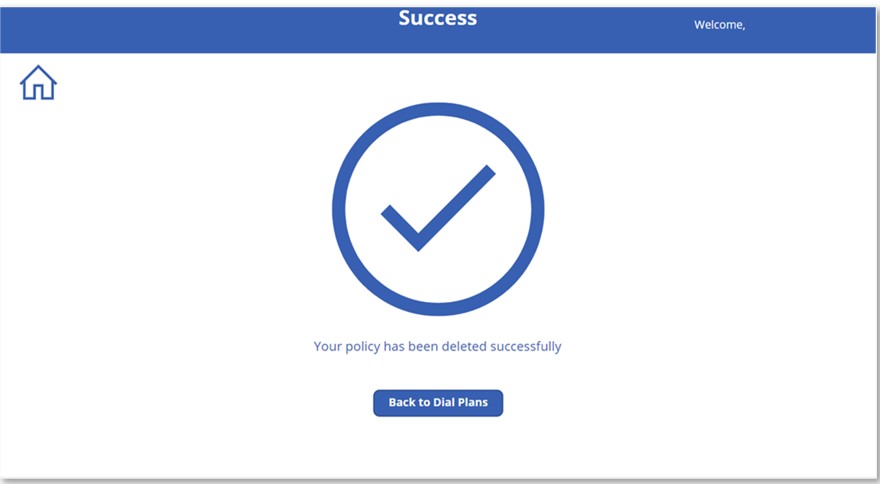 4. A success screen will be shown informing you that the Dial Plan has been successfully deleted.
Normalisation Rules
Normalisation Rules determine how phone numbers expressed in various formats are to be translated. One or more Normalisation Rules must be assigned to the Dial Plan and these will be matched from top to bottom. This means that Microsoft will try to apply each normalisation rule you have created in the order in which you have added them. To save time, ensure you are adding normalisation rules in a priority order which suits your organisation’s needs (for example, Local > Premium > International).
For more information on Normalisation Rules, please visit Microsoft guidance here.
Add Normalisation Rule
 1. On the Dial Plans landing screen, select the ODS code relating to the Dial Plan you wish to add a normalisation rule for.
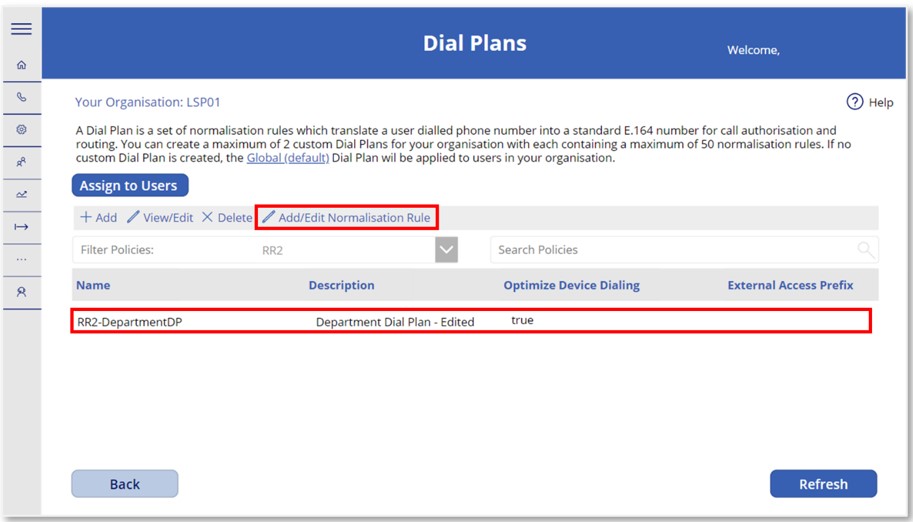
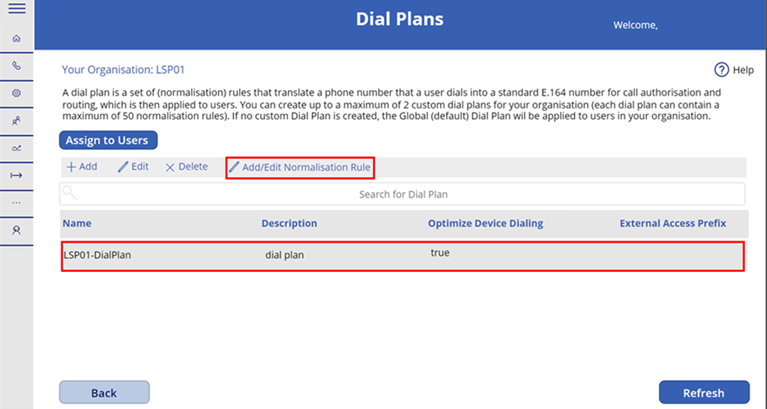
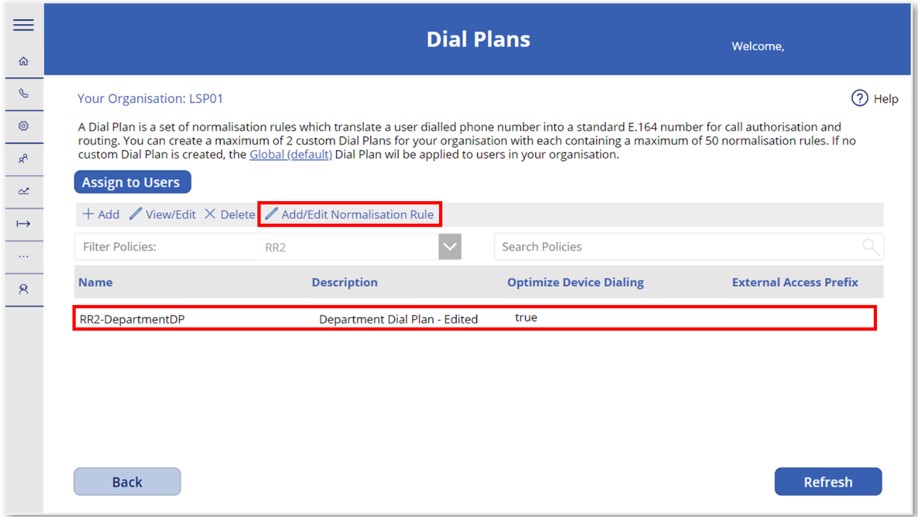 2. Select the required Dial Plan from the list in the summary box and then select the ‘Add/Edit Normalisation Rule’ option from the toolbar.
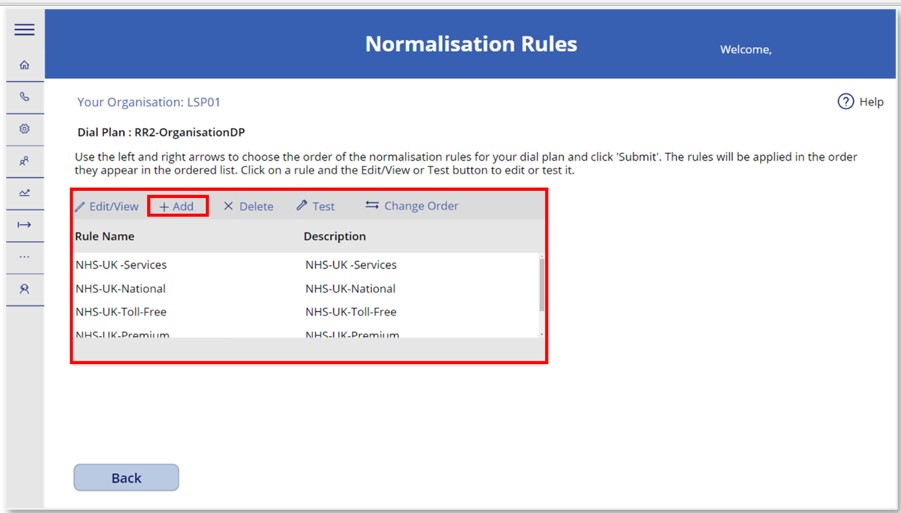 3. You will be directed to the Normalisation Rules screen, where you will be able to view the normalisation rules of the chosen Dial Plan if any have been added. Select ‘+Add’ from the toolbar to add a new normalisation rule.
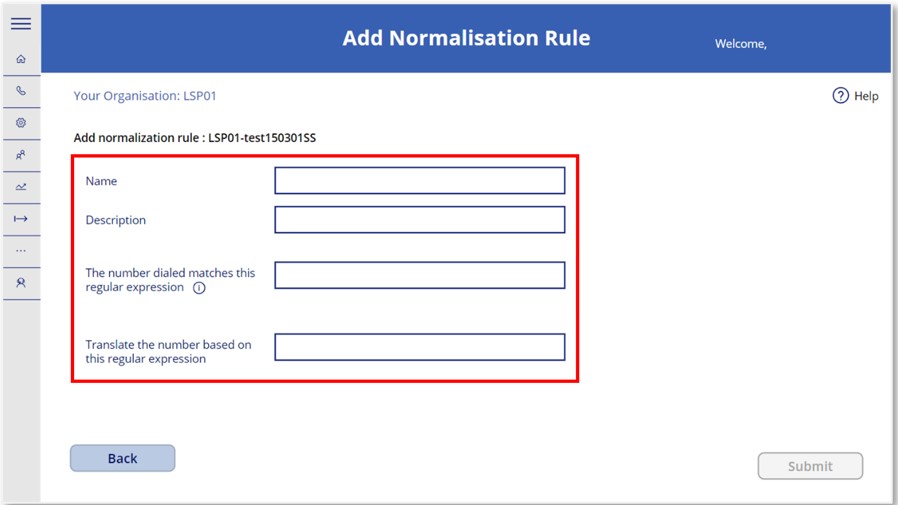
4. You will be taken to the Add Normalisation Rule screen, where you will need to provide the following information:
- Name
- Description
- Confirm the number dialled matches this regular expression
- Translate the number based on this regular expression
For more information on creating normalisation rules and writing them as regular expressions, please see this Microsoft guidance.
Once you have completed these fields as per your requirements, select ‘Submit’ to proceed.
 5. After submitting, you will be directed to a success screen confirming that your settings have been saved.
Edit Normalisation Rules
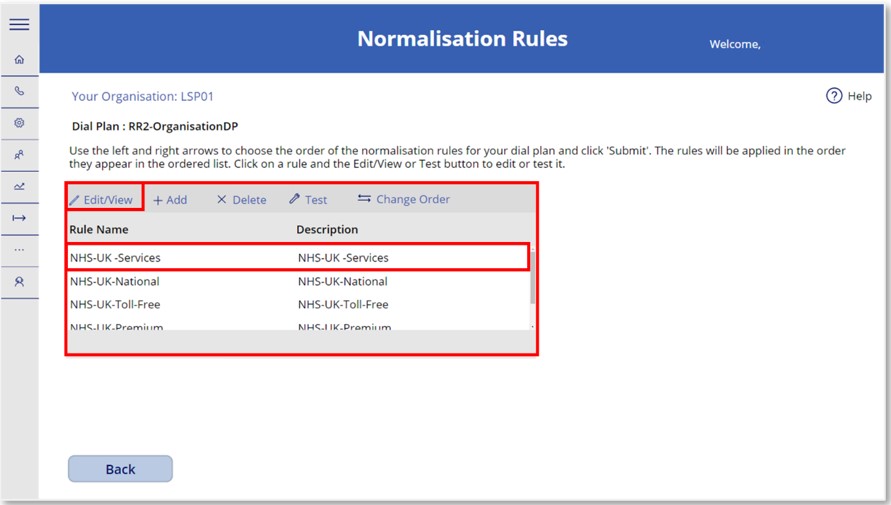 1. Navigate to the Normalisation Rules landing screen, select the normalisation rule you wish to edit and select the ‘Edit/View’ option from the toolbar.
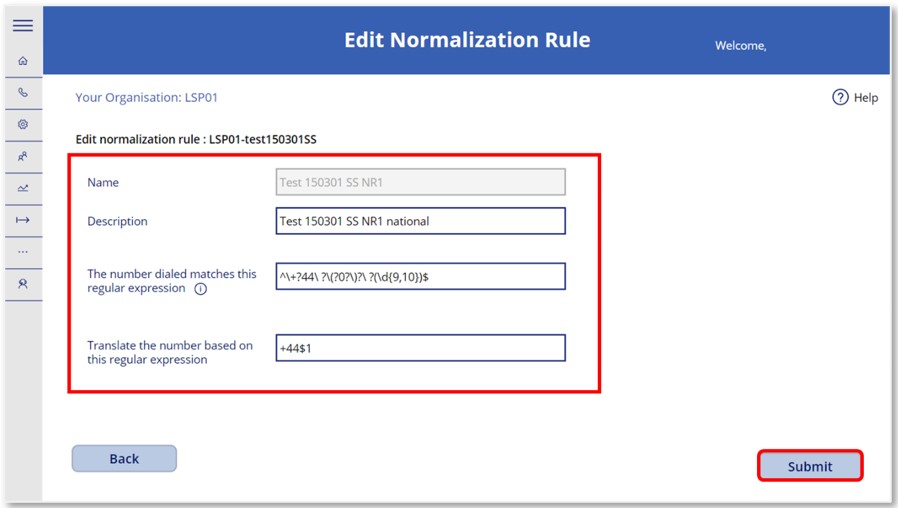 2. You will be directed to the Edit Normalisation Rule screen where you will be able to update the settings of the chosen normalisation rule, except for the name which cannot be changed.
Update the settings as per your requirements and then select ‘Submit’ to process the changes.
 3. You will see a success screen confirming that the new settings have been saved successfully.
Delete Normalisation Rules
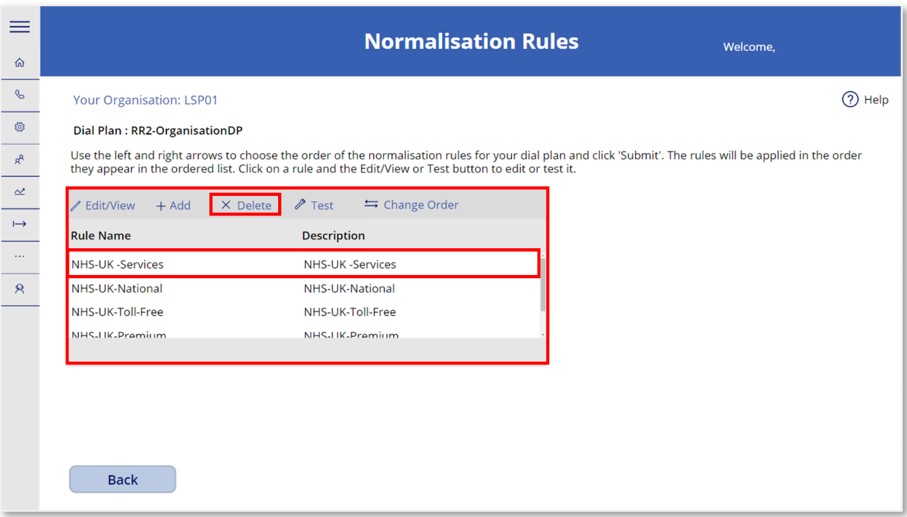 1. Navigate to the Normalisation Rules landing screen, select the normalisation rule you wish to delete and select the ‘Delete’ option from the toolbar.
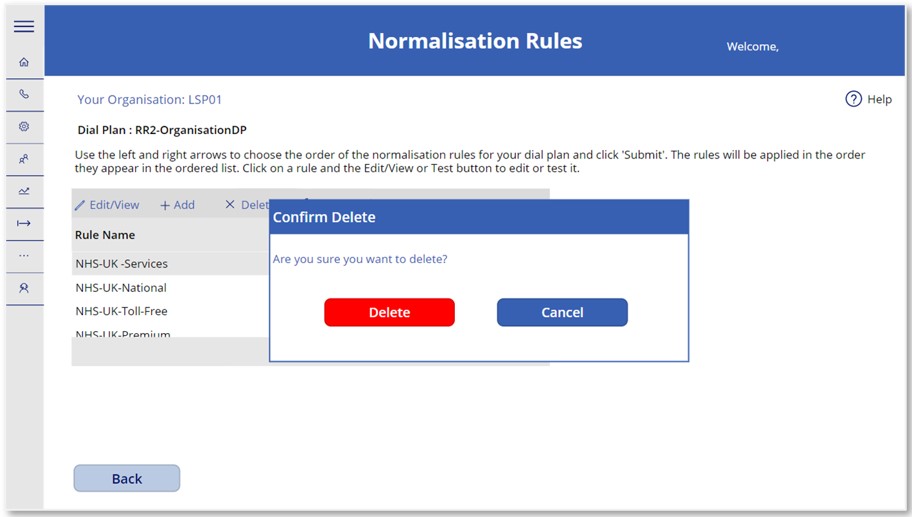 2. A pop-up will appear, prompting you to reconfirm deletion. Select ‘Delete’ to confirm.
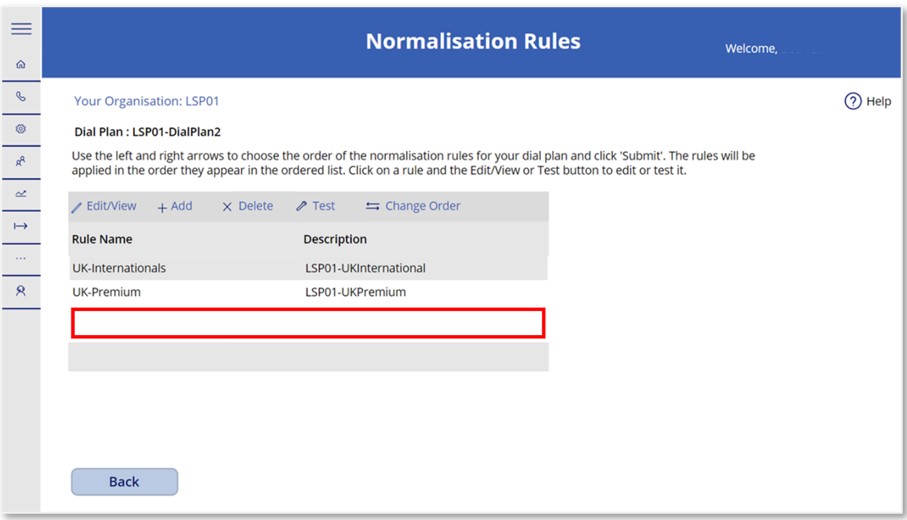 3. Following successful deletion of the Normalisation Rule, it should have disappeared from the summary box on the Normalisation Rules screen.
Test Normalisation Rules
Phone System Admins can test how normalisation rules they have set up will translate phone numbers.
 1. From the Dial Plans landing screen, select the Dial Plan and then select the ‘Add/Edit Normalisation Rule’ function from the toolbar.
 2. Select the Normalisation Rule of the Dial Plan from the list, that you wish to test, and select the ‘Test‘ option from the toolbar.
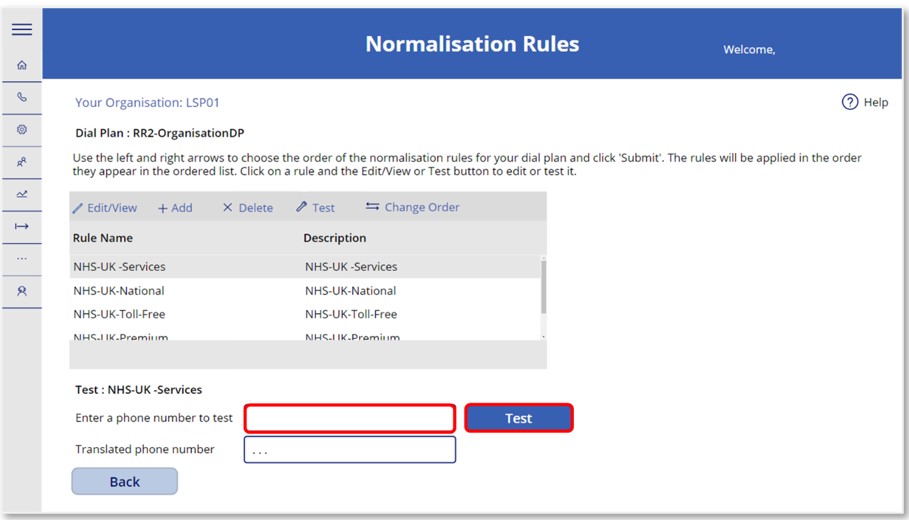 3. Fields will appear at the bottom of the screen, allowing you to test the Normalisation Rule. Input a phone number into the top field and select ‘Test’.
The output of the test will be provided in the translated phone number field. This will show how the phone number will be translated, as per the selected normalisation rule.
Changing the order of Normalisation Rules
As normalisation rules are matched from top to bottom, the order in which they appear in a Dial Plan is important. For example, if a Dial Plan has 10 normalisation rules, the dialled number matching logic will be tried starting with the first normalisation rule, if there isn’t a match then the second, and so forth.
To change the order of normalisation rules within a Dial Plan, follow the steps below.
 1. From the Dial Plans landing screen, select the Dial Plan you wish to edit the order of normalisation rules for, and then select the ‘Add/Edit Normalisation Rule’ function from the toolbar.
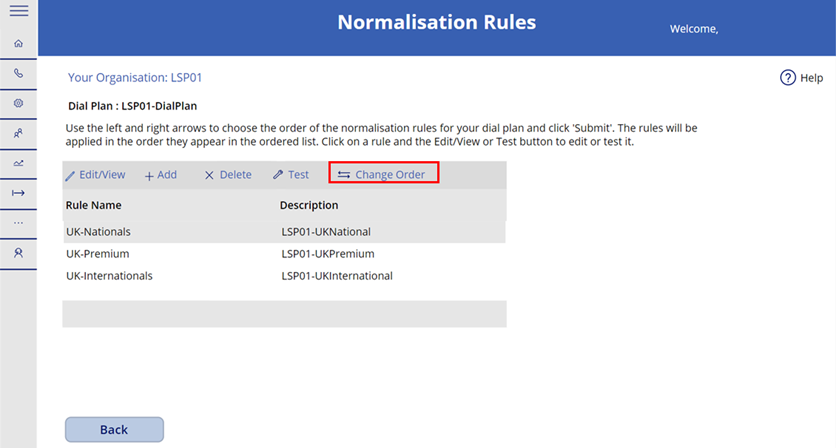 2. Select ‘Change Order’ from the toolbar on the Normalisation Rules screen.
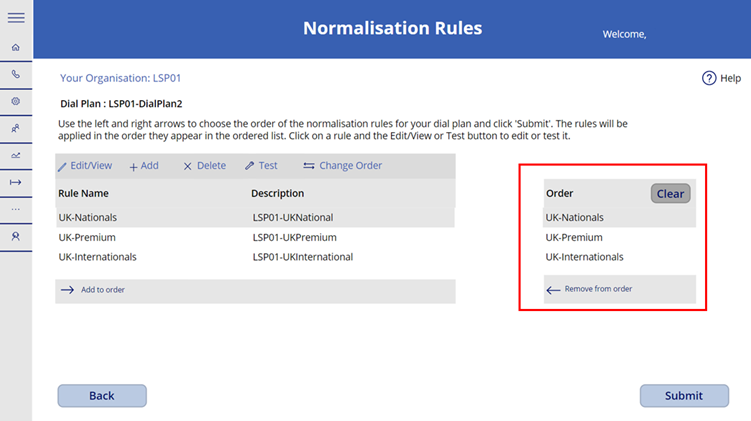 3. A column will appear on the right-hand side of the screen, showing the existing order of the normalisation rules for the selected Dial Plan.
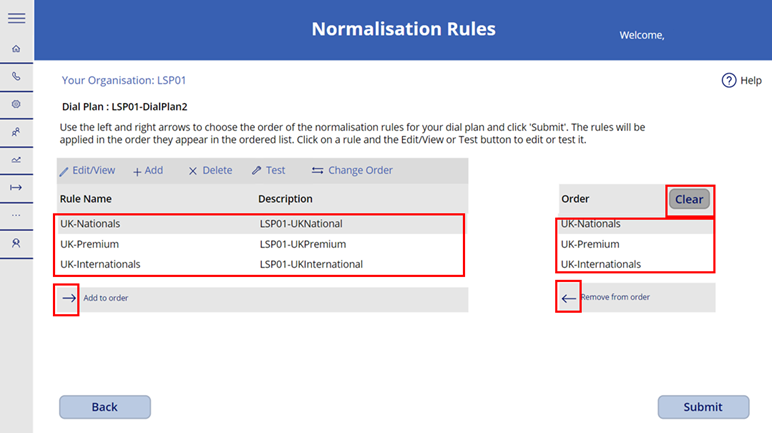 4. To change the order of the normalisation rules, select the normalisation rules to be adjusted, and then select the left ‘Add to order’ and right ‘Remove from order’ arrows, to update the order of the rules.
Selecting ‘Clear’ will remove all the Normalisation Rules from the order column.
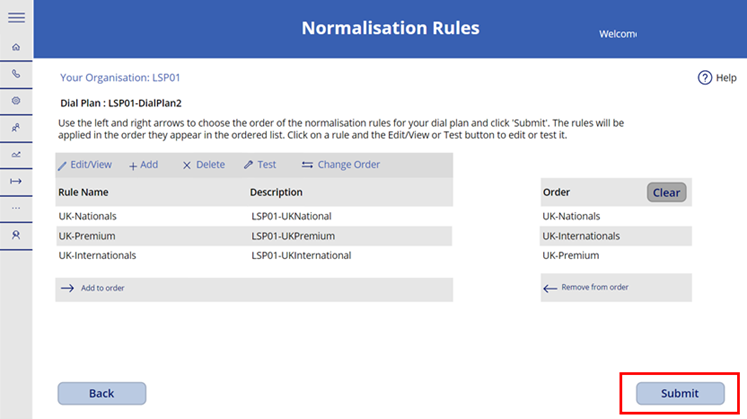 5. Once you have updated the order as required, select ‘Submit’ to process the changes.
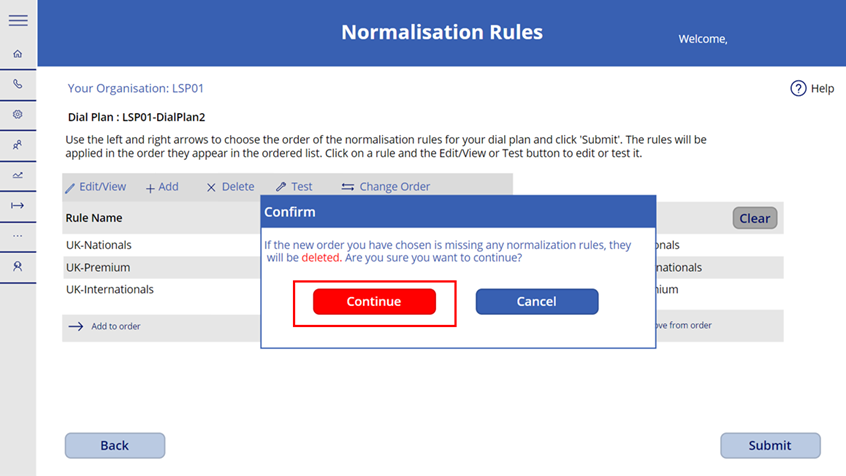 6. A pop-up screen will appear, informing you that if any of the Dial Plan’s normalisation rules are missing from the revised order, they will be deleted. Select ‘Continue’ to confirm the normalisation rule order change.
7. Once you have submitted the changes, the Normalisation Rules screen should show the revised order.
| Last Reviewed Date | 15/05/2024 |