Webinars are structured meetings where presenters can schedule and open registration to attendees. Users can schedule a webinar following the below guidance.
Creating a webinar
 1. Open Microsoft Teams
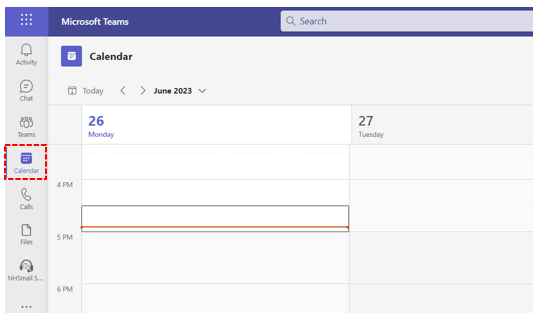
2. Click on Calendar
 3. Click on new meeting and select webinar from the drop-down list
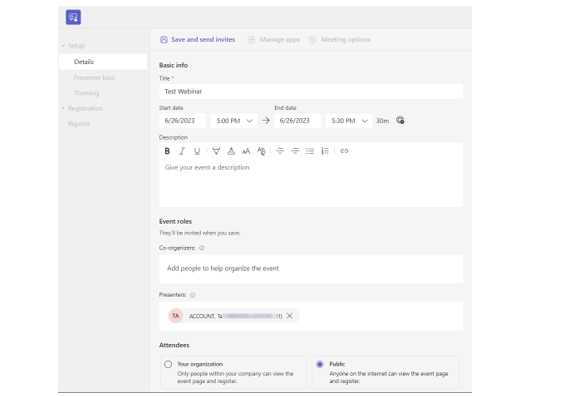 4. The new webinar window opens
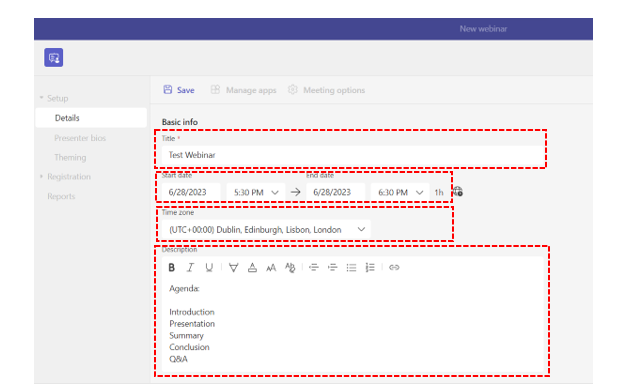 5. Enter a title for your webinar, set the date and time, you can choose a different time zone. Add a description stating the purpose of the webinar.
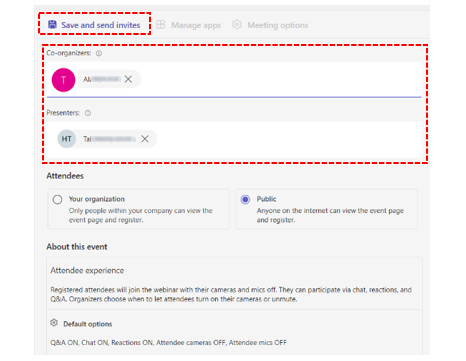 6. Add the required presenters/co organisers who will help manage the event. Please note at least one user needs to be added to create the webinar.
Please visit roles in a Team meeting, to explore the capability of what organisers and presenters can do during the meeting.
7. By default, the webinar will be Public. You can select the Attendees to be from Your organisation or Public. Please note if you set to public anyone can view the event page and register.
8. Click Save and send invites. Presenters and co-organisers will receive an email with the webinar details. Please note this does not make the registration page live. If you share the webinar link to join, the page must be published for attendees to register.
 9. To share the webinar invite with attendees you need to select ‘Publish site’ when you open the invitation.
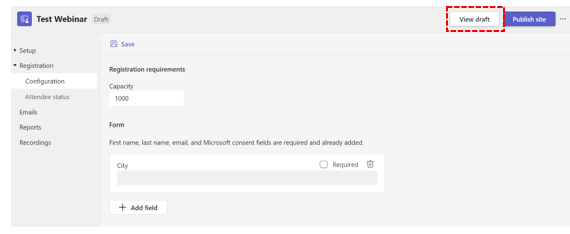 If you wish to see a draft of the invitation before it is published select ‘View draft’. Attendees are unable to register until Publish site is selected.
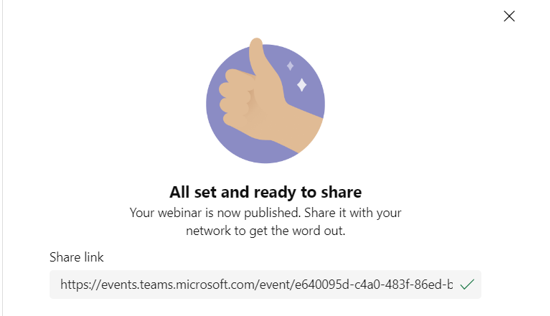
Once the webinar is published a pop up will appear with a link to share with attendees. Note: if you need to copy the link after leaving this page. Open the webinar invite and select ‘copy event link’.
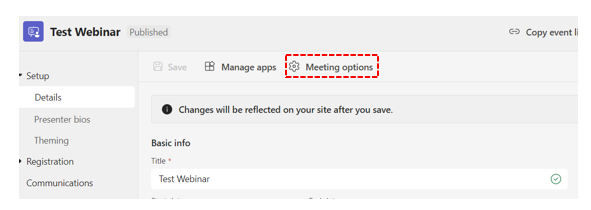 Organisers can also set Meeting options. For example, who can bypass the meeting lobby, enable/disable recording and managing cameras and mics for attendees. Please note meeting options will be greyed out until the invite has been saved.
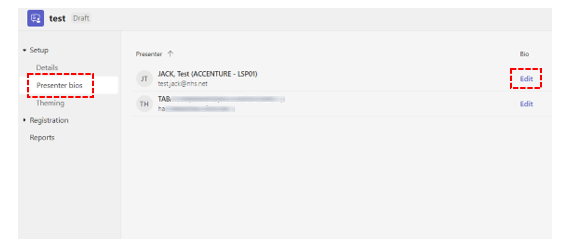 10. Information about the presenters can be added by clicking on Presenter bios tab and Edit.
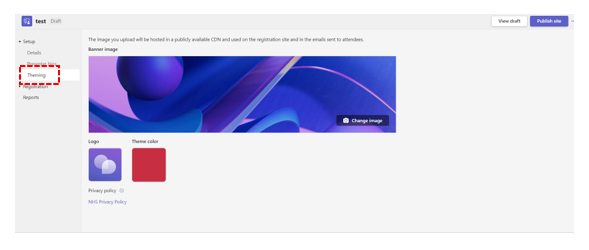 11. Appearance of the event page can be enhanced by adding a custom banner or logo under Theming.
To customise the registration form for attendees
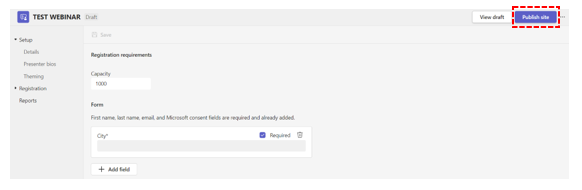
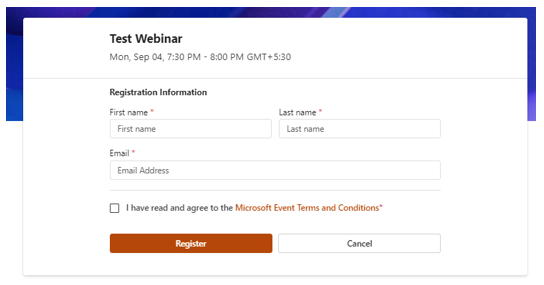
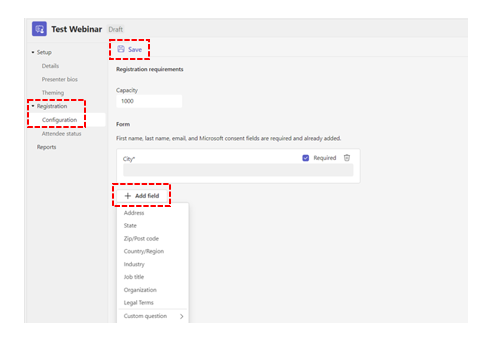 1. There are a few fixed fields on the registration form like first name, last name, email address. To include more fields in the Registration form, select Add field and select the checkbox if you want to make it a Required
The capacity of the webinar can also be set. After making the selections for the form click Save.
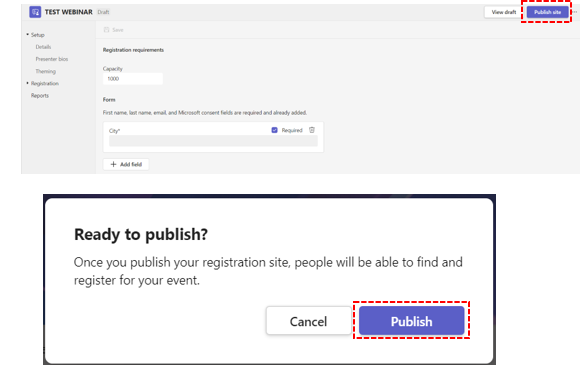 2. Once the webinar is set, click Publish site and the confirmation Ready to Publish so this is available to the attendees. Attendees are unable to register until Publish Site is selected.
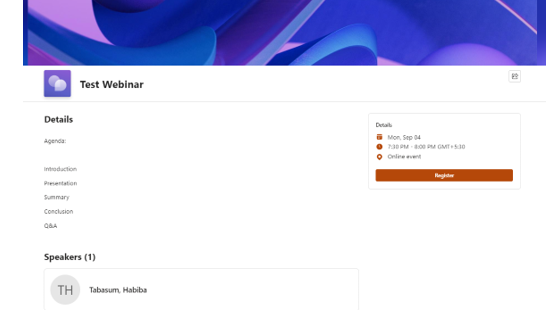
 3. Copy the registration link, share this with others to register for the webinar.
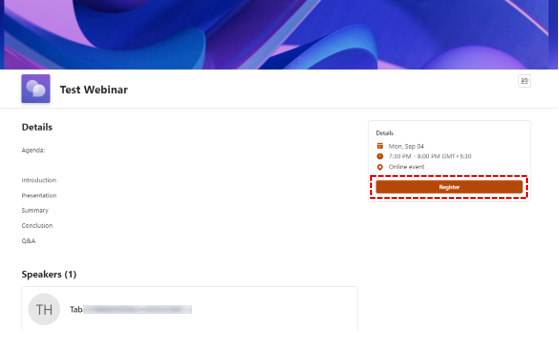 This link takes the attendees to the event page. Attendees will be required to register for the webinar and complete a registration form with their first name, last name, and email address
 Once the attendees start to register, you can see the info in the Attendee status tab
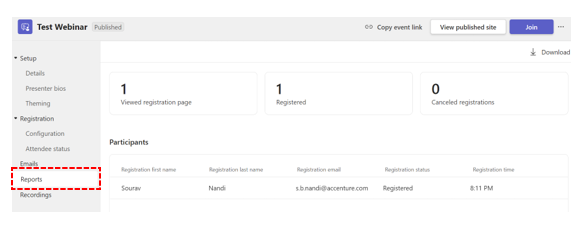 The attendance and registration report can be viewed and downloaded from the Reports tab post webinar.
Webinar features
To access more webinar features in Teams:
Calendar
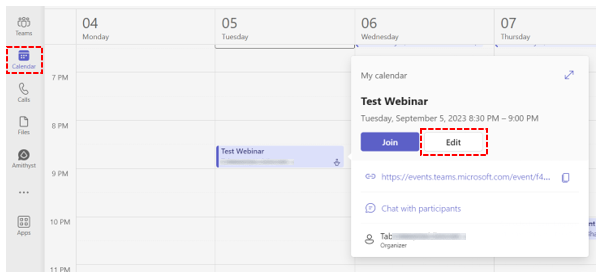
Click on calendar
Click on invite and select Edit
Chat
The chat window displays the chat history of the webinar
Files
The files window displays the shared files with attendees during the meeting
Details
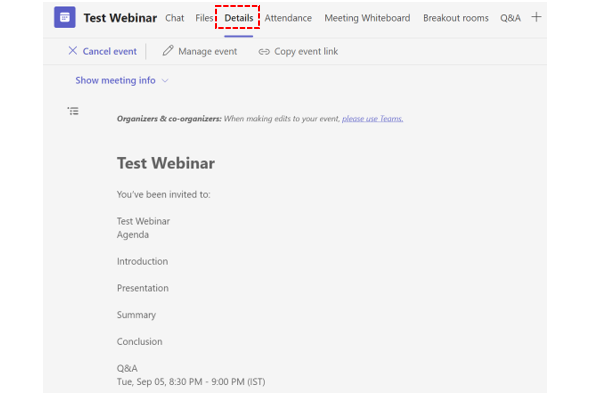 The details of the webinar, recording and transcripts of the webinar, attendance and registration report can be viewed and downloaded from the details window post webinar.
Meeting notes
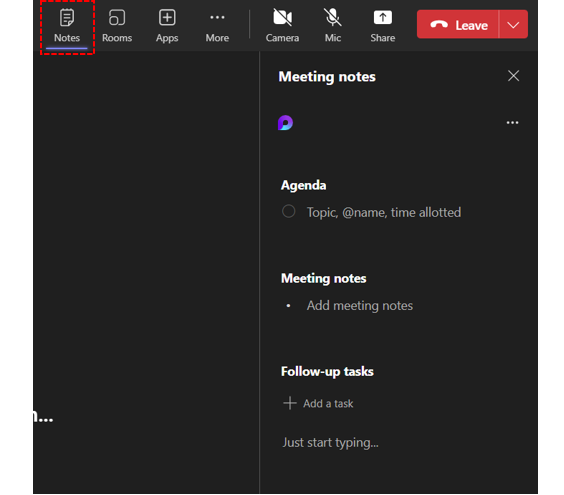 During a webinar you may want to take minutes and share this with your attendees. In teams you can do that by selecting Notes
Questions and Answers
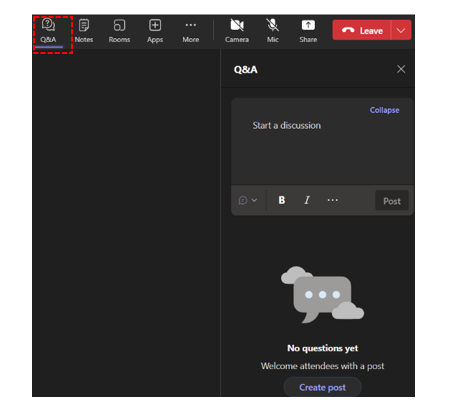 During a meeting you may want to raise questions, you can do this via Q&A. Please note this is separate to the general chat function in Teams.
Whiteboard
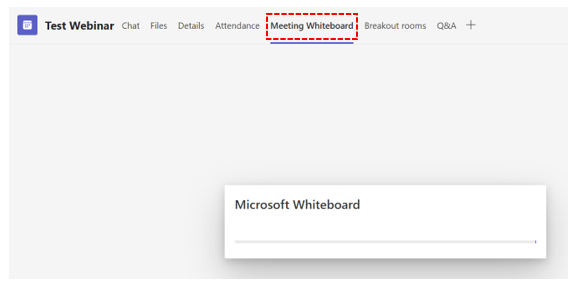 Whiteboard feature allows users to sketch and brainstorm ideas onto a freeform digital canvas during webinars.
It uses a standard classroom whiteboard format, stored in the cloud and is accessible by anyone in the meeting.
Attendance
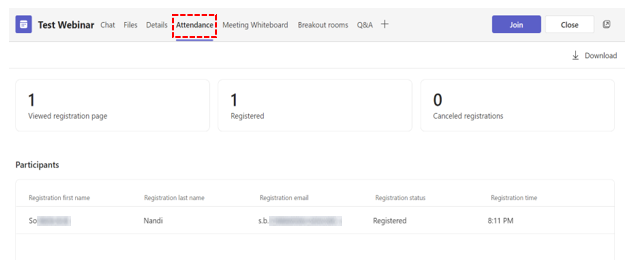 Webinar organisers can view and download a meeting attendance report from the chat history or the details section post meeting.
The organiser can also view the attendance stats in the attendance pane once the meeting has ended.
Recordings and transcripts
The recordings and the transcriptions of the webinar are displayed in this section below. The recording and the transcripts can be downloaded clicking on the download icon.
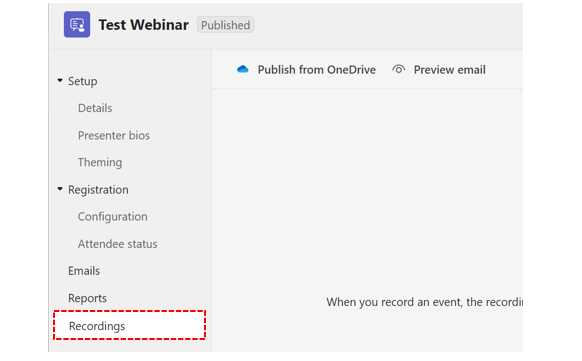 The recording and transcripts can also be downloaded from the webinar chat history or from the details section of the calendar invite
![]() The recording and transcript will only be grouped together in the chat section of the webinar when it is recorded. Please visit Record a meeting for further guidance.
The recording and transcript will only be grouped together in the chat section of the webinar when it is recorded. Please visit Record a meeting for further guidance.
Top Tips
- Webinars are set as default to record, if you wish to do this manually, change the setting in manage options to No
- Allow mic and a camera is set as default to No for attendees. Presenters and co-presenters will have this enabled
- Allow and mic and camera can be toggled on during a webinar by selecting People, then to the right of the screen the three dots. Both options are separate and will need to be selected individually
- Attendees can be added/changed to presenters during the webinar by searching for the attendees name and selecting the 3 dots
- For attendees to register the must be published
Further guidance is available on the Microsoft pages.
| Last Reviewed Date | 16/05/2024 |