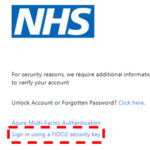
FIDO2 is available as an option for multi-factor authentication (MFA) to NHSmail users. This gives users a secure way of logging in to systems and applications. The provision of FIDO2 tokens is managed by local NHS organisations.
This article provides all the information Local Administrators need to help users get started with FIDO2 security tokens, including:
There is also some useful guidance around Frequently Asked Questions and Help & Support Channels available below.
Choosing a FIDO2 security token
This section includes information to help you choose a FIDO2 security token that best fits the needs of users at your local organisation, based on device usage and compatibility.
 It is recommended that FIDO2 is used with windows 10 version 2004 or above. The table below shows the results from testing the compatibility of FIDO2 tokens with different device types and versions. The testing covers registration and authentication for both Local Administrators and standard users.
The FIDO Alliance, which promotes standards for authentication and device attestation, has also created a certified showcase of FIDO2 tokens that may be useful for Local Administrators looking to deploy FIDO2 as an authentication method.
Registering a FIDO2 security token
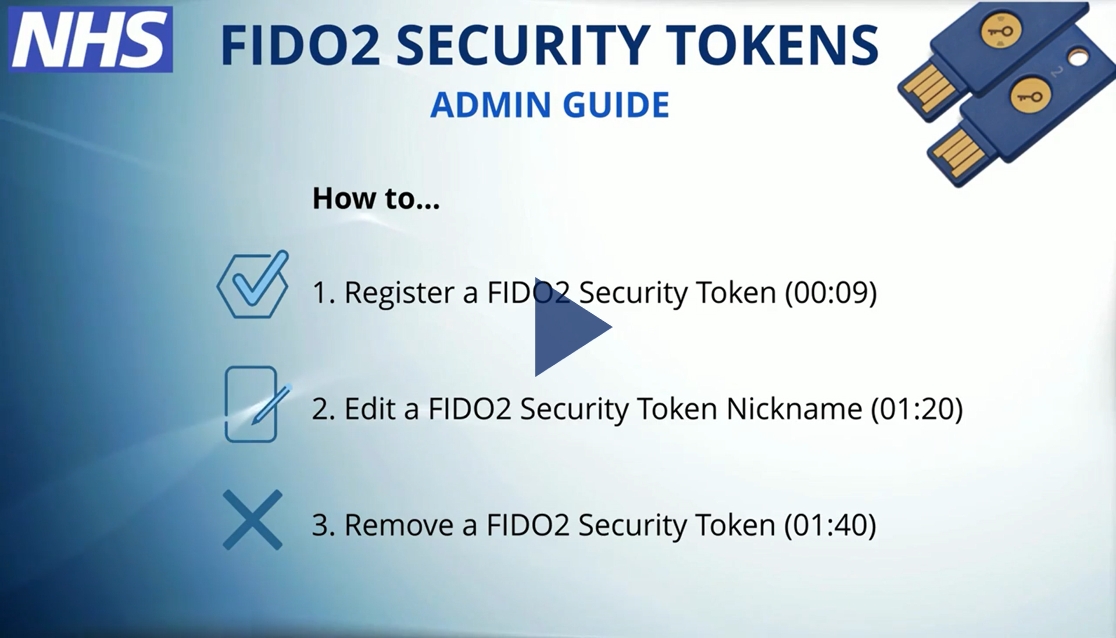
This section includes step-by-step guidance for registering a FIDO2 security token on behalf of a user. There is also a ‘How-To-Video’ available to watch.
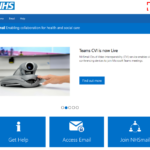
1. When you have a security token that you want to register, please navigate to the NHSmail portal and select Login in the top right of the page.
2. Login to the NHSmail portal using your NHSmail username and password (example@nhs.net).
3. Navigate to the Admin tab.
4. Select User Management.
5. Search for and select the user that requires security token registration or management.
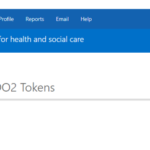
6. Select Manage FIDO2 Tokens. This will take you to the FIDO2 token management page.
7. Click Register New Token
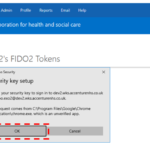
8. Click OK on the security key setup window.
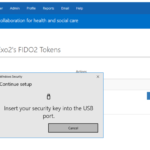
9. Insert the security token into a USB port on the device.
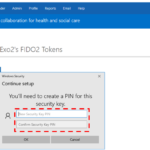
10. Enter a new security key PIN for this token and click OK to confirm. Please note the minimum length is 4 characters. This PIN will be required to unlock and use the security key during future authentication attempts.
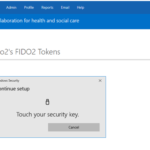
11. Touch the security token to confirm presence.
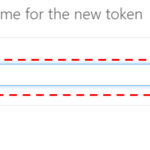
12. Enter a nickname for the security token.
 13. A green “success” message in the top right of the page will indicate a successful registration of the security token. The registered security token will also appear in the list of registered tokens under the user account once the page has been refreshed.
14. Upon successful registration, the user will be able to start using their FIDO2 security token as an option for MFA to securely access systems and applications.
For any issues or queries when registering a FIDO2 security token, please visit our Frequently Asked Questions and Help & Support Channels for more tips.
Managing a FIDO2 security token
This section includes guidance on how to:
- Edit a token nickname
- Remove a token registered to a user
- Change a token PIN on behalf of users
- Reset a token back to factory default settings
Editing a security token nickname
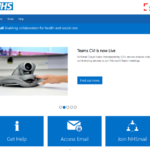 1. Login to the NHSmail portal.
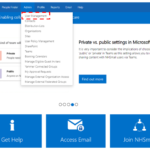 2. Navigate to the Admin tab and select User Management from the dropdown.
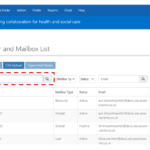 3. Search for and select the user you would like to edit the token nickname for.
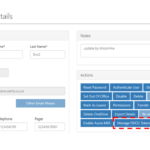 4. Click Manage FIDO2 Tokens. This will take you to the FIDO2 token management page, where you will see all registered security tokens for that user.
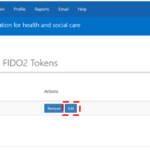 5. Click Edit next to the specific security token you want to change.
 6. Enter a new valid and recognisable nickname for your FIDO2 security token, then click Save Changes. You may need to refresh the page to see the changes
Removing a security token
 1. Login to the NHSmail portal.
 2. Navigate to the Admin tab and then the User Management option from the dropdown.
 3. Search for and select the user you would like to remove registered tokens for.
 4. Click Manage FIDO2 Tokens. This will take you to the FIDO2 token management page, where you will be able to see all the registered security tokens for that user.
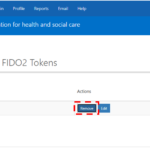 5. Click Remove next to the specific security token you want to remove.
 6. Select Remove on the confirmation prompt to delete the registered token
 7. A green “success” message will indicate that the token has been successfully deleted on behalf of the user. You may need to refresh the page to see the changes
Changing a security token PIN (Windows 10)
Local Administrators can take the following steps on a Windows 10 device to change the security token PIN from an old PIN to a new PIN. This will require having access to the physical security token.
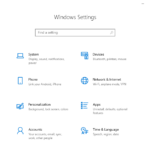 1. Click on Start, go to your Windows Settings and select Accounts.
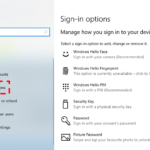 2. Once you have accessed the Accounts page in your Windows settings, select Sign-in options.
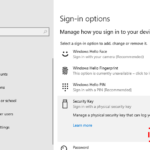 3. Navigate to Security Key and select Manage.
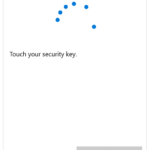 4. Insert the security key and touch to confirm presence when prompted.
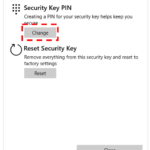 5. Navigate to Security Key PIN and select Change.
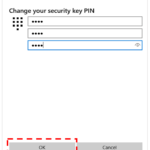 6. Change your security key PIN by entering the old PIN once and new PIN twice. The minimum length is 4 characters. Confirm by clicking OK. Once the PIN has been changed, continue to use the security key with the new PIN during future authentication attempts.
Resetting a security token back to factory defaults (Windows 10)
Local Administrators can take the following steps on a Windows 10 device to reset a security key back to factory settings. This will require having access to the physical security token.
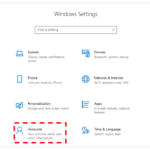 1. Click on Start, go to your Windows Settings and select Accounts.
 2. Once you have accessed the Accounts page in your Windows settings, select Sign-in options.
 3. Navigate to Security Key and select Manage.
 4. Insert the security key and touch to confirm presence when prompted.
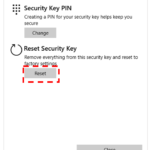 5. Navigate to Reset Security Key and select Reset.
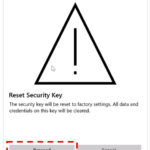 6. Confirm you want to reset security key settings by clicking Proceed.
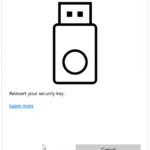 7. Reinsert the security key to confirm presence.
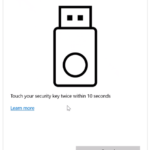 8. Touch the security key twice within 10 seconds.
9. A message will appear to confirm the security key has been reset.
Using a FIDO2 security token
Once the security token is registered, a user can use it to authenticate and login. This section takes you through how FIDO2 security tokens are used as part of MFA.
1. The user navigates to the NHSmail portal and selects Login at the top right of the page.
 2. The user enters their NHSmail username and password (example@nhs.net).
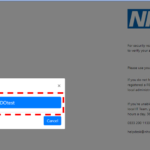
3. If the user has a FIDO2 security token which has been successfully registered, a window will appear displaying all registered tokens. The user then selects the specific security token they want to use.
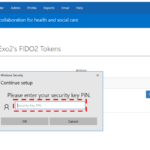
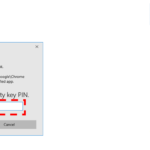
4. The user will enter the security key PIN that was created during registration and/or provided by their Local Administrator.
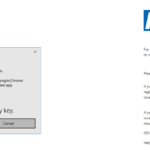
5. The user touches the security key to confirm their presence.
6. The user is successfully logged into the NHSmail portal.
Further Help & Support
For any issues or queries, please visit our Frequently Asked Questions for some helpful tips.
Local Administrators can also contact the NHSmail Helpdesk via helpdesk@nhs.net or 0333 200 1133 for further assistance.
Useful links
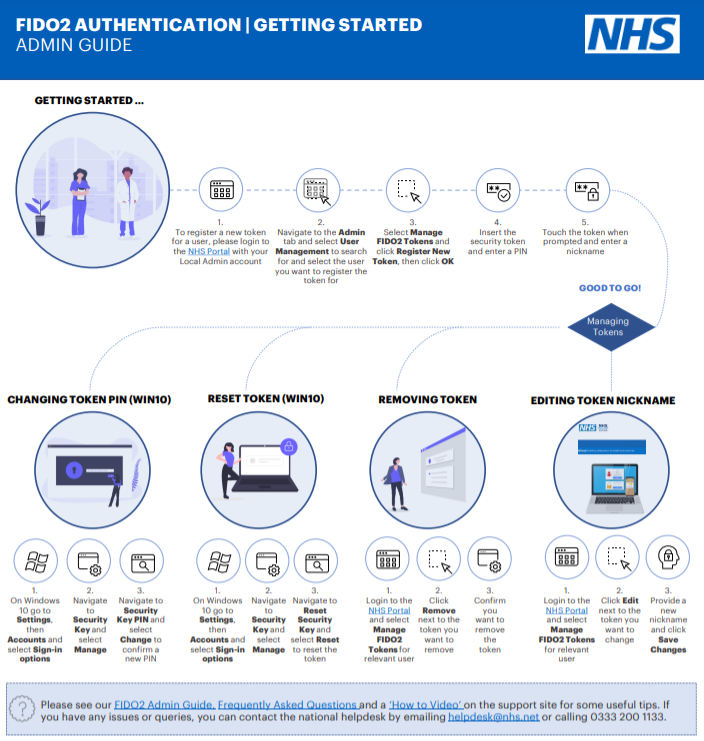
- For more information check out this easy to read FIDO2 Admin Guide (pdf)
- For more information about registering and managing tokens check out this ‘how-to-video’
- For more information about FIDO2 at the NHS and recent updates please see here
- For more information about Multi-Factor Authentication (MFA) please see here
| Last Reviewed Date | 30/08/2023 |


