Various vendors offer software solutions that allow you to configure Software Time-Based One-Time (TOTP) tokens that can be used as a second authentication factor with NHSmail. These are an alternative to other methods currently available on the platform such as the Microsoft Authenticator App. Software tokens are digital applications installed on devices like smartphones or computers, generating one-time passwords (OTPs).
In all cases, if issues are encountered when setting up or using TOTP solutions, please contact your specific vendor directly for support and assistance. Whilst every effort will be made to provide generic support to resolve common issues, the NHSmail Support Teams will not be able to investigate complex TOTP issues.
This page provides examples from a couple of vendors but is not an exhaustive list of available implementations of the TOTP protocol – please consult your vendor documentation for full and up to date instructions of how to configure these methods with M365/Entra ID.
Yubico Authenticator
Although Yubico provides many FIDO2 keys some of their keys also allow for the configuration of TOTP tokens through their Desktop (or Phone) Authenticator app. Check that your Yubico device supports TOTP tokens before attempting to configure Yubico Authenticator application.
 1. Ensure your Yubico key is plugged in to your device and your Yubico Authenticator app is open
2. Navigate to My Sign-Ins (microsoft.com)
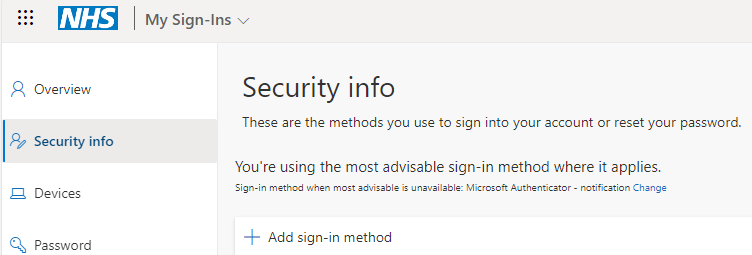
3. Navigate to the Security Info tab
 4. Click Add-sign in method
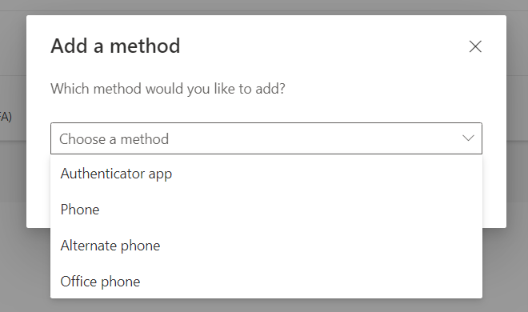
5. Add authentication app
6. Click Add
 7. I want to use different authenticator app
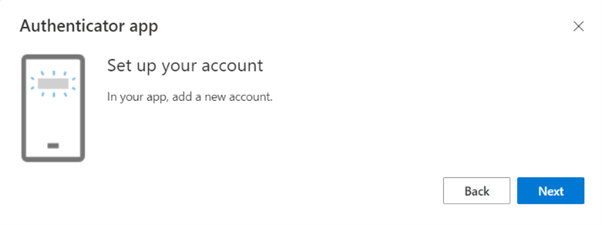
 8. Next
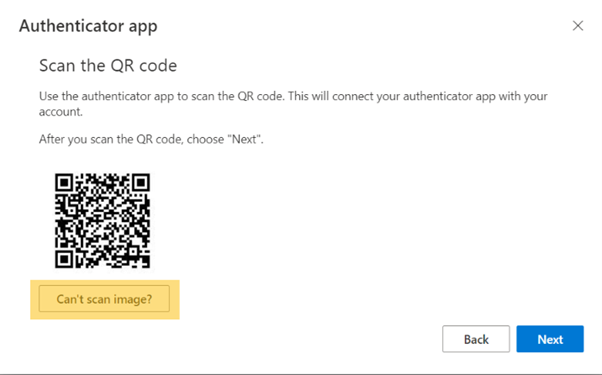 9. Click “Can’t scan image”?
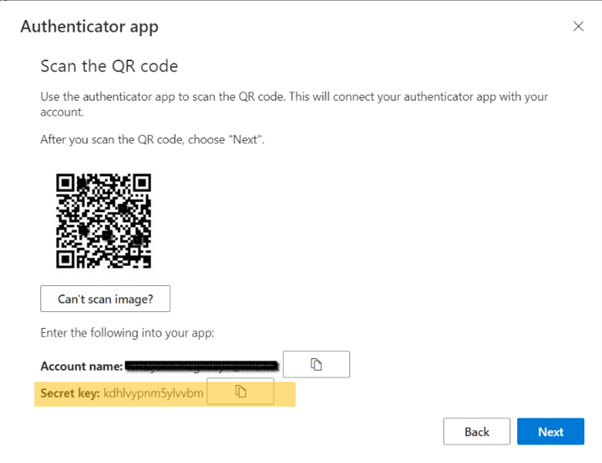 10. Copy the ‘Secret Key’ using the copy button
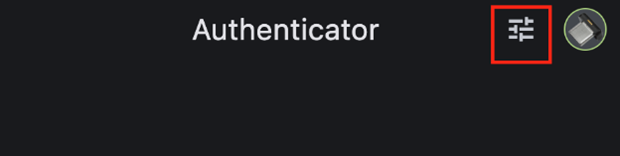 11. In the Yubico Authenticator App click the settings icon in the top right corner
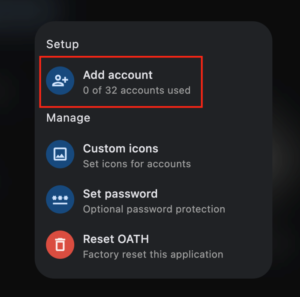
12. Add account

13. Input the nhs.net email address in Account name and paste in the secret key copied earlier. Issuer allows you to give a name to the account but is optional.
14. Click save in the top right corner
15. Return to the My Sign In’s page and Click Next
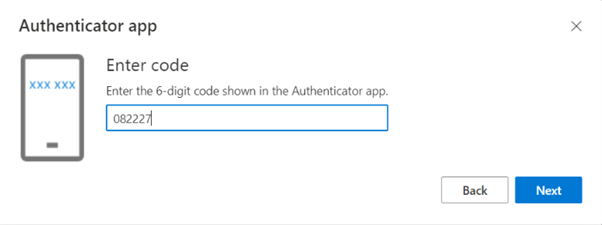
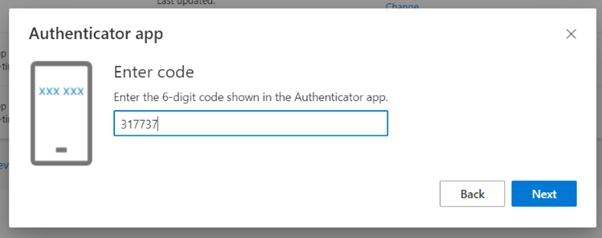
 16. Enter the current code from the Yubico Authenticator app to complete the process and click Next
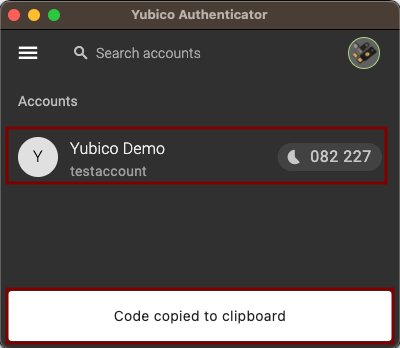
 17. The newly registered Authenticator app will display in My Sign In’s as shown in the image on the left
Twilio Authy
 1. Ensure the Twilo Authy app is installed on your device
2. Navigate to My Sign-Ins (microsoft.com)
3. Navigate to the Security Info tab
 4. Click Add-sign in method
5. Add authentication app
6. Click Add
 7. I want to use different authenticator app
 8. Next
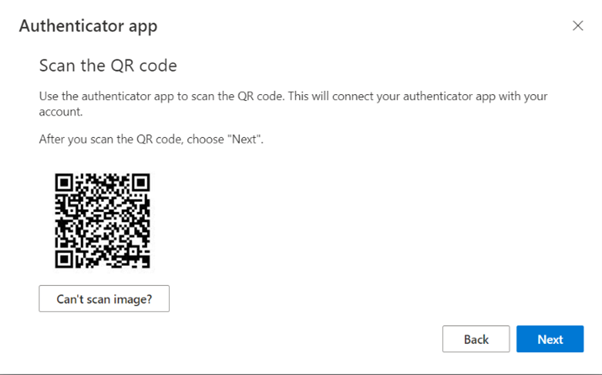 9. The image on the left will be displayed – you can scan the QR code with the Authy app
 10. In the Authy app click the “Add Account” button either in the top panel or the Add Account button
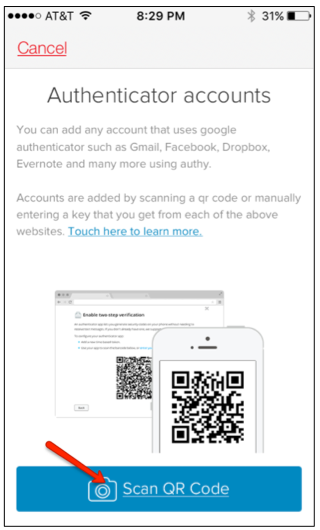 11. Click the Scan QR Code button
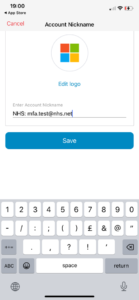 12. Rename the account name if required and click Done
 13. Return to the My Sign In’s page and Click Next
 14. Enter the current code from the newly setup account in the Authy app to complete the process and click next
 15. The newly registered Authy app will display in My Sign In’s as shown in the image
Google Authenticator
 1. Navigate to My Sign-Ins (microsoft.com)
2. Navigate to the Security Info tab
3. Click Add-sign in method
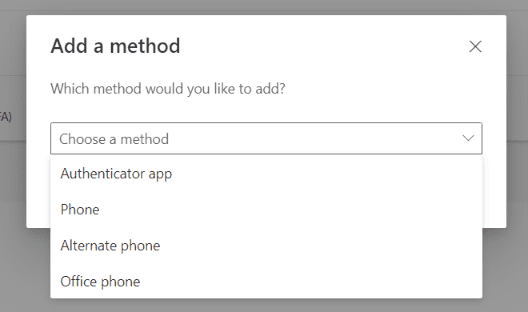 4. Add authentication app
5. Click Add
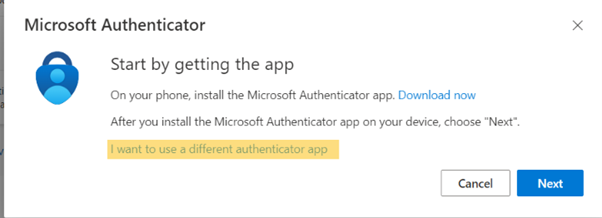 6. I want to use different authenticator app
 7. Next
 8. The following screen will be displayed as on the left
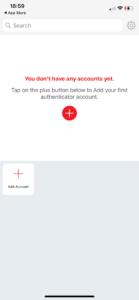
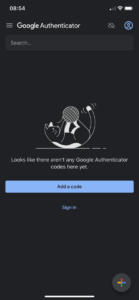 9. Open the Google Authenticator App on your mobile device
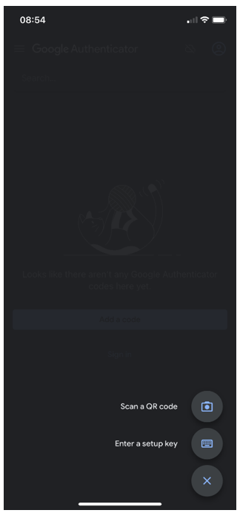 10. Click the + in the bottom right corner of the screen
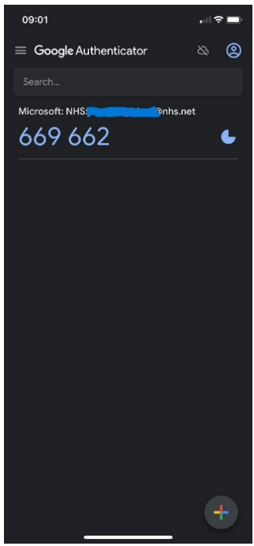 11. Click Scan QR Code and focus your device’s camera over the displayed QR code on screen. It will return you to the home screen of the Google Authenticator app and display the newly added account like shown in the image
 12. Return to the mysignins page and Click Next
13. Enter the current code from the Google Authenticator app to complete the process and click next
14. The newly registered Authenticator app will display in My Sign In’s as shown in the image
 When signing in you will see either of the following:
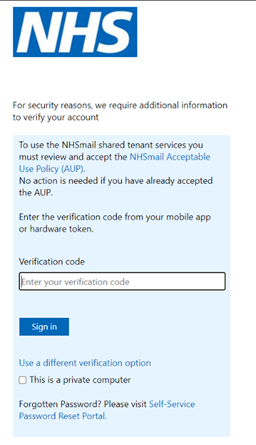
After entering your username and password you will be presented with the following screen for portal.nhs.net logins:
Simply open you Google Authenticator app and enter the code displayed and click Sign In
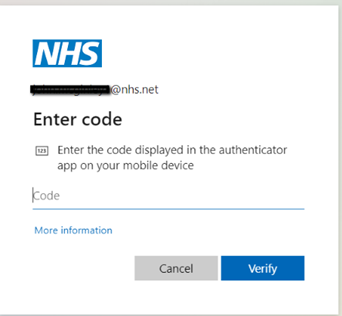 Logging in directly to M365 services (i.e. via portal.office.com) you will see as displayed by the image on the left when prompted for MFA
Programable Hardware Tokens
Many vendors offer programable hardware tokens that can be configured using either USB or NFC. Hardware tokens are physical devices that also generate OTPs but are separate from digital devices. These tokens allow for authentication without a mobile device or software program on the users device.
Due the varied nature of how these tokens are created we recommend using the vendors documentation to configure these. Below are two examples of vendors that provide documentation for programmable hardware tokens:
- Deepnet: Please find the vendor documentation here.
- Token2: Please find the vendor documentation here.
We currently cannot support standard hardware tokens (those that come with a serial number or config key) due the way these need to be setup within the central tenant. This is being investigated with Microsoft to see if these can be brought into the future roadmap but unlikely to be during 2024.
Please note that FIDO tokens are not supported as a core Azure MFA authentication method, but these can be used alongside other authentication methods to login into NHSmail services, more information can be found in the FIDO2 Tokens Admin Guides.
| Last Reviewed Date | 08/05/2024 |