
Adding members
Users can be added to a User Policy by using the Add or Import option.
 1. Click Admin in the navigation bar at the top of the screen and select User Policy Management from the drop down menu.
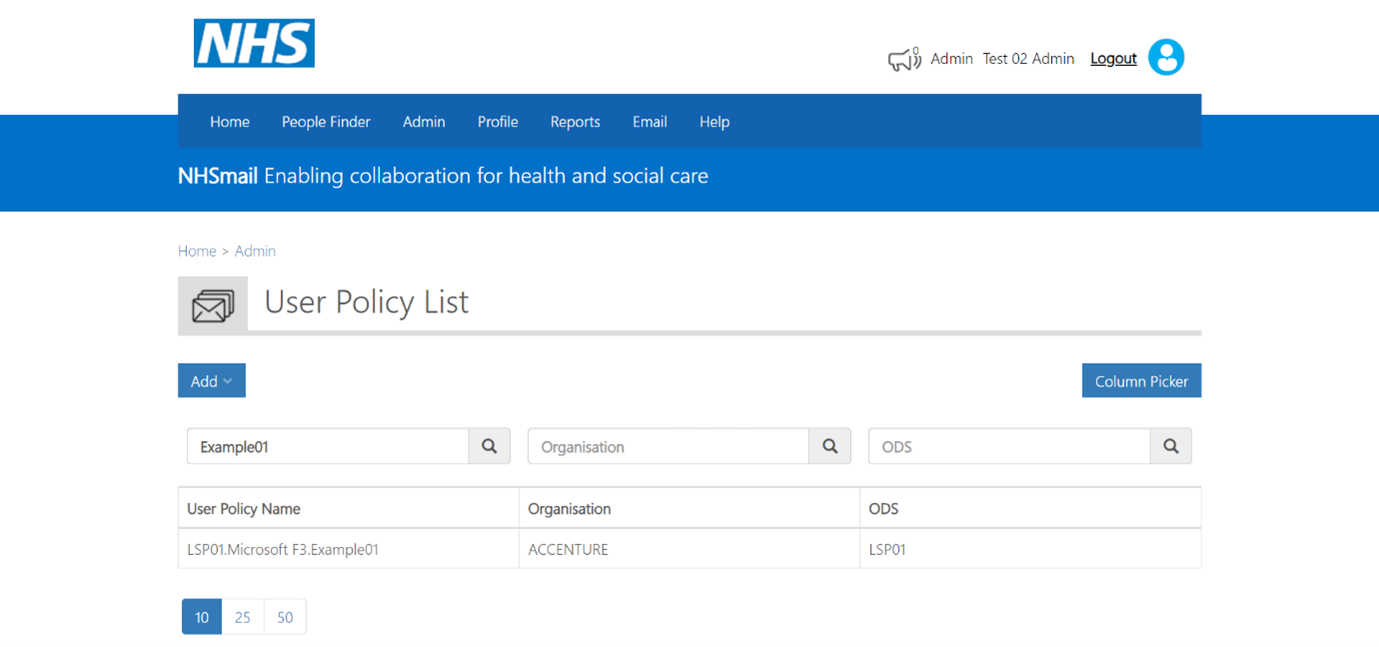 2. Use the search box to find a user policy. The results of the search will be displayed on the screen.
You can search using the following criteria:
-
-
-
-
-
-
- Display Name
- ODS Code
- Organisation Name
- Partial Search
-
-
-
-
-
The results of the search will be displayed on the screen, with the system returning results for any associated user policy.
3. Click on the User Policy to edit it.
Adding members via Add
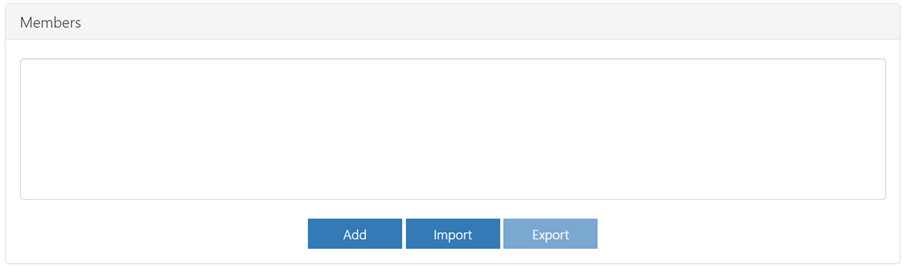 1. Select Add.
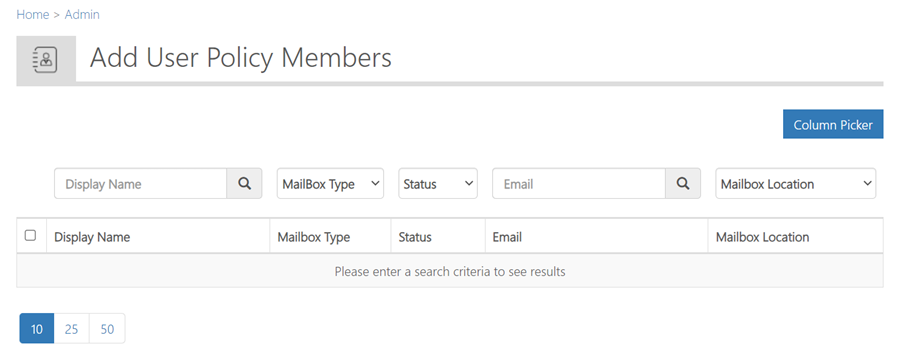 2. Use the search box or Column Picker to search for the user you would like to add to the policy.
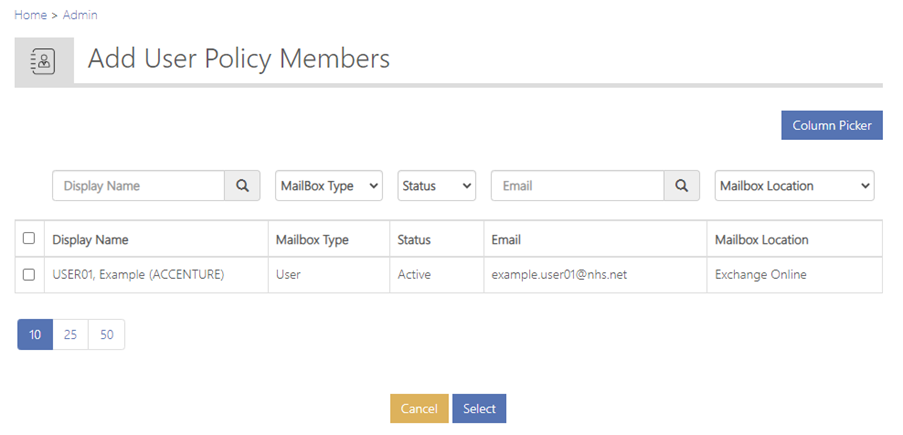 3. Tick the box to the left of the user’s name and click Select to finish adding the user to the policy.
4. For the creation of a new user policy, once these new members have been selected and the policy settings have been configured, select Create. Please see the User Policy Management: Creating a user policy guidance for further details.
Please note: If steps 1 – 3 have been carried out for an existing user policy, select Update. Please see the User Policy Management: Editing a user policy guidance for further details.
5. If the selection is 100 users or less, a green pop up will be displayed to notify that these users have been successfully added as members to the policy.
However, if 101 to 500 users are selected as part of Steps 2 & 3, a green pop up will be displayed to indicate this process is still in progress.
6. Email Notification (only applicable when 101-500 users are selected)
When 101 to 500 users are added via the individual selection process, following validation, you will receive an CSV report via email. This report will detail all users selected, along with whether they were added successfully or not to the policy. In instances where a user has not been added successfully, please raise a ticket with the helpdesk.
Adding members via Import
First, you will need to download the MembersListSample.csv file and add the email address of the users in the Email address column before uploading the new CSV file.
Follow the steps below to download the CSV file:
 1. Click on Import.
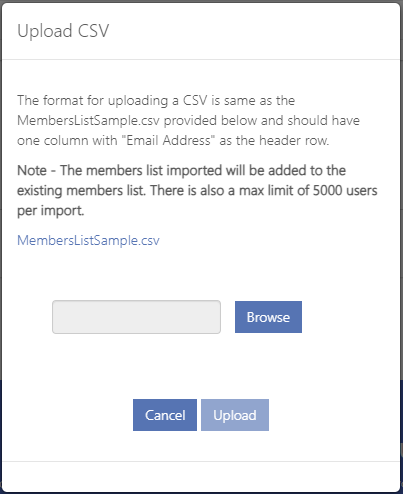 2. Click on MembersListSample.csv to download the sample file.
Note: The format of the CSV file is a single column with ‘Email Address’ as the header row.
 3.Add the email address for each user to the MembersListSample.csv and save the file to your computer.
 4. Click on Browse.
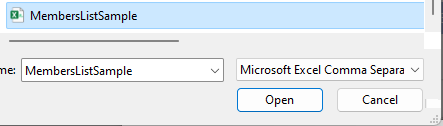
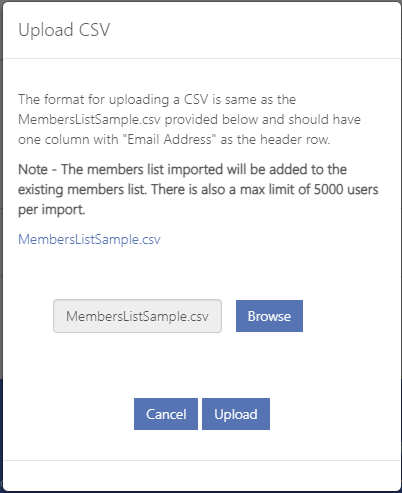 5. When you have found the CSV file, select the file and click Open.
6. Click on Upload.
7. For the creation of a user policy, once these new members have been selected and the policy settings have been configured, select Create. Please see the User Policy Management: Creating a user policy guidance for further details.
Please note: If steps 1 – 6 have been carried out for an existing user policy, select Update. Please see the User Policy Management: Editing a user policy guidance for further details.
8. If the CSV file contains 100 users or less, a green pop up will be displayed to notify that these users have been successfully added as members to the policy.
However, if the CSV file contains 101 to 500 users, a green pop up will be displayed to indicate this process is still in progress.
9. Email Notification (only applicable when 101-500 users are selected)
When 101 to 500 users are added via the import process, following validation, you will receive an CSV report via email. This report will detail all users selected, along with whether they were added successfully or not to the policy. In instances where a user has not been added successfully, please raise a ticket with the helpdesk.
Note: For any queries about licence allocation, etc. please contact helpdesk@nhs.net
Licensing Errors
Within a user policy, LAs can check for licensing errors against any members by using the ‘Export Licensing Errors’ feature. This enables LAs to identify whether any users have licensing errors, the specific licence which is presenting an error and the reason for failure.
To generate this report, the following steps can be taken:
 1. Within a User Policy, click on Export Licensing Errors.
2. You will see a pop up in the portal showing the report was successfully requested.
3. An email will be sent to you with an attached CSV file. The CSV file will contain a view on all members assigned to the policy who are presenting a licencing error and indicate the licence which has not been effectively assigned, alongside the reason for failure. Please note, in instances where a member has multiple licences which are presenting errors, this will be displayed as separate lines on the CSV file.
4. If any users are identified as having a licensing error associated with them, LAs should raise a ticket to the helpdesk and provide a list of the affected users and the licencing errors against each.
Additional Information
| Last Reviewed Date | 25/01/2024 |