
This article provides guidance for Local Administrators (LAs) and end users around managing term groups, sets and terms.
What is a metadata column?
A managed metadata column is a new column type that can be added to lists, libraries, or content types. It lets Site Owners control the information that site members can enter. Site members must select the terms or phrases from a pre-defined set of managed terms. These terms come from a term set that is managed centrally in the Term Store Management Tool by a Term Store Administrator (NHSmail tenant level admins) and other individuals (e.g. Local Administrators) with permissions to manage terms.
Applying metadata columns:
As a Site Owner, you can create a managed metadata column that maps to an existing term set or term at any level on a site (for example, as a site column, or as a column local to a specific list or library). However, if you want a managed metadata column to be reusable and broadly useful for site members who may be creating new site content types or configuring lists and libraries, then you might want to create it as a site column.
To create a new managed metadata site column that maps to an existing term set, follow the below steps:

1. On Settings or the Site Actions menu, click Site Settings
2. Under Web Designer Galleries or Galleries, click Site columns
3. In the Site Columns, click Create.
4. Follow the instructions to map a new column to an existing term or term set
To create a new managed metadata column for a list or library that maps to an existing term set, follow the steps below:

1. Go to the list or library where you want to create a new managed metadata column
2. On the List or Library tab of the ribbon, click List Settings or Library Settings, as appropriate
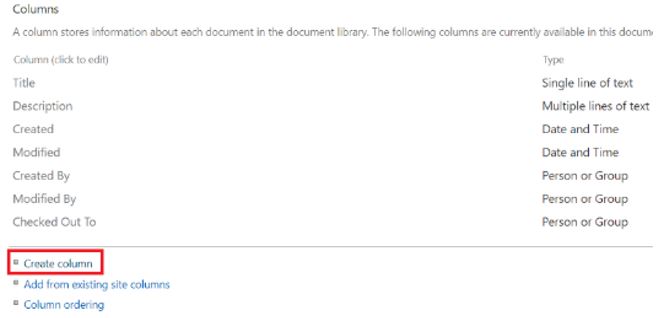 3. In the Columns section, click Create Column and type the name you want the column to have
4. Follow the instructions to map new column to an existing term or term set
To map a new column to a term set or term follow the below steps:
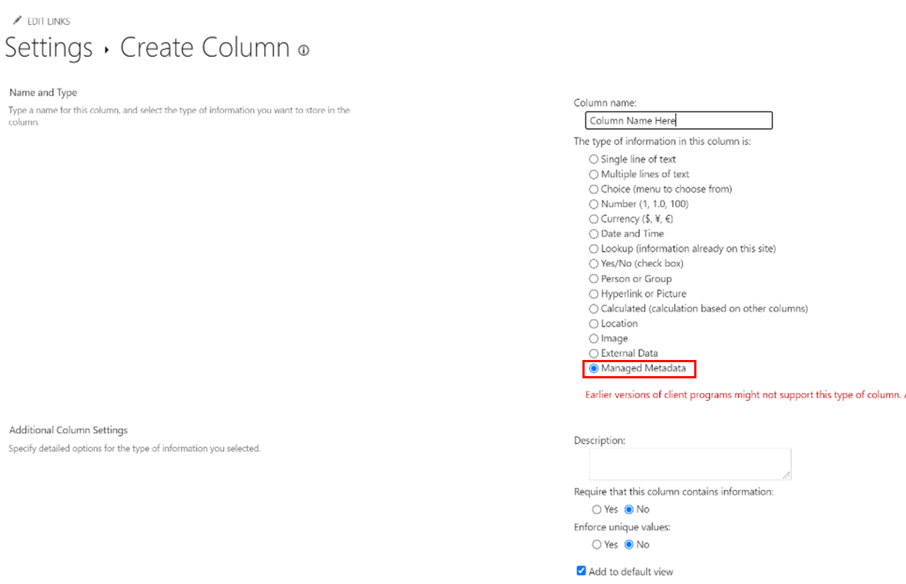 1. Type the name of the column you wish to use and select managed metadata under the type of information in this column is section.
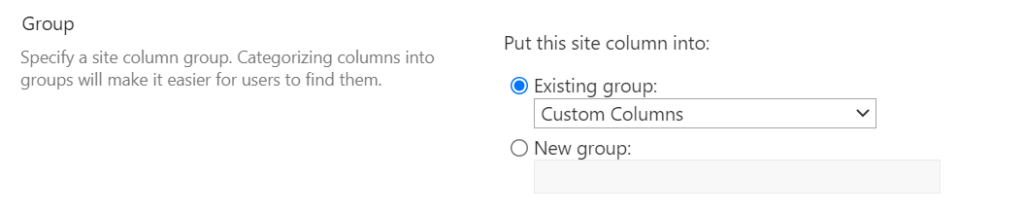 2. In the Group section, select or create the group in which you want to organise the column
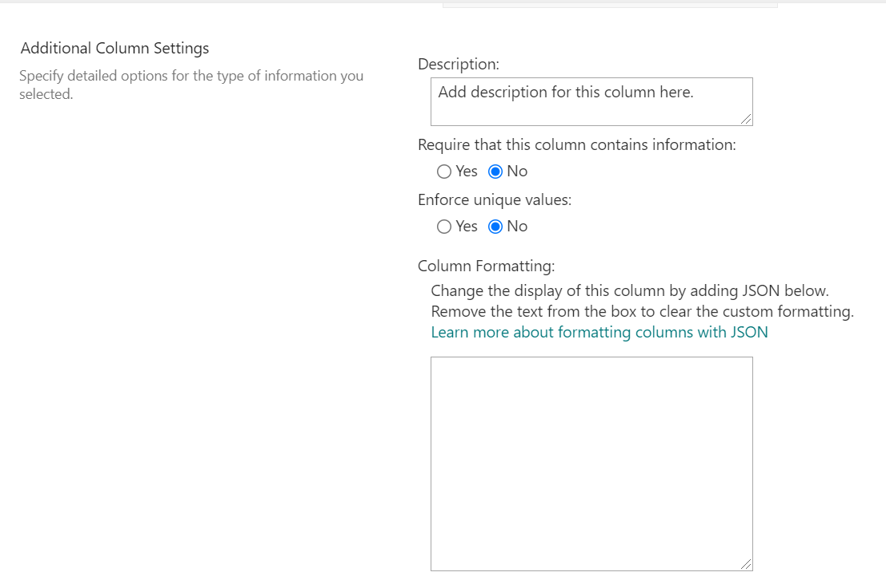 3. In the Additional Column Settings section, type a description and specify whether or not you require users to provide a value for this column. You can also specify whether you want to enforce unique values for the column
4. If you are adding a column to a list or library, then you may be able to specify whether you want to add this new managed metadata column to all content types for the list or library (if multiple content types are enabled for the library). You can also specify whether you want to add this column to the default view for the list or library
5. In the Multiple Value field section, specify whether you want to allow multiple values in the column.
6. In the Display format section, specify whether you want the column to display only the term label, or the term and its full path in the hierarchy of the term set
7. In the Term Set Settings section, select Use a managed term set, and do one of the following:
-
-
-
-
-
- Search a term set by the Organisation Data Service (ODS) code associated with your organisation
- Once you find a term set associated with your organisation, type the name of a term and click the Find button. You can select the term set or term that you want from the results that display in the box. If you want to search again, click the Reset button
-
-
-
-
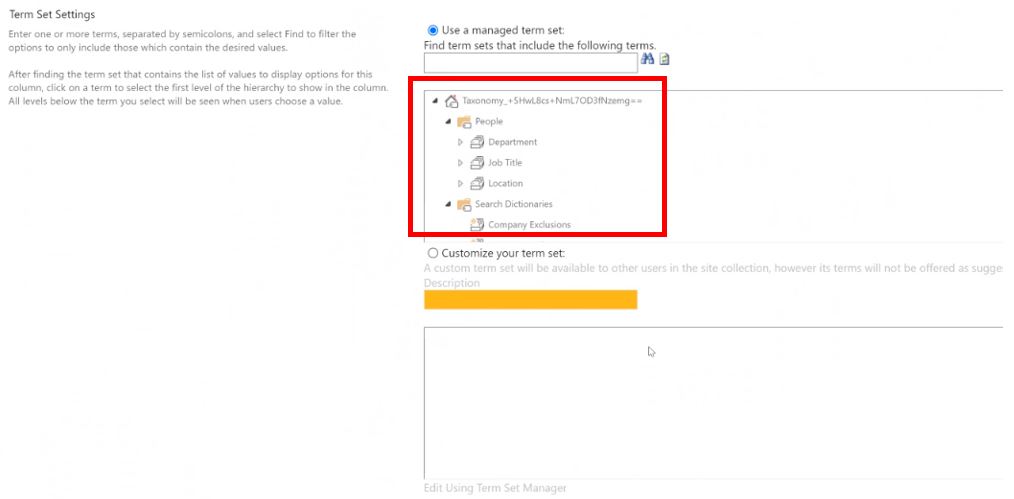 8. To browse for the term set or term that you want to map to this column, click the arrow to the left of the Managed Metadata Service application that displays in the box to expand it and browse for the term set you want. Continue to expand nodes until you find the term set or term you want. Click it to select the term set or term
 9. In the Default Value section, you have the option to specify the term you want to use as the default value for the column. You can type the term, or you can click the Tags icon to browse for the term using the term picker
10. Click OK
Local Administrator (LA)/user with Contributor role guidance:
Local Administrators (LAs) or users with a terms group contributor role will have the capability to create and manage terms within their term set.
Contributor role:
A terms group contributor will be able to add/edit/delete any term Sets and terms located inside the given term group, in addition to adjusting settings for the term group assigned, as well as any term sets inside this group, and any individual terms inside those term sets. You can add a contributor to a term group by following the ServiceNow request process – NHSmail support.
Create a new term group:
If you do not see a term group for your organisation, please submit a self-service request for a new term group along with a list of users for contributor roles. After the request is completed, you will be able to manage the term sets and terms within your term group. Only Local Administratorsare able to submit these requests. Please follow the steps below to start the process.
To manage terms in a term set, follow the instructions as below:
 1. Open a SharePoint site as an owner
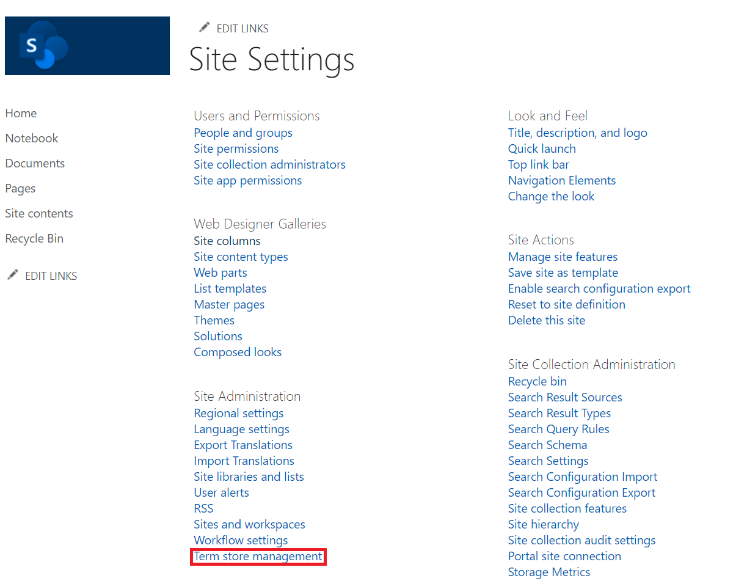
2. On the site’s Setting menu, select Site Settings
3. Under Site Administration, select Term store management
 4. In the tree view pane on the left, select the required Term Group, if it is not already selected
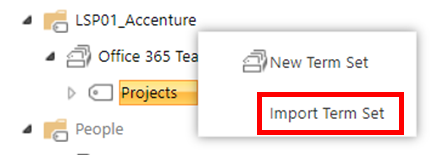
5. Click on the down arrow on Term Group to create a new term set
Alternatively;
 5. Click on the down arrow on Term Set to create, edit, and delete term sets and terms as per your requirements
6. Once the changes are saved and replicated, end-users will be able to view and use the term group as per the configuration
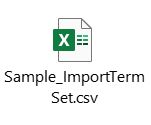 Please find an import template (with 4 level terms) below:
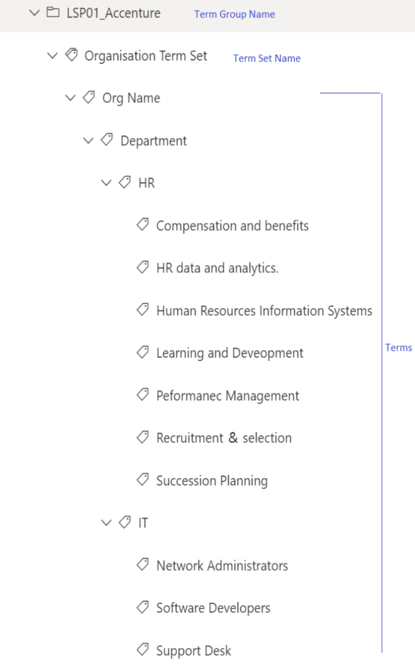
| Last Reviewed Date | 07/10/2021 |