
Guest Access Service
Azure business-to-business (B2B) allows you to securely share Office 365 (O365) data and collaborate across O365 applications with guest users from external organisations. This is achieved via a simple invitation and redemption process, allowing guests to use their own username and password to access NHSmail O365 services. This article provides detail around how the Azure B2B process works and how to set up guest user accounts.
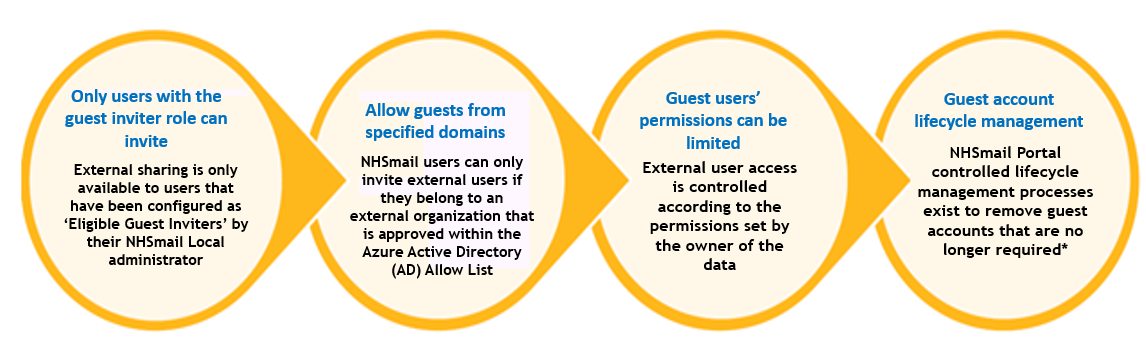
* Guest access is provided for an initial 30 days, after which time, the guest may request an extension for an additional 180 days. These extension requests can be approved by Local Administrators using the My Approvals page on the NHSmail portal.
If the extension isn’t approved within 30 days of being generated, the guest account will be deleted, and the user will need to be re-invited.
For more details or to request a domain to be added to the allow list, please contact your Local Administrator.
Creating Guest Accounts
Manual Creation
The eligible guest inviter must complete the following steps in order to provide guests with O365 access:
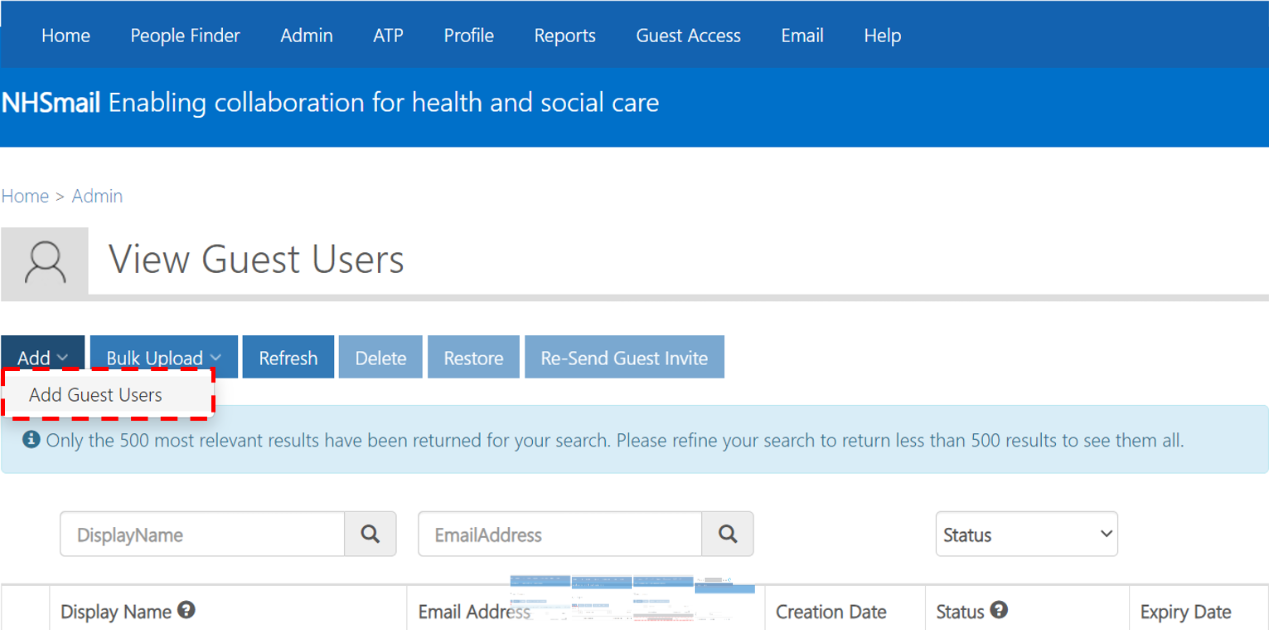 1. Log in to the NHSmail Portal and navigate to the Guest Access Select Add, then Add Guest Users.
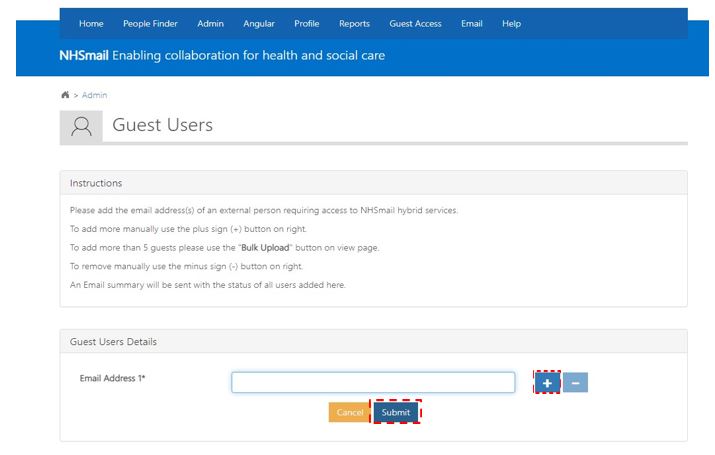 2. Complete the required email field for each guest user that requires access and select Submit. Select + to add up to 5 guests.
 3. Submitting this request will generate the following two automated emails:
 a) To the requester providing a status update on the request
b) To the external guest with confirmation and account verification steps
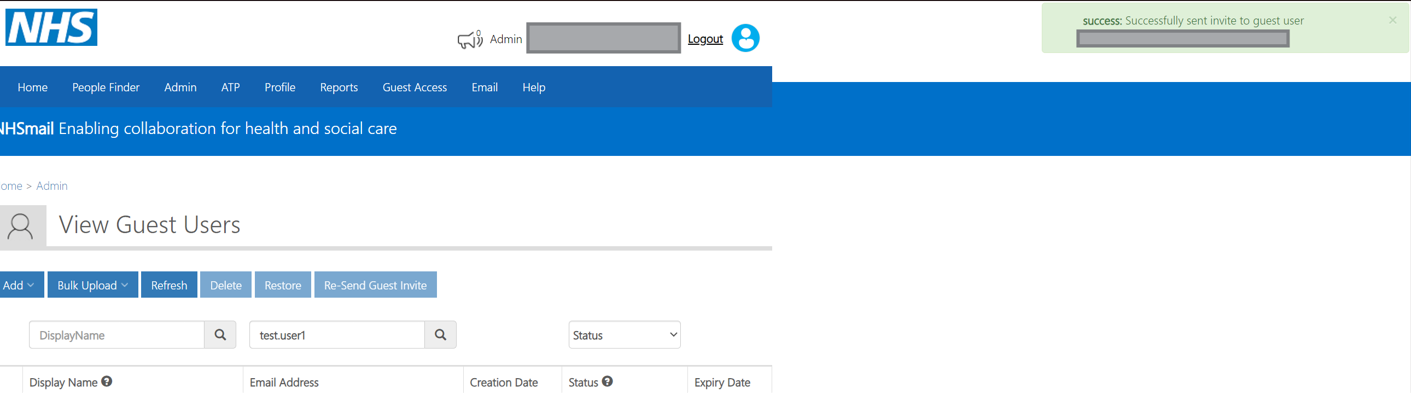 4. After submitting, the portal will re-direct you to the View Guest Users screen and a success / fail notification will appear. You must refresh the page to see your additional guests.
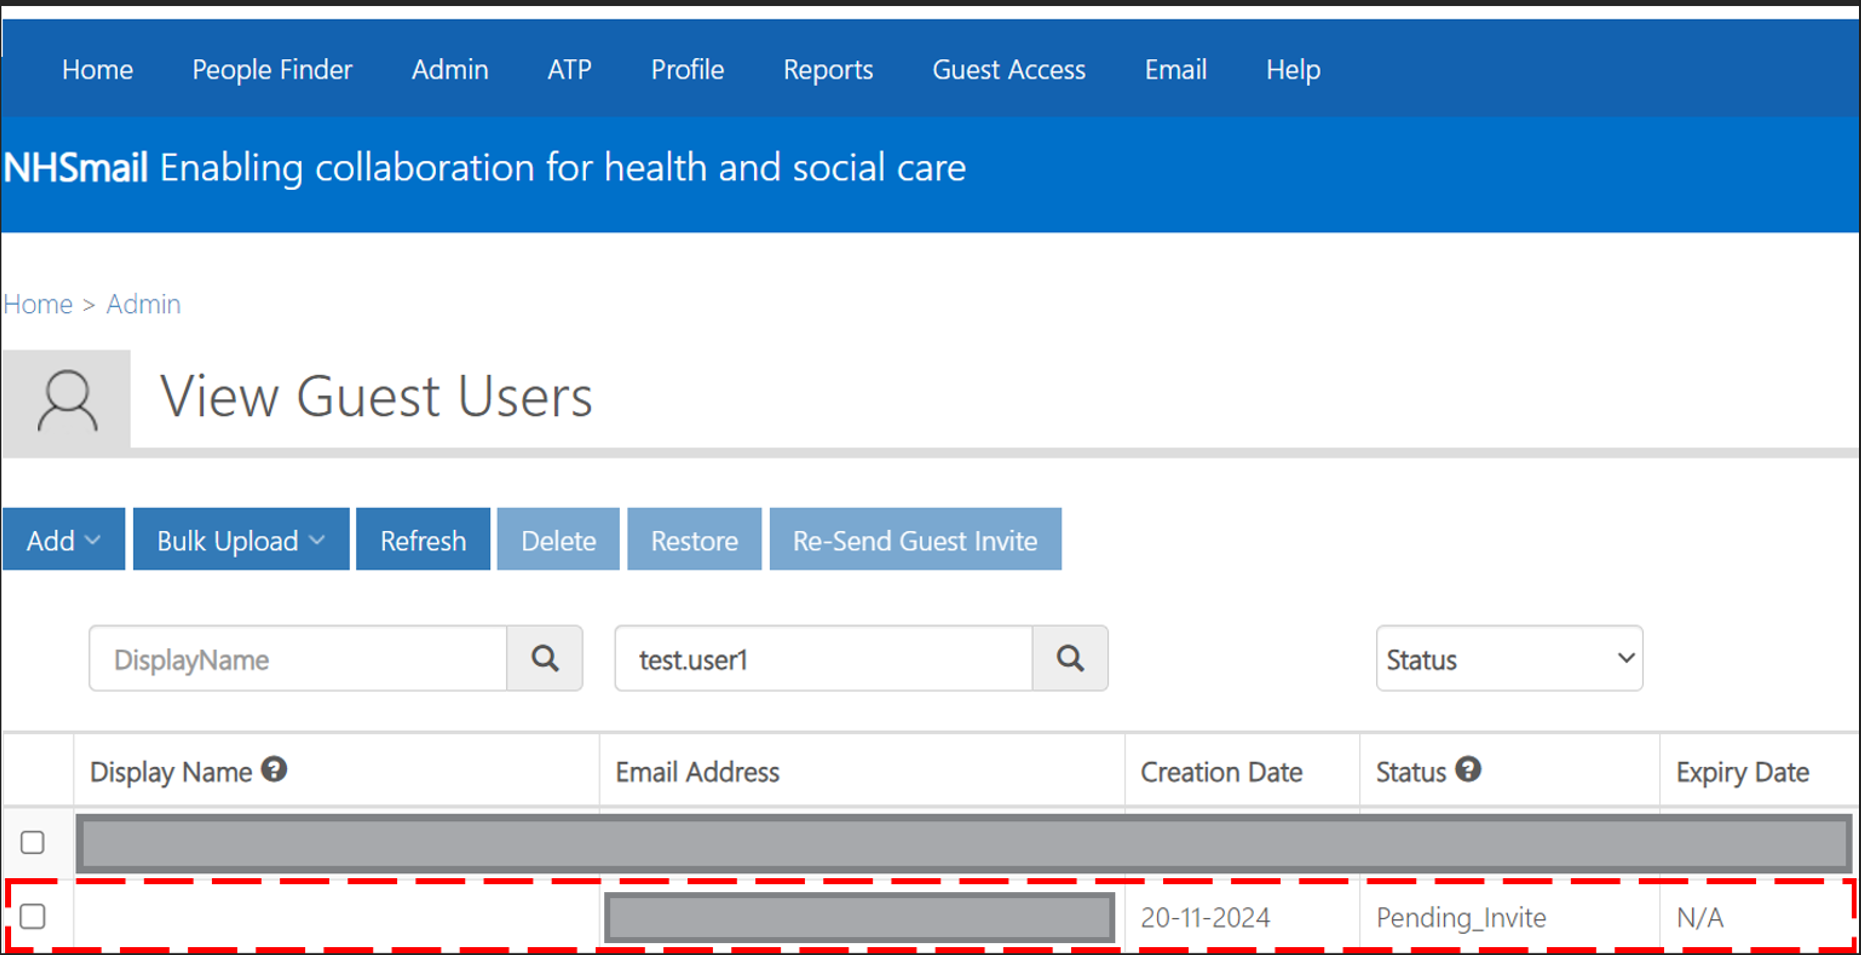 5. After refreshing the page, the new users will be added to your ‘View Guest Users’ list as shown below.
Bulk Upload
The eligible guest inviter must complete the following steps to provide multiple (6 plus) guests with O365 access:
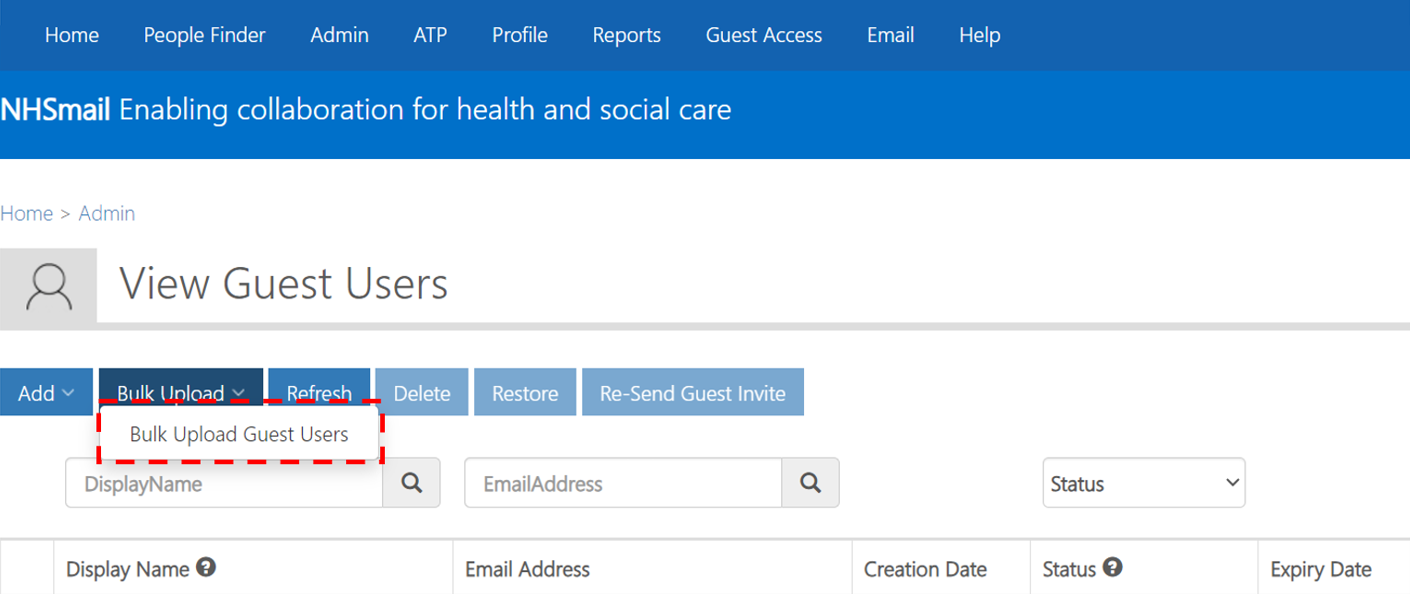 1. Log in to the NHSmail portal and navigate to the ‘Guest Access’ tab. Select Bulk Upload Guest Users.
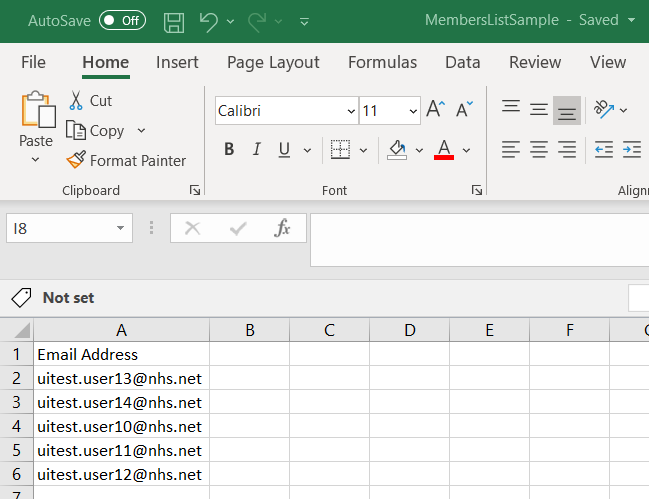 2. Enter the guest user details into a CSV file to prepare for a bulk upload.
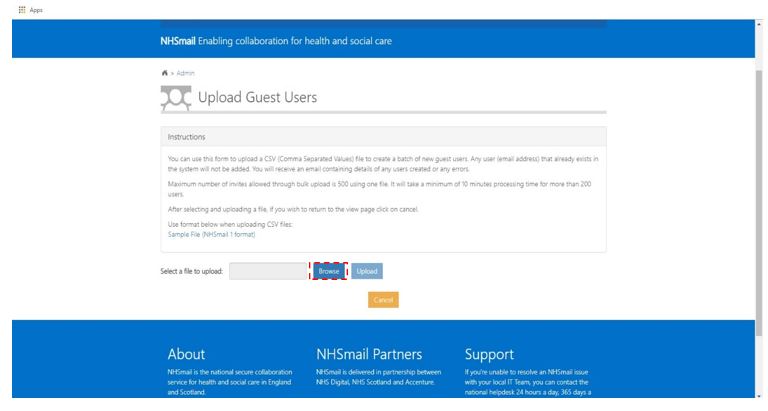 3. Select Browse / Upload to locate and attach the CSV file containing the guest user information.
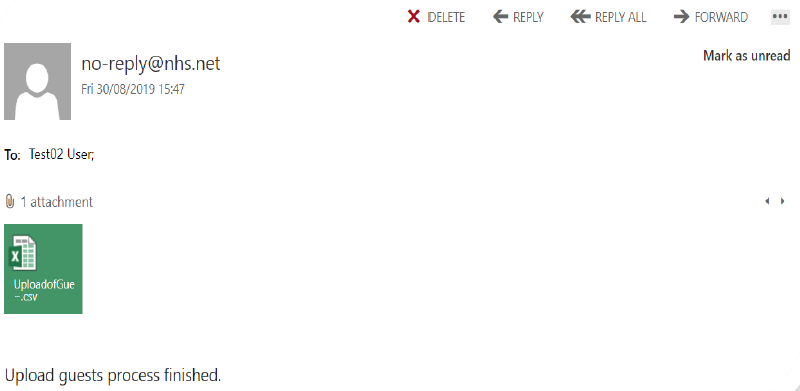
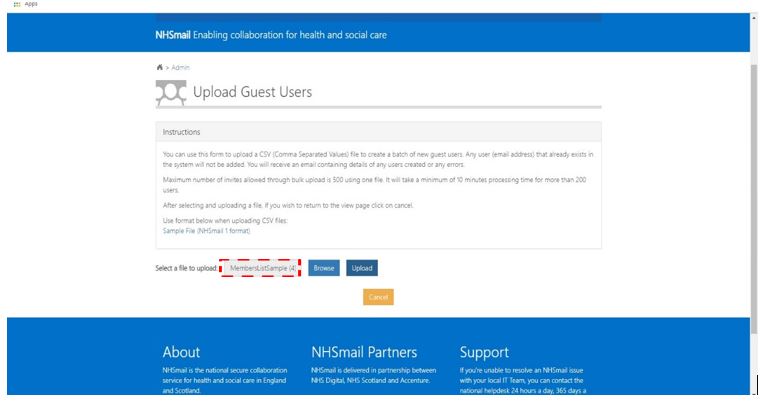 4. Once uploaded, your file will be visible on the portal and ready for submitting. As with the manual upload process, both the inviter and guests will receive automated emails as shown in step 3 within the Manually Adding section.
5. After submitting, the Portal will re-direct you to the View Guest Users screen and a success / fail notification will appear. You must refresh the page to see your additional guests.
6. After refreshing the page, the new users will be added to your ‘View Guest Users’ list as shown below.

Guest User Account – Activation
The guest user will need to complete their account set up. This will create a Microsoft account so that they can collaborate in O365:
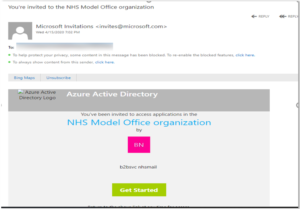 1. The guest user will receive an email (to the email address provided by the eligible guest inviter) similar to the screenshot below. This confirms they have been invited as a guest user. They will need to select Get Started to create their account.
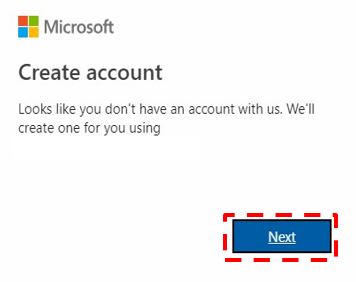 2. The guest user will be directed to the ‘Create account’ page. They must select Next.
 3. The guest user will then need to create a password for the account. The password will need to be at least 8-characters. They will then need to select Next.
 4. The guest user will be asked for the Country / region they are in and their date of birth. Once entered, select Next.
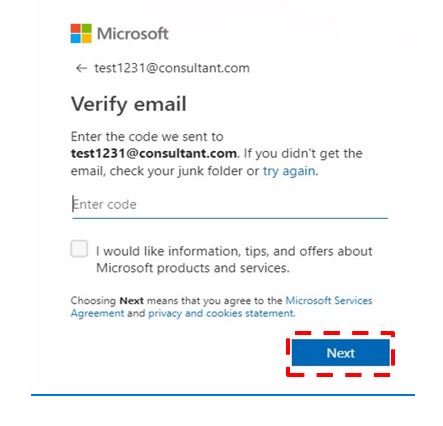 5. The guest user will then need to verify their email address. A security code will be sent to their email address which they will need to enter in the box below. Select Next.
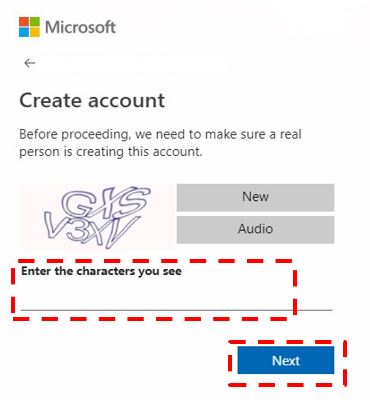 6. As part of additional account verification, they will be asked to enter the characters they see in the box below and then select Next.
 7. Finally, the guest user will need to review and Accept the below permissions. Once the account has been created, NHSmail O365 users will be able to search for and collaborate with the newly created guest user account.
Authentication
If a user has an existing O365 account in Azure AD then they will need to complete the following authentication process enabling them to collaborate in O365:
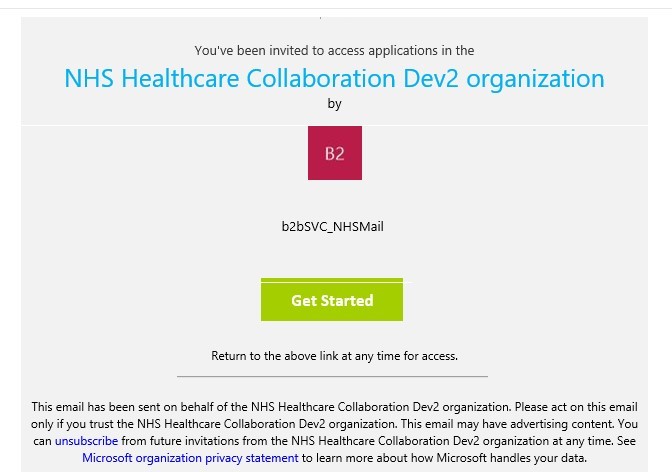 1. The guest user will receive an email (to the email address provided by the eligible guest inviter) similar to the screenshot below. This confirms they have been invited as a guest user. They will need to select Get Started to verify / create their account.
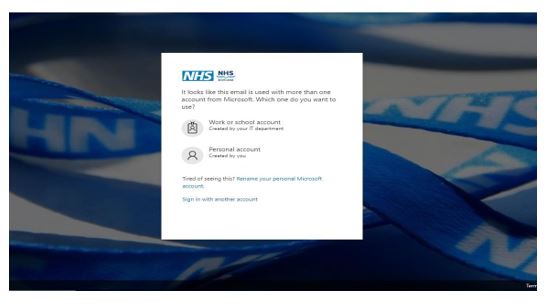 2. If a user already has an account, the user will need to select the profile to sign in. Select – enter credentials to log into account.
 3. Finally, the guest user will need to review and Accept the below permissions. Once the account has been authenticated, NHSmail O365 users will be able to search for and collaborate with the newly created guest user account.
Further guidance is available on Guest Access Extention process.
| Last Reviewed Date | 22/11/2024 |