Assigning a category
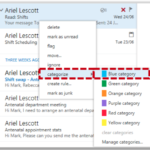
You can use categories to quickly identify related emails and calendar entries by assigning different colours and names to them. For example, if you have access to a generic mailbox, you can set up a category for each person who accesses that mailbox and use the categories to show who is dealing with a particular email or emails
In calendar, you can use categories to colour code appointments or meetings relating to a certain topic, like team meetings or clinics
 1. Click Mail in the navigation bar at the top right of the screen
Removing a categorisation
- Right click on the email, select categorize and click the same category again to deselect it
Deleting an existing category
 1. Click Mail in the navigation bar at the top right of the screen
Creating a new category
 1. Click Mail in the navigation bar at the top right of the screen
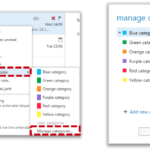
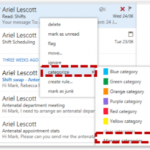 2. Right click on the email you want to categorise, select categorize from the drop down list and select Manage categories
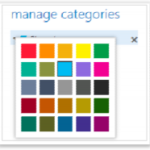
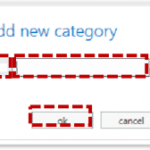
3. Click Add new category located at the bottom of the window that appears on screen

