
1. Overview
This Quick Start End User Guide and FAQs document is intended for End Users who will be using Android devices enrolled onto Intune.
This Quick Start User Guide covers the steps which need to be followed to enrol both Single User and Shared User devices. Please use the content to navigate to the specific steps you will need to follow.
The Android FAQs provide a list of commonly asked questions with suggested courses of action to support simple technical troubleshooting.
If you have questions or queries about any of the content in this document, or if you are unable to enrol your device successfully, please contact your Local Administrator (LA).
1.1 A note on Device Variations
Please be aware that the enrolment steps outlined in this document may vary depending on the specific device manufacturer of your Android device. The enrolment process should not vary considerably, but individual screens my differ slightly and some devices may require additional steps to be completed to comply with their specific terms of use/policies.
If you are unsure about whether to proceed with a step that is not in this guide, please contact your Local Administrator.
2. Getting Started on Android (Single User)
Please note: You can click on the below screenshots to make them larger.
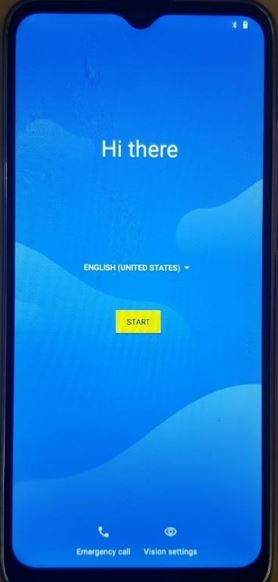
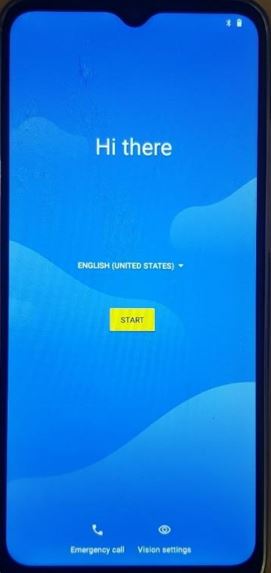
Step 1
Unbox your device, plug it in and turn it on. Tap the device screen 7 times in a row in quick succession to open the QR scanner.

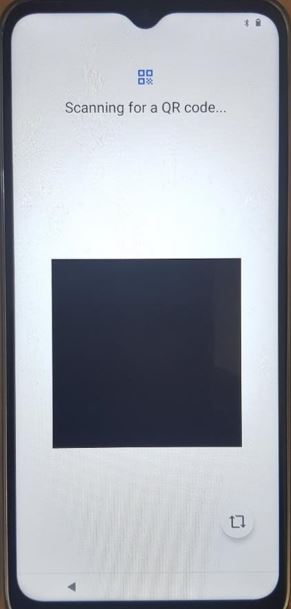
Step 2
The QR Scanner on your device should now be open. Please scan the unique enrolment QR code which should have been provided to you by a Local Administrator at your organisation.
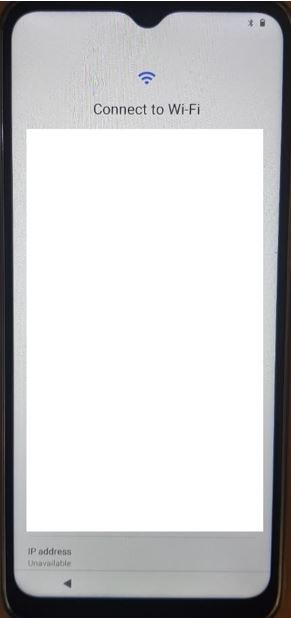
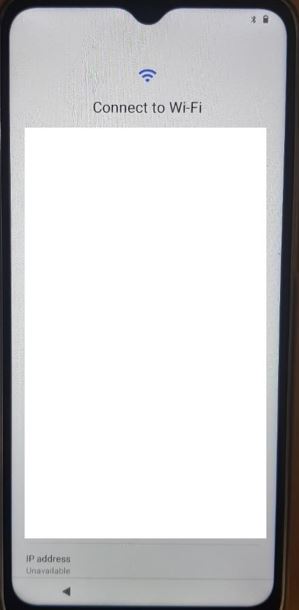
Step 3
Once the QR code has been scanned, your device will need to connect to a Wi-Fi network. Select a network to connect to from the options provided to you.
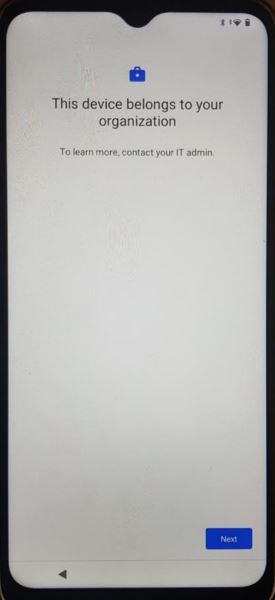
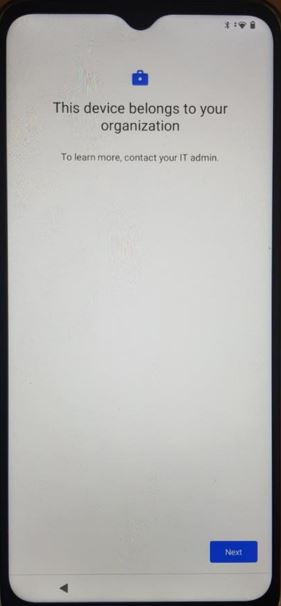
Step 4
You will be informed that your device is owned by your organisation and will be managed by NHS Local Admins. Select ‘Next’ to progress with the enrolment process.
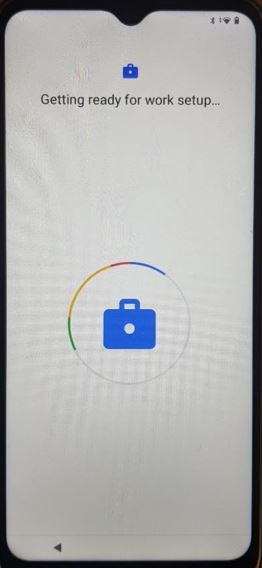
Step 5
Once you click ‘Next’, you will be presented with the loading screen ‘Getting ready for work setup…’ Please wait a few moments for this to complete.
You do not need to do anything at this step.
 Step 6
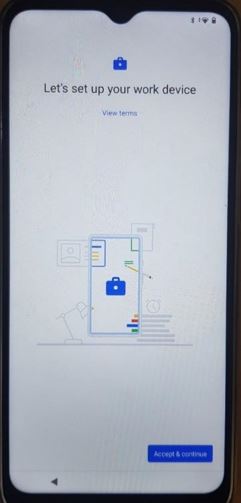
On this screen, you will be given the option to learn more about the terms of use on your work device. To learn more, select ‘View terms’, or to immediately progress with the enrolment of your device select ‘Accept and continue’.
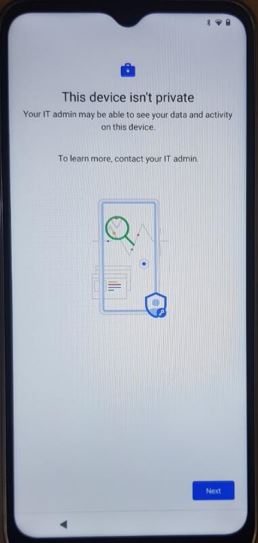
 Step 7
Your device will remind you that it is not a private device and NHS Local Admins may be able to see your data and activity on the device. To progress with the enrolment process, select ‘Next’.
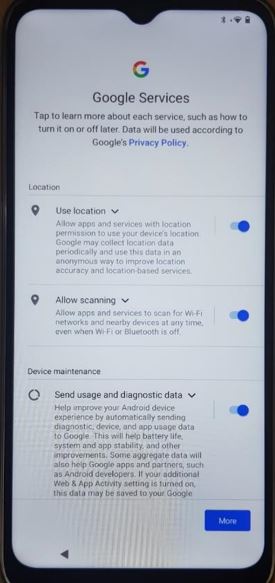
 Step 8
On this screen, you will be asked to choose settings for Google Services. You have the option to select ‘More’ if you would like to know about these settings, otherwise choose your preferred settings and then scroll down the list of settings and select ‘Next’.
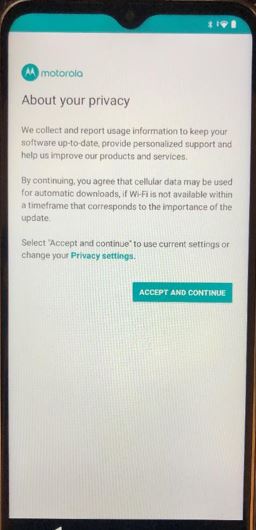
 Step 9
Depending on your specific device, you may be asked at this step to accept some current privacy settings. If you are happy to accept the settings specific to your device, select ‘Accept and Continue’ to progress with the enrolment process.
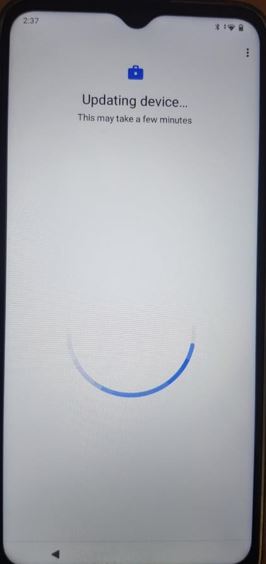
 Step 10
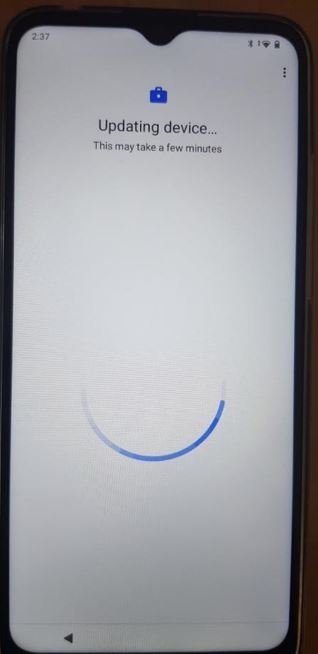
Your device will begin updating. This may take a few minutes.
You do not need to do anything at this step.
 Step 11
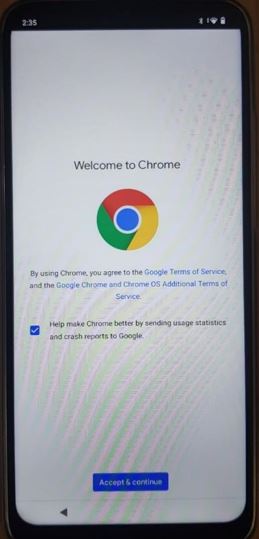
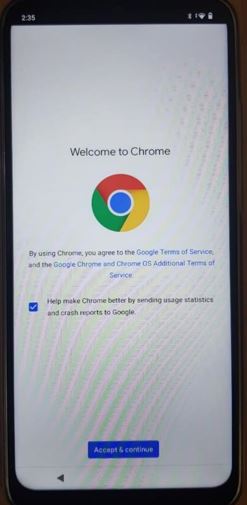
You will be asked to accept Google’s Terms of Service and to choose whether you wish to send usage statistics to Google or not. Once you have read the Terms of Service (optional) and have selected the tick box to opt in or out of sending usage statistics, select ‘Accept and Continue’ to progress with the enrolment process.
 Step 12
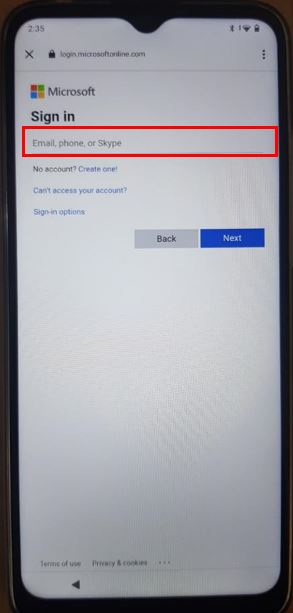
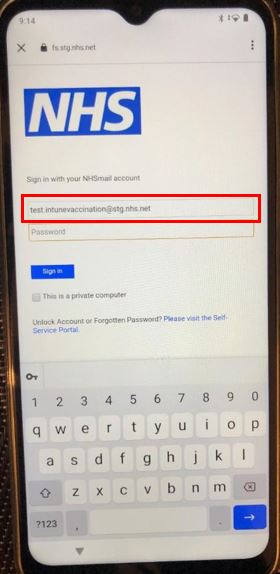
You will need to sign into your Microsoft account using your nhs.net credentials. Type in your nhs.net email address in the area highlighted and then select ‘Next’ to progress with the enrolment process.
 Step 13
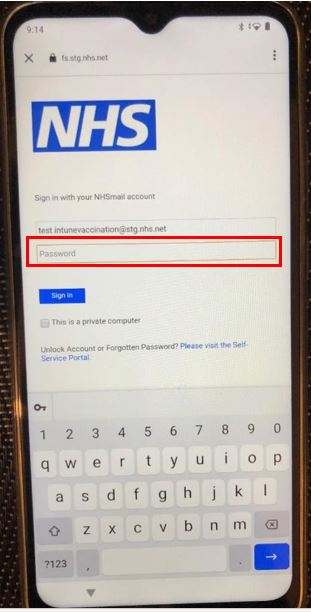
If you entered a valid nhs.net email address on Step 13, this email will auto populate on the next screen and you will now need to enter your nhs.net password. Enter your nhs.net password in the area highlighted and then select ‘Sign in’.
Do not select the checkbox ‘This is a private computer’.

Step 14
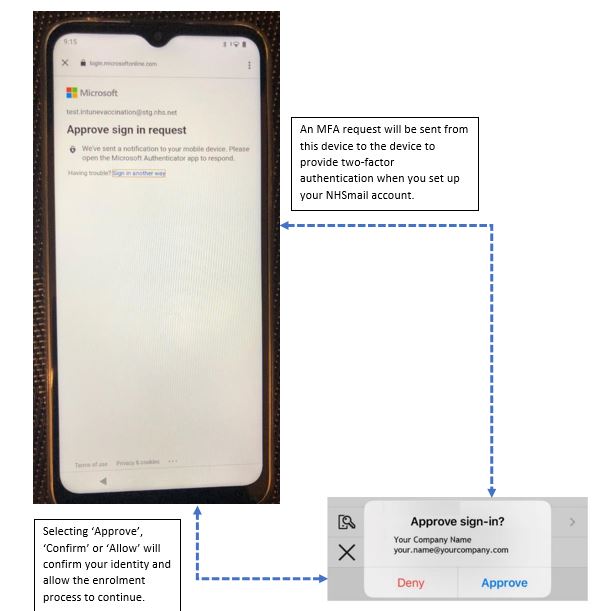
At this step, you will be sent a Multi-Factor Authentication (MFA) request to confirm your identity before the signing in process can complete.
The MFA prompt will appear on the device on which you set up two-factor authentication for your NHSmail account. This may be another device. You will need to follow the instructions presented to you, and select ‘Approve’, ‘Confirm’ or ‘Allow’ when asked to do so.
Once your identity has been confirmed, the sign-in process will complete, and your device will move onto the next screen.
 Step 15
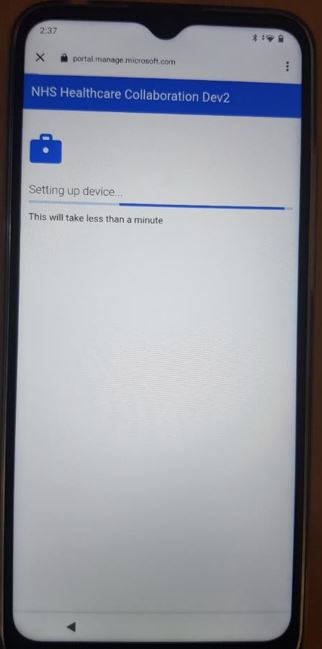
Once you have signed in, the device will begin installing and setting up. This will take less than a minute to complete.
You do not need to do anything at this step.
Step 16
Your device will continue to update. Please wait a few moments for this to complete.
You do not need to do anything at this step.
Step 17
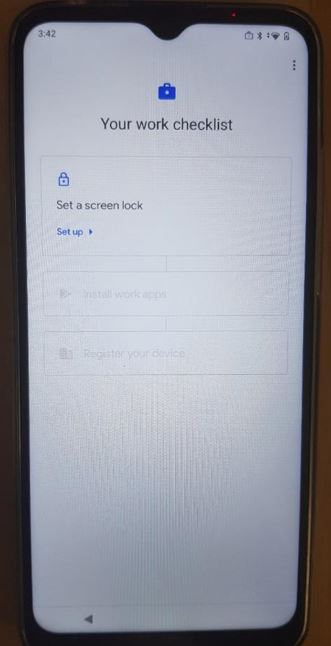
You will be prompted to secure your device and set a screen lock with either a password or biometric authentication. Select ‘Set up’ to progress with the enrolment process.
Step 18
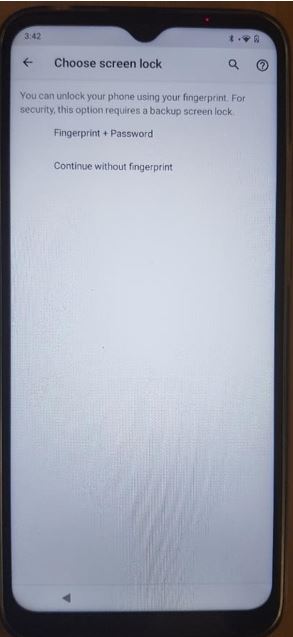
At this step, you will be able to choose how you want to secure your device.
In this screenshot shown below Fingerprint and Password has been selected. Depending on your device, you may be presented with one or more of the following options:
- Fingerprint and/or PIN or Password
- PIN or Password only
- Facial Recognition
You should choose your preferred method and select ‘Next.’
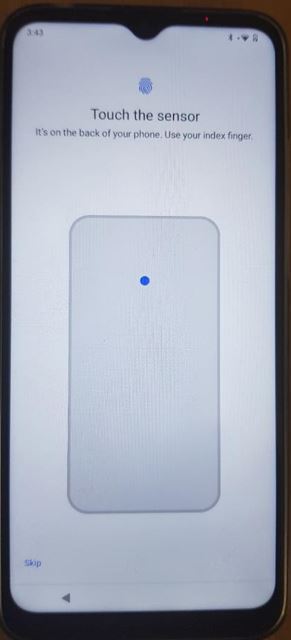 Step 19
Depending on the method you choose to secure your device, you may be prompted to configure biometric authentication (FaceID, TouchID). To do this, follow the instructions on the screen.
If you do not want to proceed with configuring biometric authentication you have the option to press ‘Skip’.
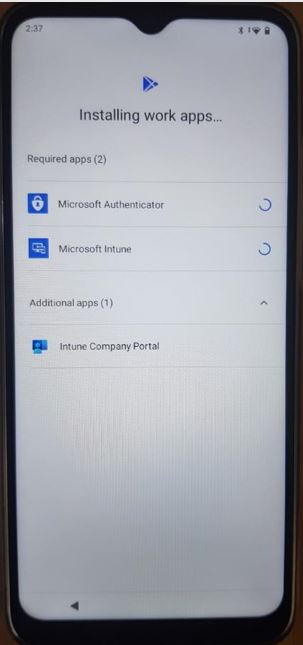 Step 20
You will need to install all work apps listed on your screen. The apps will automatically install, and this does not require any action from you.
You do not need to do anything at this step
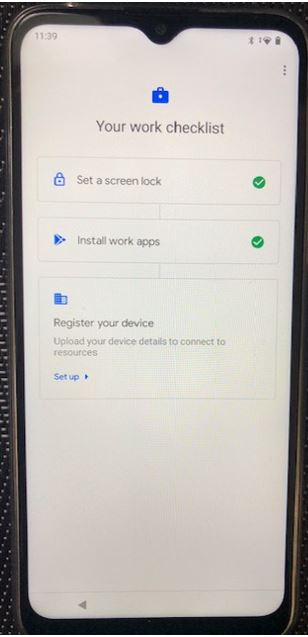
Step 21
Once you have set the screen lock and installed the required work apps, you will need to register your device. To do this, select ‘Set up’.
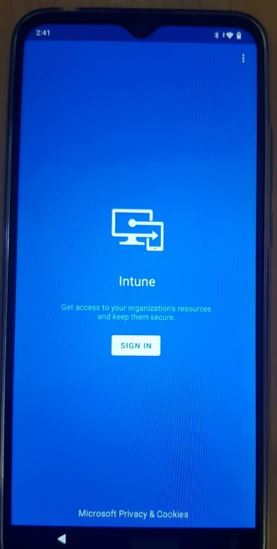
Step 22
Once your device has been registered, you will need to sign into Intune. Select ‘Sign In’.
 Step 23
Enter your nhs.net password in the area highlighted and select ‘Sign in’. You do not need to re-enter your nhs.net email, as this was done on Step 14 and your device should remember your email.
Please ignore the grey box which requests ‘Please Sign in using @nhs.net’.
Step 24
At this step, you will be sent a Multi-Factor Authentication (MFA) request to confirm your identity before the signing in process can complete.
The MFA prompt will appear on the device on which you set up two-factor authentication for your NHSmail account. This may be another device. You will need to follow the instructions presented to you, and select ‘Approve’, ‘Confirm’ or ‘Allow’ when asked to do so.
Once your identity has been confirmed, the sign-in process will complete and your device will move onto the next screen
Step 25
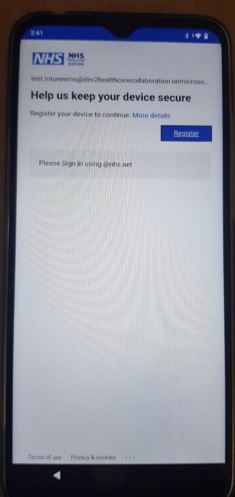
Once your credentials have been accepted, you will need to register your device. Select ‘Register’ to continue with the enrolment process.
Step 26
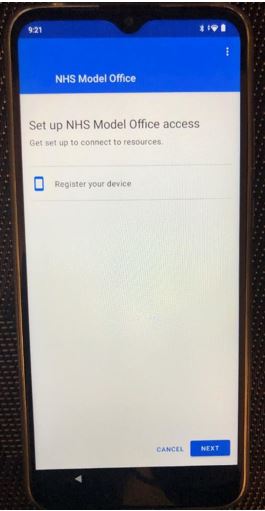
Select ‘Register your device’ and then select ‘Next’.
 Step 27
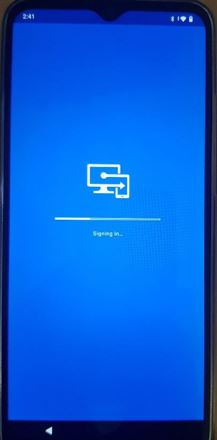
Your device will now begin signing into Intune. This may take a few minutes. Please wait for this process to complete.
You do not need to do anything at this step.

Step 28
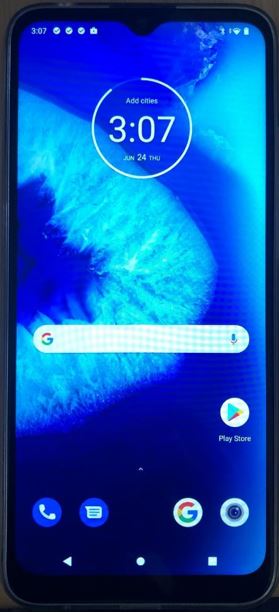
The enrolment process for your Single User Android device should now be complete. Your device should now load to the Home screen and applications will begin to download.
3. Getting Started on Android (Shared Devices)
Step 1
Unbox your device, plug it in and turn it on. Tap the device screen 7 times in a row in quick succession to open the QR scanner.
Step 2
The QR Scanner on your device should now be open. Please scan the unique enrolment QR code which should have been provided to you by a Local Administrator at your organisation.
Step 3
Once the QR code has been scanned, your device will need to connect to a Wi-Fi network. Select a network to connect to from the options provided to you.
Step 4
You will be informed that your device is owned by your organisation and will be managed by NHS Local Admins. Select ‘Next’ to progress with the enrolment process.
 Step 5
Once you click ‘Next’, you will be presented with the loading screen ‘Getting ready for work setup…’ Please wait a few moments for this complete.
You do not need to do anything at this step.
 Step 6
On this screen, you will be given the option to learn more about the terms of use on your work device. To learn more, select ‘View terms’, or to immediately progress with the enrolment of your device select ‘Accept and continue’.
 Step 7
Your device will remind you that it is not a private device and NHS Local Admins may be able to see your data and activity on the device. To progress with the enrolment process, select ‘Next’.
 Step 8
On this screen, you will be asked to choose settings for Google Services. You have the option to select ‘More’ if you would like to know about these settings, otherwise choose your preferred settings and then scroll down the list of settings and select ‘Next’.
 Step 9
Depending on your specific device, you may be asked at this step to accept some current privacy settings. If you are happy to accept the settings specific to your device, select ‘Accept and Continue’ to progress with the enrolment process.
Step 10
Your device will begin updating. This may take a few minutes.
You do not need to do anything at this step.
 Step 11
You will be asked to accept Google’s Terms of Service and to choose whether you wish to send usage statistics to Google or not. Once you have read the Terms of Service (optional) and have selected the tick box to opt in or out of sending usage statistics, select ‘Accept and Continue’ to progress with the enrolment process.

Step 12
You will need to sign into your Microsoft account using your nhs.net credentials. Type in your nhs.net email address in the area highlighted and then select ‘Next’ to progress with the enrolment process.
 Step 13
If you entered a valid nhs.net email address on Step 13, this email will auto populate on the next screen and you will now need to enter your nhs.net password. Enter your nhs.net password in the area highlighted and then select ‘Sign in’.
Do not select the checkbox ‘This is a private computer’.
Step 14
The enrolment of your Shared Android device should now be complete. Your device should load to the Home screen and applications will begin to download.
4. Android Frequently Asked Questions (FAQs)
Below are a list of common or frequently asked questions which users of Intune- enrolled Android devices may ask.
The purpose of these FAQs is to support you, as an end user, to perform some simple technical troubleshooting which should reduce the amount of issues you need to discuss with a Local Administrator.
Please refer to these FAQs if you encounter an issue using your device before raising the issue with a Local Administrator.
If these FAQs do not provide you with the answer/s you need or the recommended action/s have not resolved your problem, then please contact your Local Administrator who will be able to provide additional assistance.
If your device is not turning on, it could mean that your device battery level is too low. In this instance, you should plug in your device into a power socket. If your device is still having issues turning on, there may be a hardware issue and your device will need to be replaced.
Please contact your Local Administrator.
Please follow the steps outlined in Section 2 & 3 of this document.
No. VPN connectivity will not be required to login to your device or to access applications.
Please follow the steps below to switch your Wi-Fi connection.
1. Open the Wi-Fi settings by swiping down from the upper-right of the screen
2. Tap and hold the Wi-Fi symbol to turn on Wi-Fi
3. Select the network you wish to connect to
You may need to enter a password for the Wi-Fi network to connect. You should be able to access this locally.
Check your network settings to make sure your device has Wi-Fi enabled and is connected to a Wi-Fi network. Also check that your device is not on airplane mode. Swipe down from the top of your screen, which will open your device’s notification panel, then swipe down from the notification panel to reveal the Quick Settings Menu. On the Quick Settings Screen, you can toggle airplane mode ‘off’ if it is ‘on’.
A list of managed applications can be viewed below.
Disclaimer: Some stock Android applications (pre-built) may be removed during the fully managed enrolment process.
- Google Chrome
- Edge
- Company Portal App
- Intune Portal App
- Authenticator
Outlook will not be installed as part of the baseline build so if you need to check your Outlook/email, you can do this via the Internet using the web browser.
Open the Company Portal or Intune Portal App on your device, and then select your phone as the device you wish to sync. You should then be able to click ‘Sync’ to complete this step.
If you have followed the instructions above to sync the phone and syncing is not working, please contact your LA/s.
Downloading applications has been disabled in the baseline configuration. If you require an application on the device, please contact your LA/s.
This has been disabled as part of the baseline configuration. If you require additional apps, please contact your local LA/s.
This has been locked down as part of the baseline configuration. However, media content will still be able to be played through the Google Chrome browser.
The file may be trying to open in an application which is not installed locally. Please use web browser alternatives if required.
Adobe PDF reader is not pre-installed on the device. Please use web alternatives if required.
Fully Managed Android devices can only be reset by IT Admins.
If you require your device to be reset, please contact your LA/s.
Barcode scanners and other essential work-related accessories will be able to connect to your device via Bluetooth in device settings.
If your device is crashing regularly, there may be a hardware fault with your device.
Please contact your LA/s, as they will be able to assess the issue and work to resolve it. If there is a hardware fault, the device will need to be replaced by your LA/s.
If you are attempting to take a screenshot in a managed app you may see an error saying, “Couldn’t save screenshot, taking screenshots isn’t allowed by the app or your organisation.”
Fully managed devices do not allow you to take screenshots in managed apps which may hold company data. Other unmanaged applications should not cause any issues.
If the device battery is draining, it could be running a background process such as a software/ application update. Remember to close all applications after use, as having multiple applications running in the background can contribute to battery drain. If battery drain is a persistent issue, please contact your LA/s.
| Last Reviewed Date | 14/07/2021 |