There are two ways you can access the Cloud PC: through a Web Browser or a dedicated Windows App, which provides deeper integration with the operating system for enhanced performance.
To install the Windows App on your personal device, follow the steps below:
- Go to the Microsoft Store and download the Windows App:
If you are using an NHS corporate or workplace device:
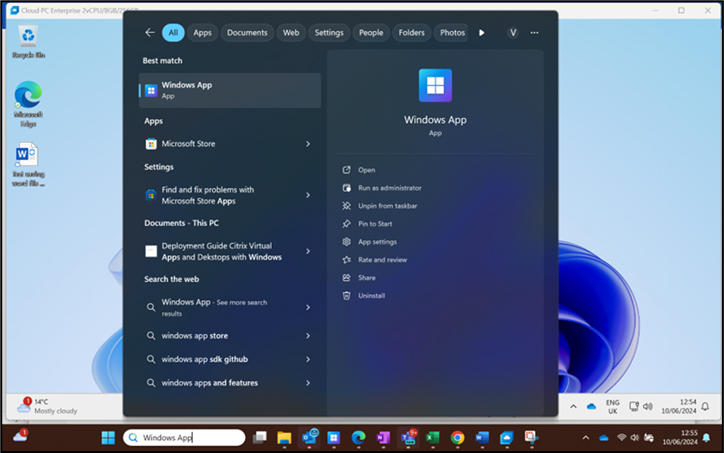
- Check for Windows App which may already be installed on your device. This can be found by entering Windows App in the Search bar on the bottom of the screen
- Your Organisation may have published the Windows App for you to install as a user from your regular software library (e.g., Company Portal or Software Centre)
- If you are unable to see or install the Windows App from either of the methods mentioned above, then reach out to your Local Administrator so that they can support installing the Windows App onto your device.
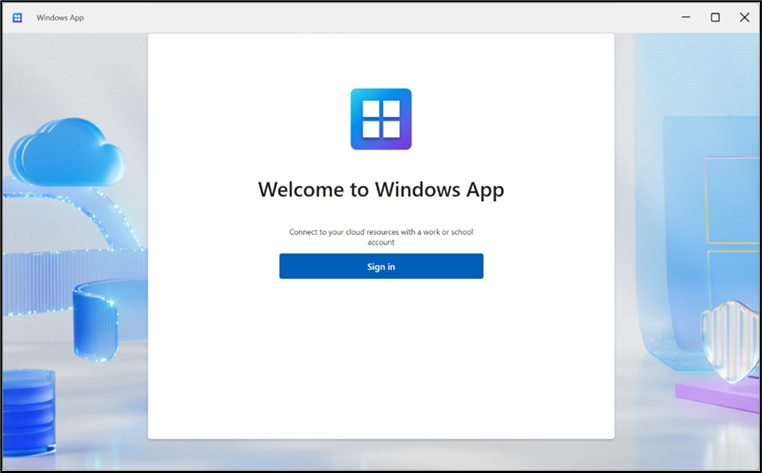 Once installed, click on the Windows App icon to open the app.
Enter your NHSmail account details (complete MFA if you are prompted).
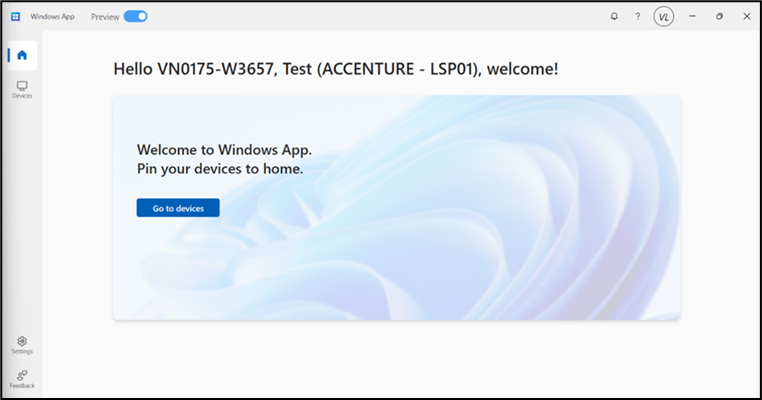 Once signed in, the Windows App shows the Home / Welcome screen:
 Click the ‘Devices’ button and the Windows 365 Cloud PC will appear:
 Click on the “Connect” button to launch the Cloud PC assigned to you.
For awareness:
- The first time you log in, it will take up to 10 minutes to set up and configure your profile. This is a one-time set up process.
- The desktop background may differ if your organisation is managing your Cloud PC.
- The desktop that appears will not be the same as your standard PC because a Cloud PC is not a copy of your existing desktop.
| Last Reviewed Date | 01/07/2024 |