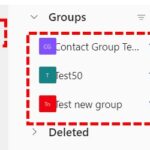
A contact group is a set of email addresses that you can use to send an email message or meeting invitation to everyone at once, however it is different from a distribution list.
Creating a contact group allows you to group your personal contacts so that they are easy to find. For example, you may want to organise a list of contacts by team or department.
In order to create a new contact group, please refer to the below steps:
1. Open Outlook Web Application and sign in with your email address.
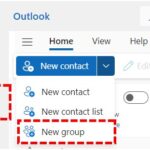 2. Click on People Icon on the navigation pane.
3. Click on the drop-down menu beside the New Contact.
4. Select New Group.
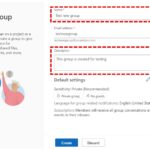 5. A new window opens where you can enter the group name and a Description for this group.
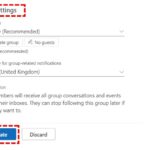 6. You can change the Default settings of the group. Once finished click Create.
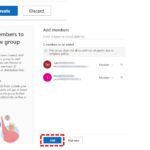 7. Add members to the group by entering their name/email address and click Add.
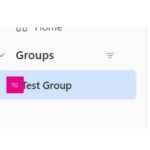 8. Your Group is created now and it will appear under your Groups on the people page.
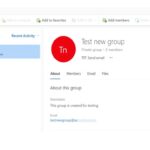 If you have created the group it will appear under the Owner tab, if you have been added to any other group they will appear under the Member tab.
9. You can add members to the Group by clicking on the Add members.
Editing and Deleting a Contact Group:
You will have the Option to edit the group accordingly if you are the Owner. In order to edit, please refer to below steps:
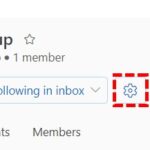 1. Click on the settings/gearbox icon.
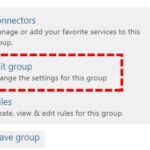 2. Click on Edit Group from the new window.
 Please note clicking on Edit group will also give you an option to Delete the group at the bottom right corner of the Edit group window in case the group is no more required.
| Last Reviewed Date | 20/09/2023 |

